Text replacement basically works like text expansion and is a helpful tool that can save you a lot of time while typing. You can use it to create shortcuts for regularly used text snippets such as your address, email ID, email templates, and more. Your text shortcuts sync via iCloud and work on all your Apple devices, including iPhone and iPad.
1. Check App Compatibility
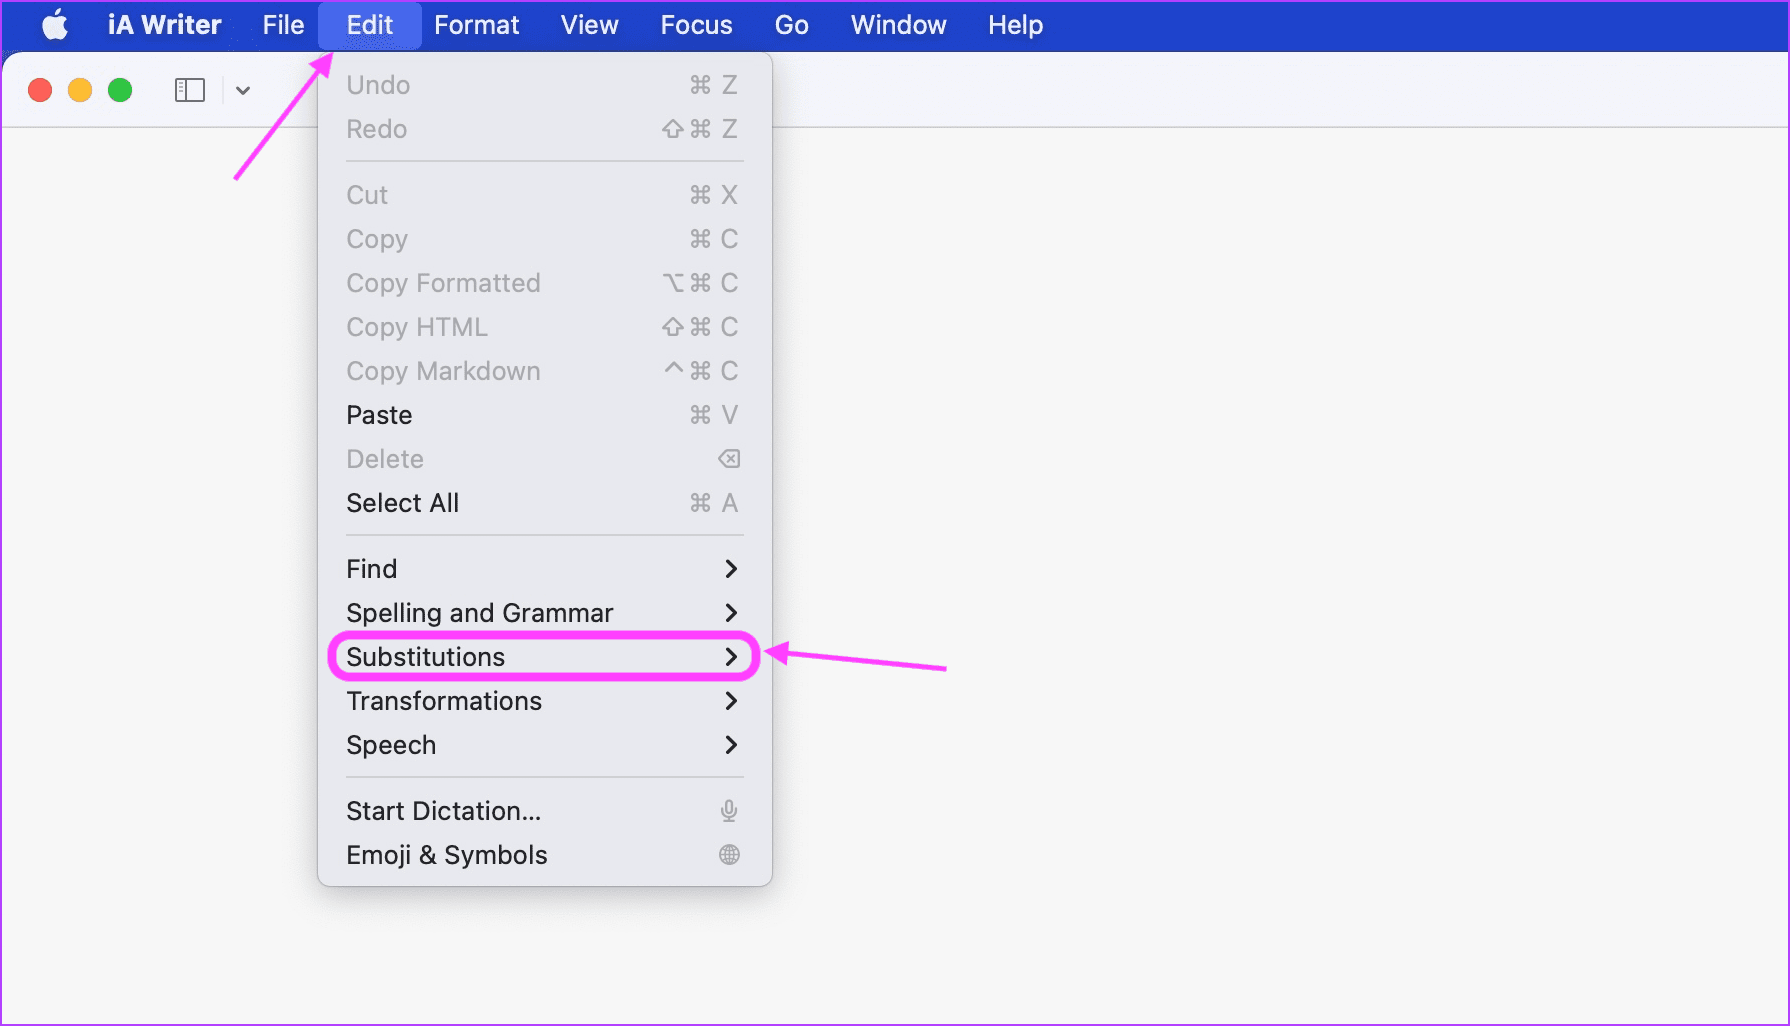
Despite being a built-in macOS feature, text expansion doesn’t work with all the apps as it requires third-party developers to enable this feature from their end. Before you proceed with the troubleshooting guide, you need to make sure whether your apps support this feature or not. Step 1: To check the compatibility of an app, launch the app and click on the Edit menu in the Menu Bar.
Step 2: Find the Substitutions sub-menu item. If it’s present, your app supports the text replacement feature on Mac.
2. Enable Text Replacement for Compatible Apps
If your apps support the text expansion feature, and it’s still not working for you, there is a chance that the feature is disabled on the app. Here is how you can enable text replacement for compatible apps. Step 1: Launch the app and click on the Edit menu. Now, click on Substitutions.
Step 2: Check if there’s a tick mark next to Text Replacement or not.
Step 3: If the tick mark is not there, click on Text Replacement to enable it.
3. Use Spotlight for Quick Insertion With Incompatible Apps
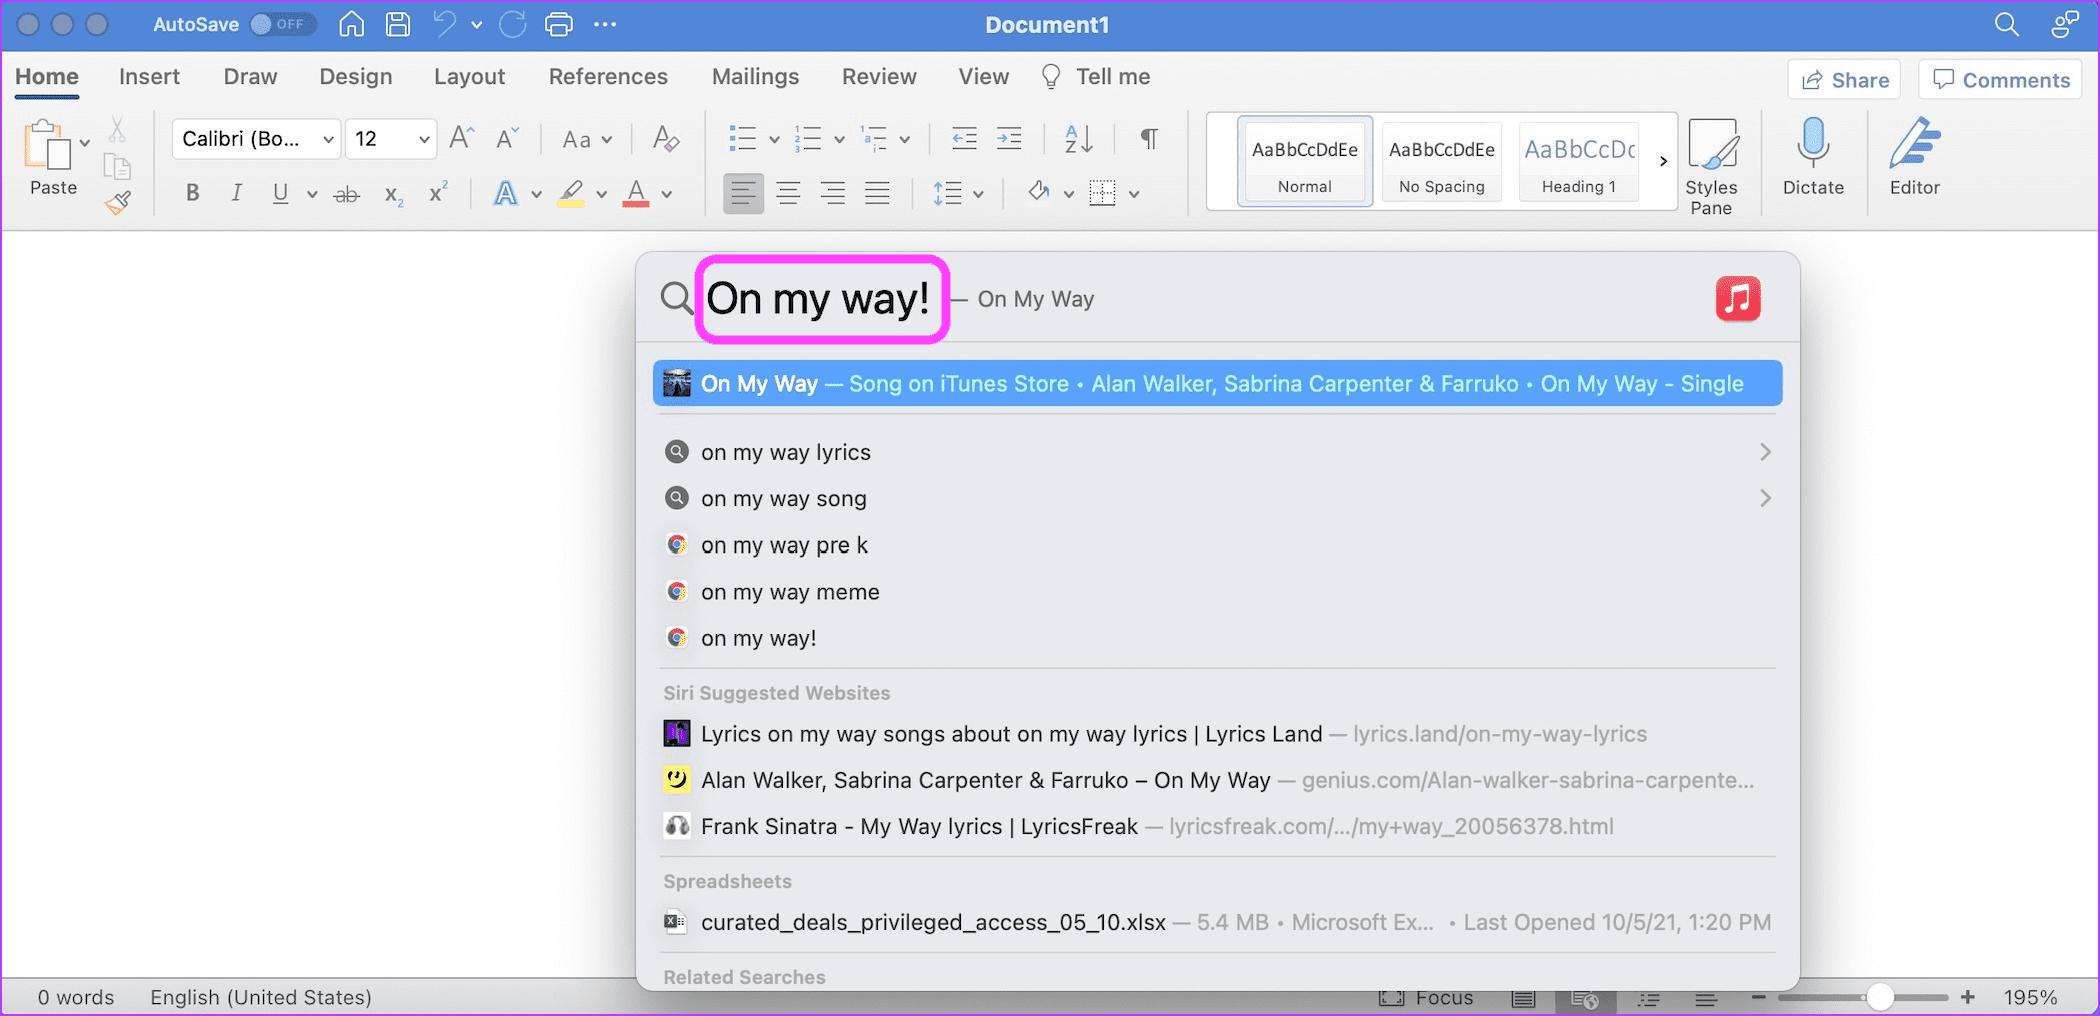
Several prominent apps, including Microsoft Word, do not support the text replacement feature in macOS. While there’s nothing you can do to enable the feature in these apps, you can use a quick hack to overcome the incompatibility issue. Step 1: When typing in an incompatible app like Microsoft Word, hit the CMD+Space keyboard combination to bring up Spotlight.
Step 2: Use your text shortcut to expand the text inside Spotlight.
Step 3: Use the Cmd+A keyboard shortcut to select the text and then Cmd+C to copy it. Hit Escape on your keyboard to dismiss Spotlight.
Step 4: Use the Cmd+V keyboard shortcut to paste the copied text.
4. Add a New Text Replacement Item and Delete It
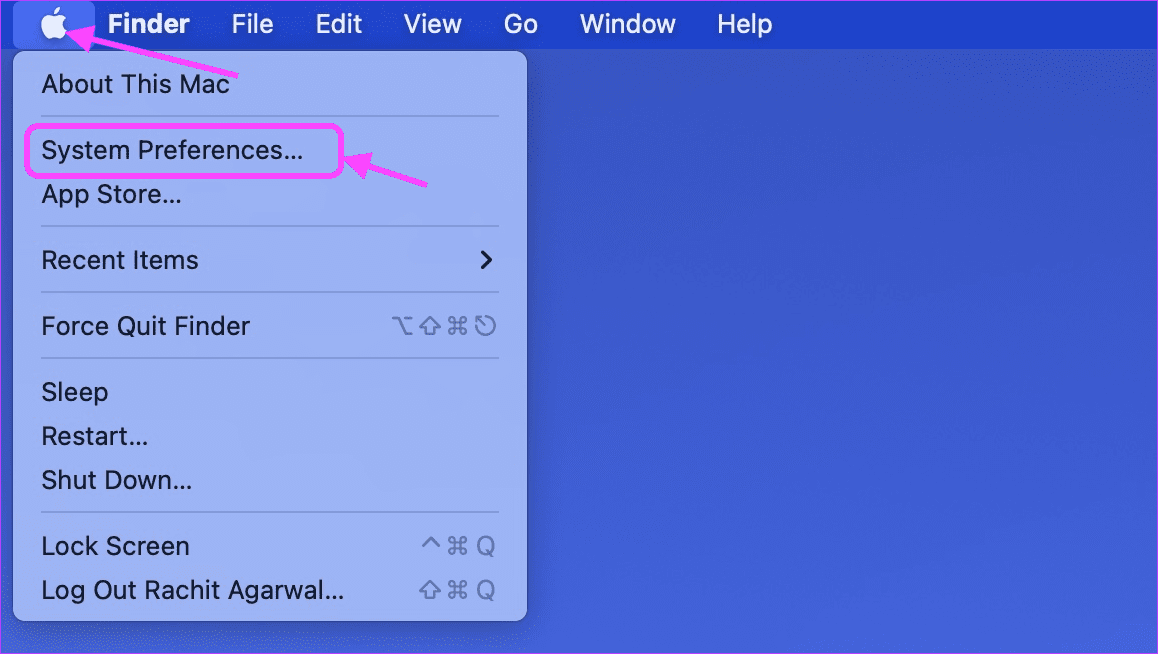
If text replacement is not working in a compatible app ever after enabling it, the feature is not working correctly. Users have reported that adding a new text replacement item and deleting it generally fixes the issue. Step 1: Click on the Apple icon in the top-left and open System Preferences.
Step 2: On the System Preferences page, click on Keyboard.
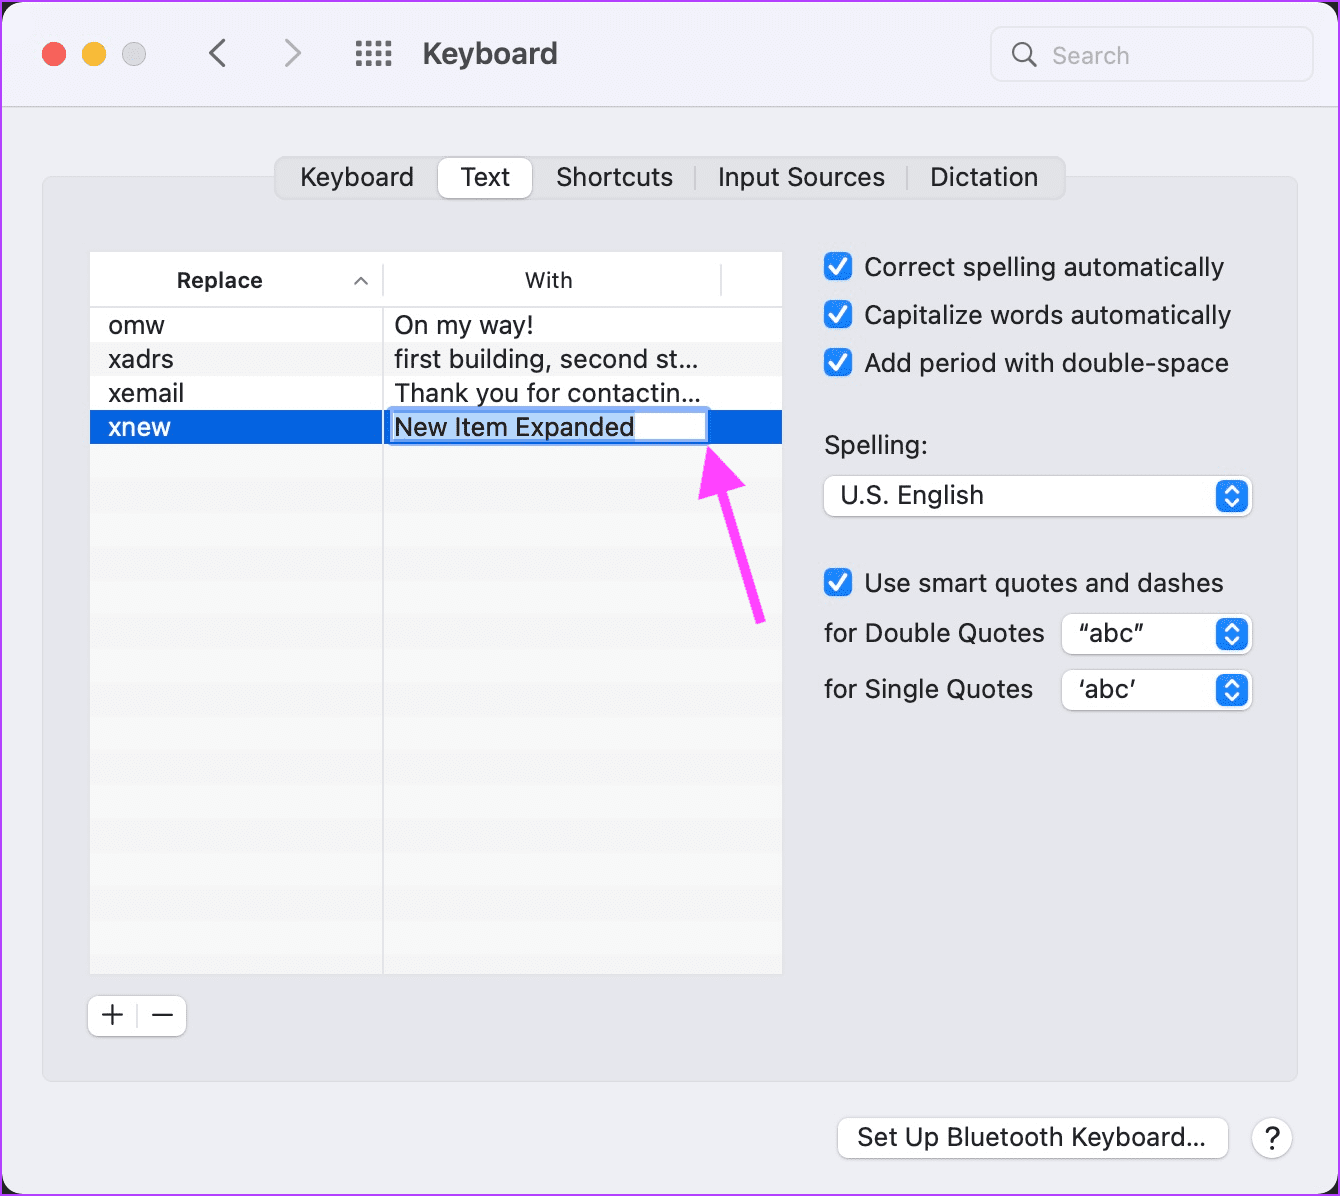
Step 3: Click on Text and then on the + button.
Step 4: Fill in the Replace and With columns with any value.
Step 5: Click to select the newly added item and click on the minus (-) button to delete it.
Step 6: Try using text replacement in supported apps.
5. Update macOS to Latest Firmware
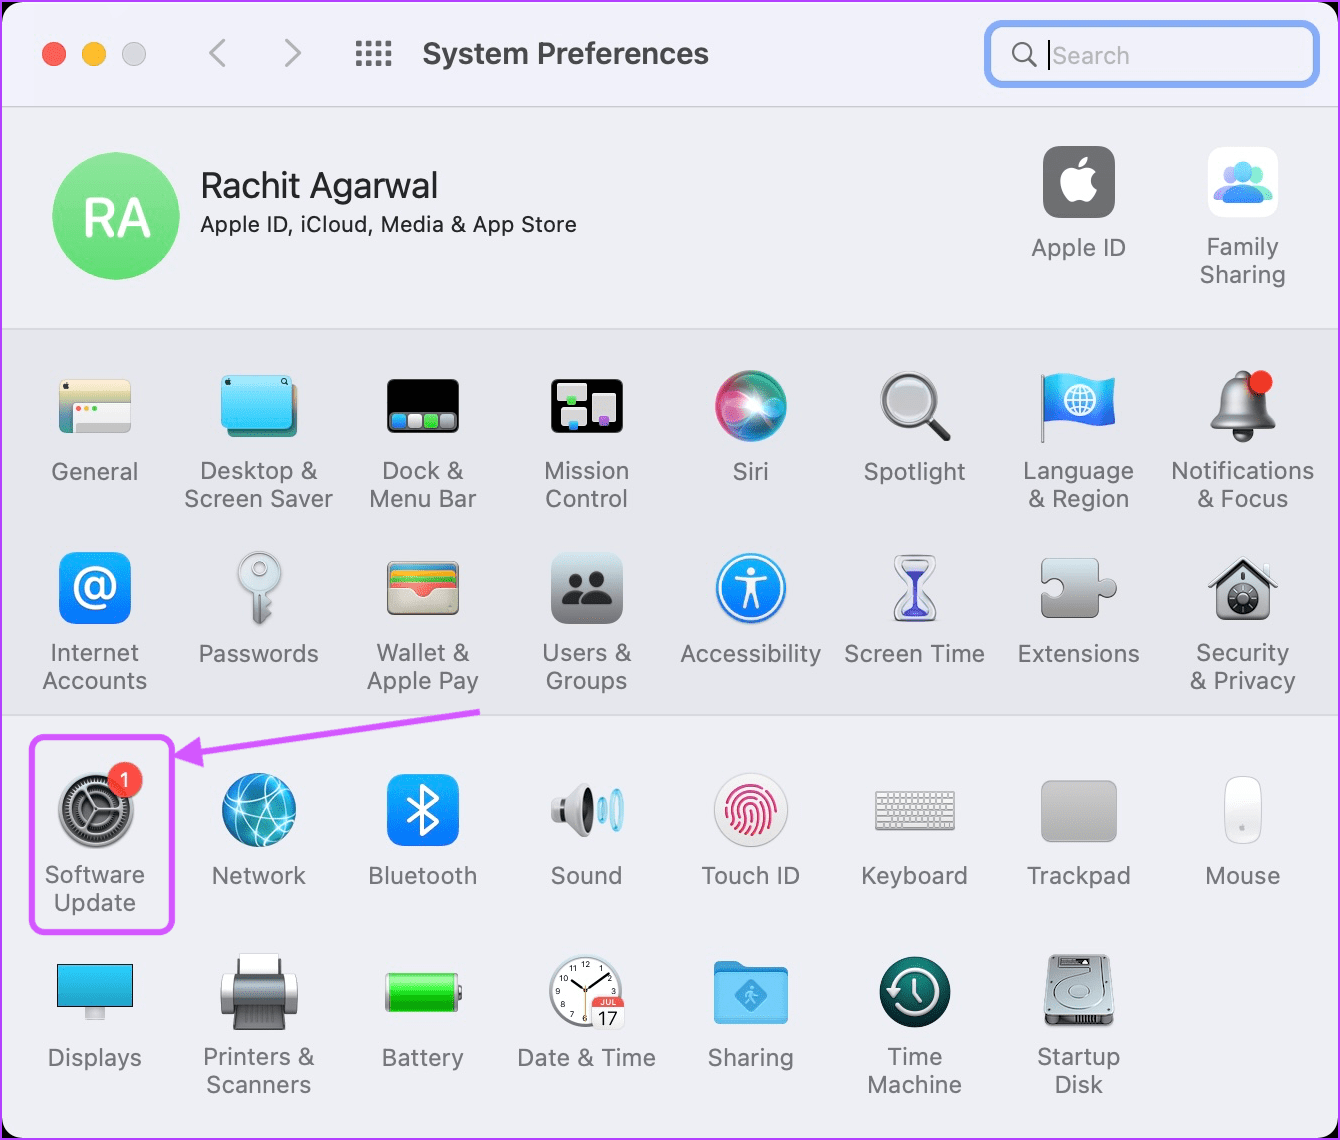
Another way to solve the text replacement not working issue is by updating your Mac to the latest firmware. Apple continuously releases new updates to macOS to add new features and fix bugs. Running the latest firmware ensures that you have the latest bug fixes from Apple. Step 1: Click on the Apple icon at the top-left and click on System Preferences.
Step 2: Click on the Software Update setting to open it.
Step 3: If there’s a new update available, click on the Update Now button to update your Mac.
6. Restart Your Mac
The last step is to restart your Mac so all the changes you made can take effect. Step 1: To restart your Mac, click on the Apple menu on the top left and click on Restart.
Fix Text Replacement Not Working On Mac Issue
If you followed the above steps diligently, text replacement should now be working fine on your Mac. If you are still experiencing issues, you might want to consider third-party text expansion apps. Not only will these apps work everywhere, but they also come with more features. The above article may contain affiliate links which help support Guiding Tech. However, it does not affect our editorial integrity. The content remains unbiased and authentic.