Of course, you might want to test or use these optional features. We’ll show you different ways to add or remove optional features on your Windows 11 PC.
1. Add or Remove Optional Features Using the Settings App
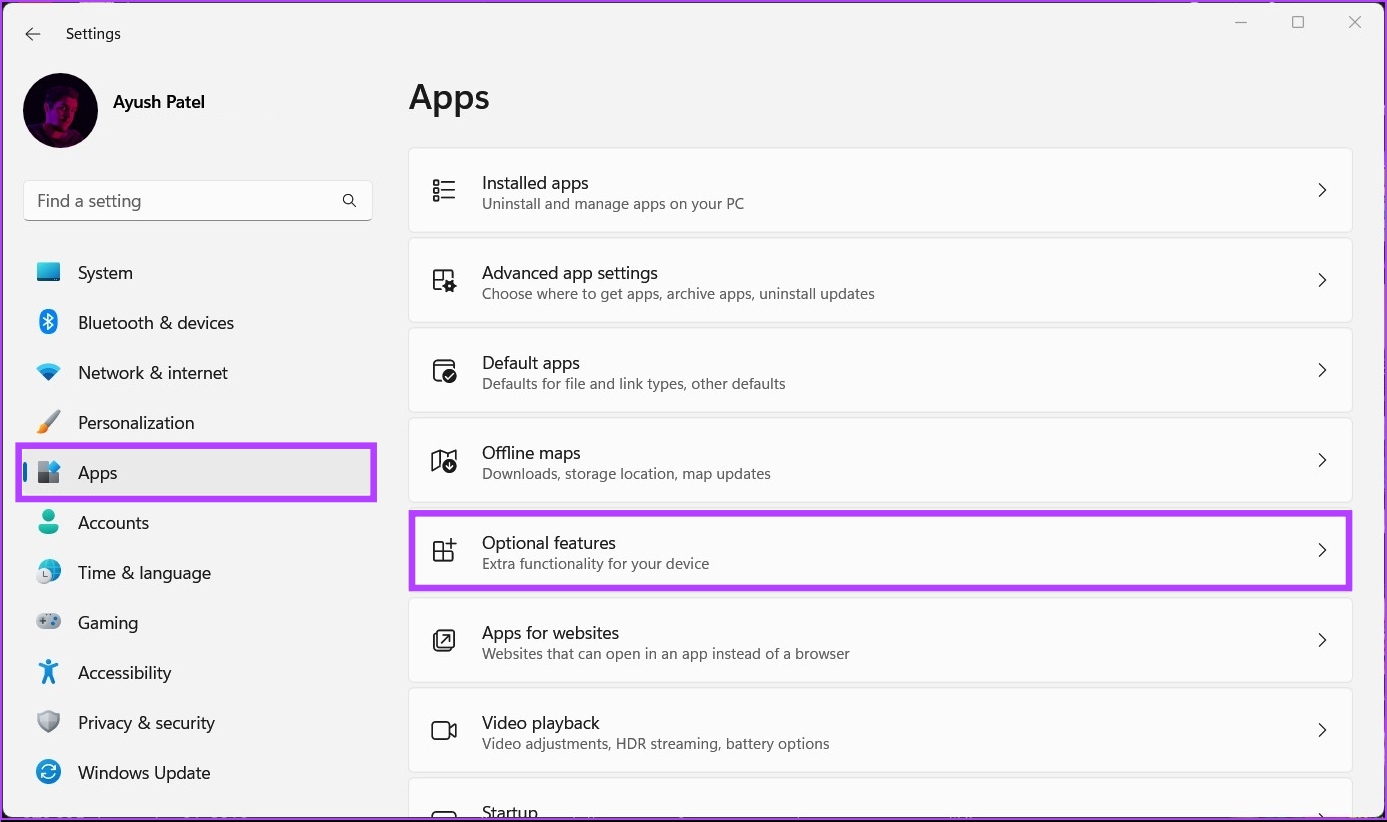
The quickest and the most straightforward way to easily add or remove optional features is through the Settings app on Windows 11. The redesigned Settings app is your one-stop destination to tweak and change options in the Windows. Here’s how you can quickly add or remove optional features using the Settings app on your Windows 11 PC: Step 1: Press the Windows + I shortcut to open the Settings app. Step 2: Inside the Settings app, click on the Apps option in the left sidebar. Then from the right pane, click on Optional features. Step 3: Click on the ‘View features’ button on the right-hand side of the ‘Add an optional feature’ section. Step 4: Locate the optional feature you want to add and select the check box beside them. Then, click on Next. Step 5: On the following screen, click the Install button. Meanwhile, if you want to uninstall an optional feature already installed on your PC, follow steps 1 and 2 to access the Optional features page. Then click on the feature you want to uninstall, followed by the Uninstall button.
2. Add or Remove Optional Features Using Control Panel
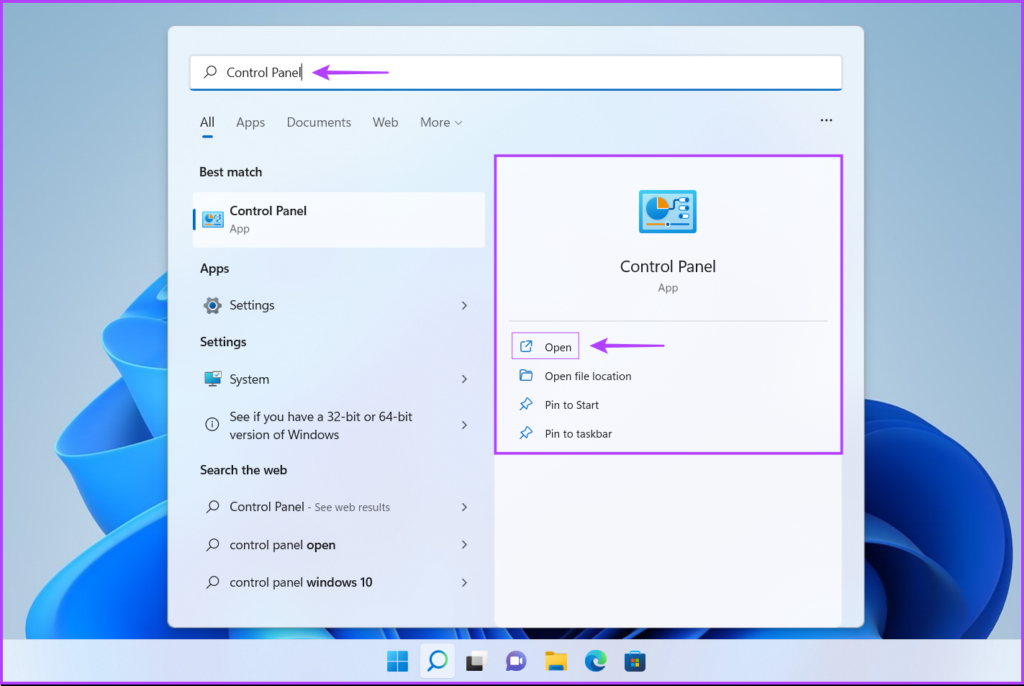
The Control Panel lets you remove unwanted apps and it also lets you activate or remove optional Windows features. Here’s how you can access the same on your Windows 11 PC: Step 1: Press the Windows + S keys to open Windows Search and type Control Panel. Then, from the results for Control Panel, click on Open. Step 2: On the Control Panel window that opens, click on the Category drop-down and select Large Icons. Step 3: From the list of options that appear, click on the one that says Programs and Features. Step 4: Click on the ‘Turn Windows features on or off’ option from the left sidebar. Note: You will need to have Administrative privileges to access the Windows Features dialog. Step 5: When a Windows Features dialog appears on the screen, select or deselect the optional features you want to add or remove by clicking the checkboxes beside them. Then click on OK to save the changes. Step 6: Wait while Windows searches for the required files. Once that’s done, click on Restart now to restart your PC and complete installing or removing the optional features.
3. Add or Remove Optional Features Using Command Prompt
You can use the Command Prompt in Windows to perform advanced administrative tasks such as fixing activation key-related issues, booting your PC into safe mode, etc. However, that’s not all. You can also use the Command Prompt to add or remove optional features on your Windows PC. Here’s how:
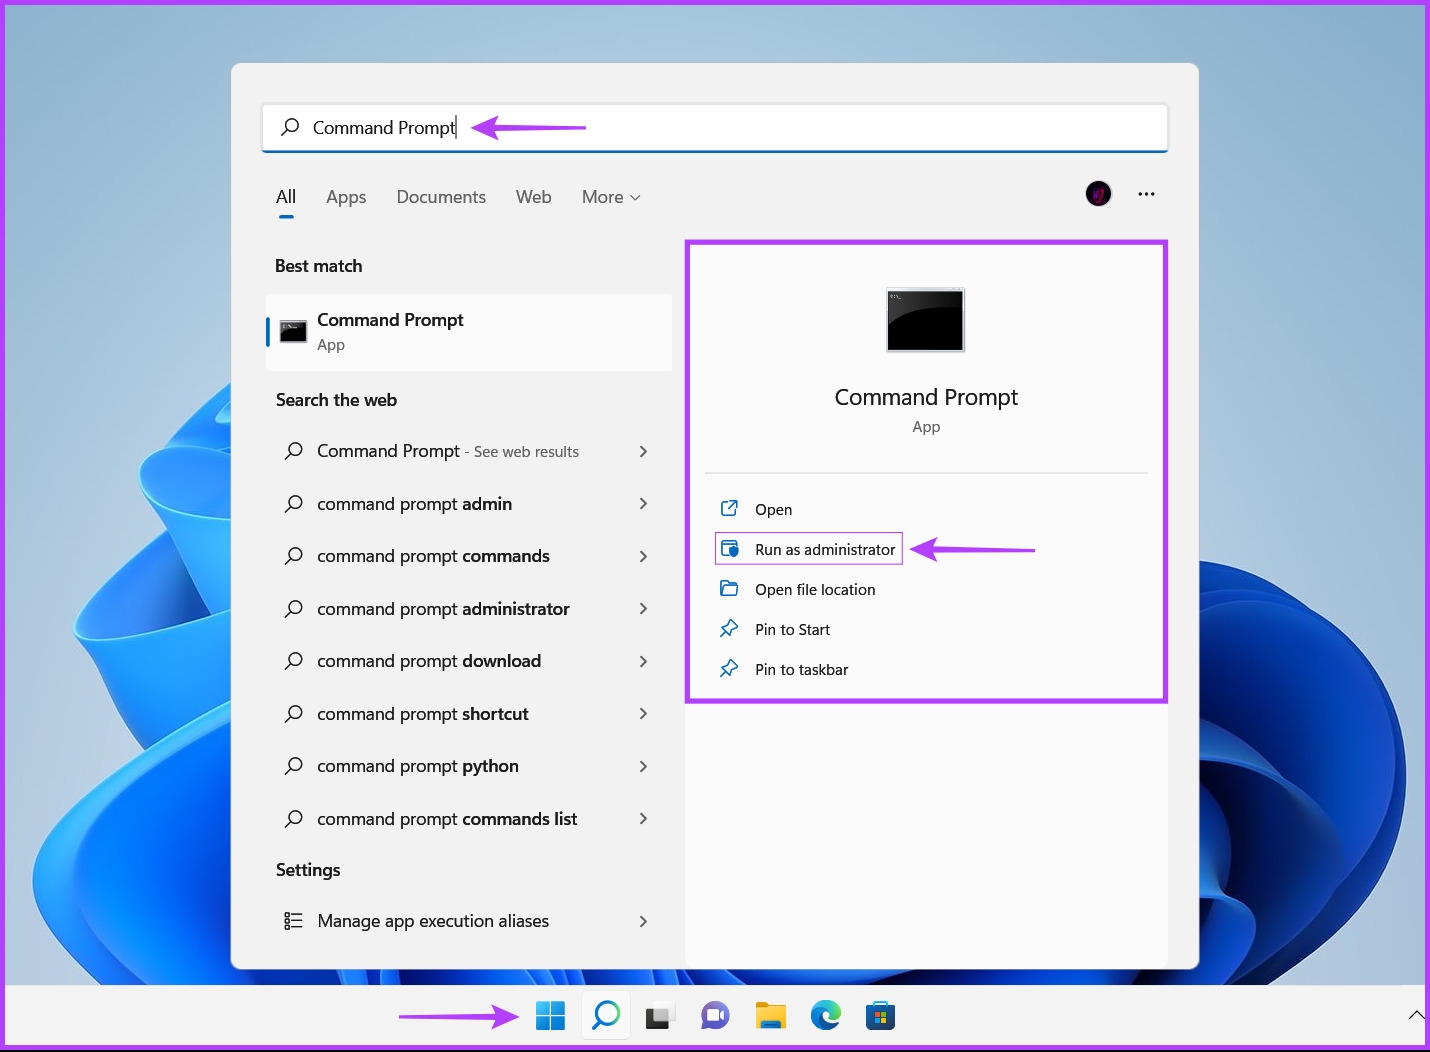
Step 1: Press the Windows + S keys and type Command Prompt. Then, from the results for Command Prompt, click on Run as administrator.
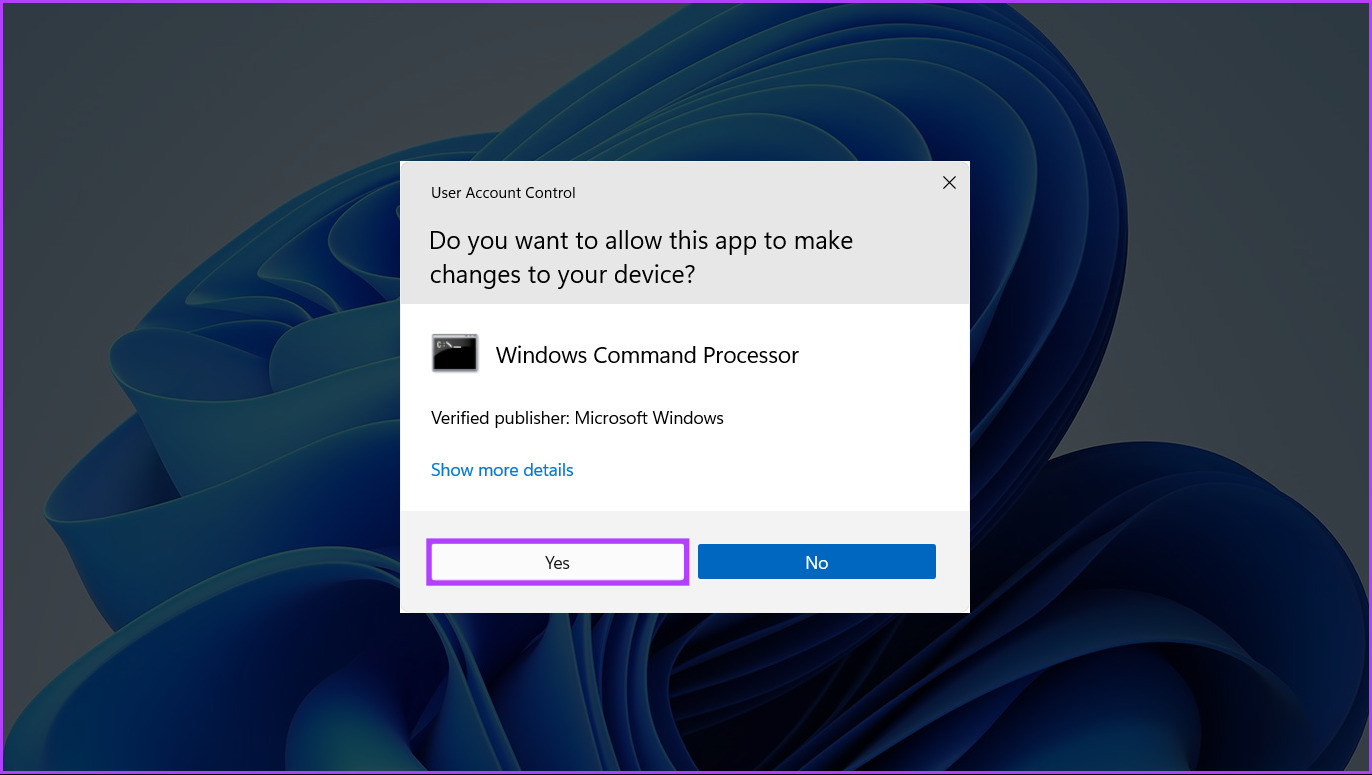
Step 2: Click on Yes when a User Account Control (UAC) prompt appears on the screen.
Step 3: Type the following command and press Enter to list all the optional features available for your PC.
Step 4: Scroll down till the feature you want to add or remove and copy its name and version number.
For this example, we choose to add and then remove the classic Internet Explorer, which is denoted by Browser.InternetExplorer0.0.11.0
Step 5: After you copy the feature’s name, type the following command to add an optional feature to your PC.
You will need to replace the
4. Add or Remove Optional Features Using Windows PowerShell
Besides the Command Prompt, you can also use Windows PowerShell to execute almost all administrative tasks on your PC. Here’s how you can use Windows PowerShell to add or remove optional features on your Windows 11 PC:
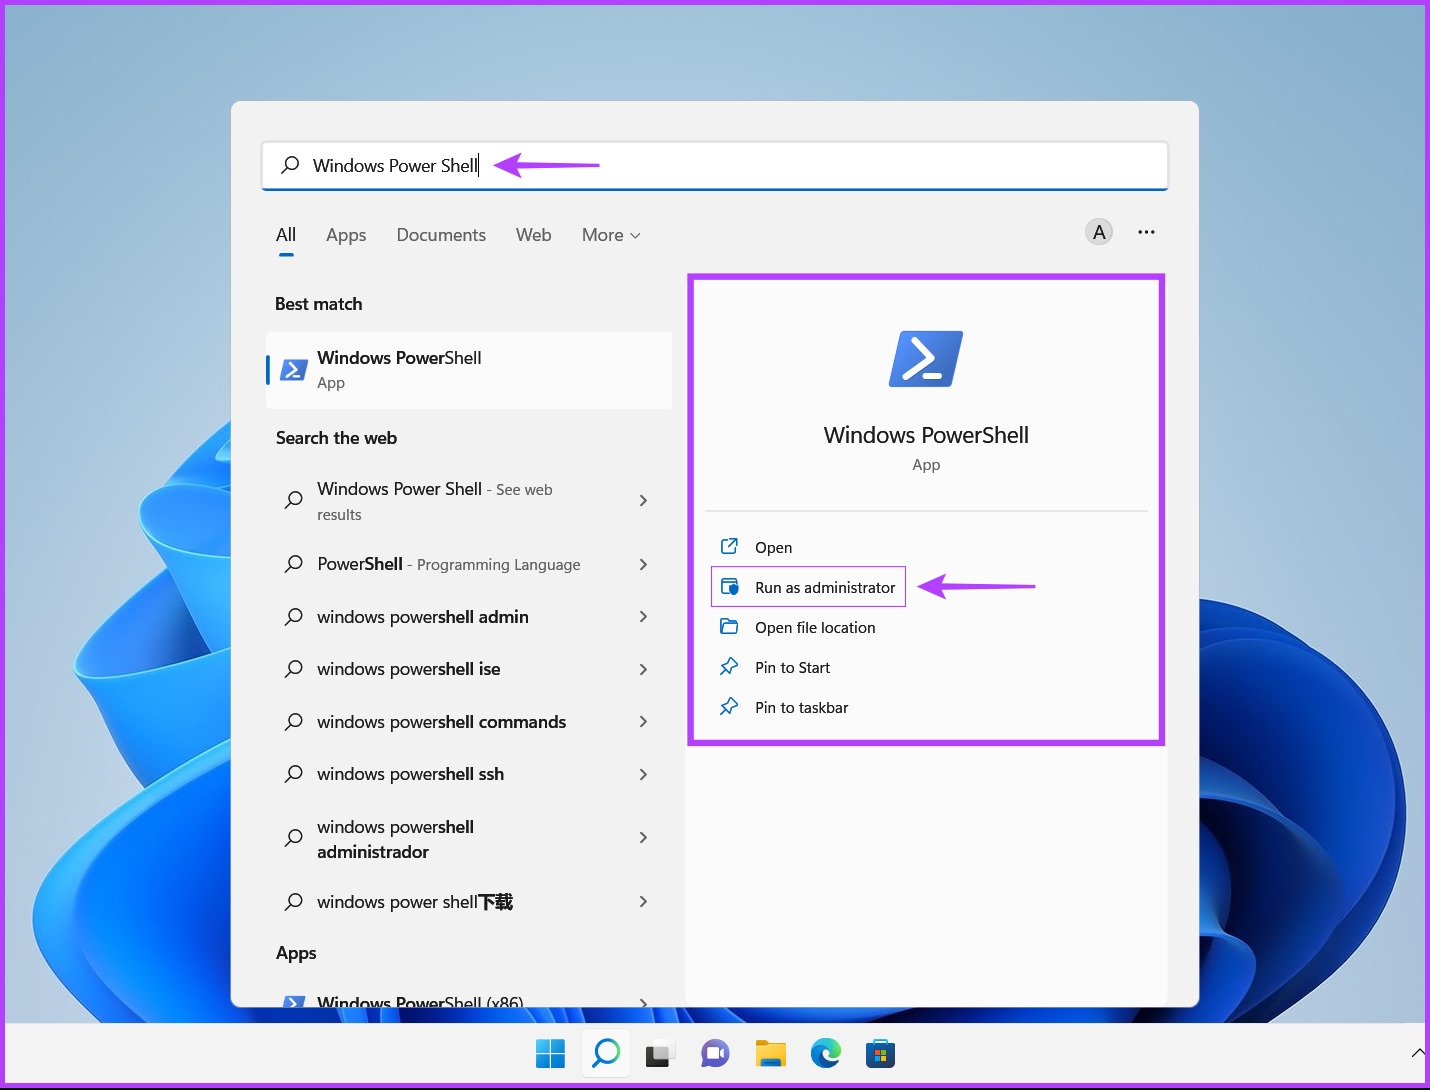
Step 1: Press the Windows + S keys to open Windows Search and type Windows PowerShell. Then, from the results for PowerShell, click on Run as administrator.
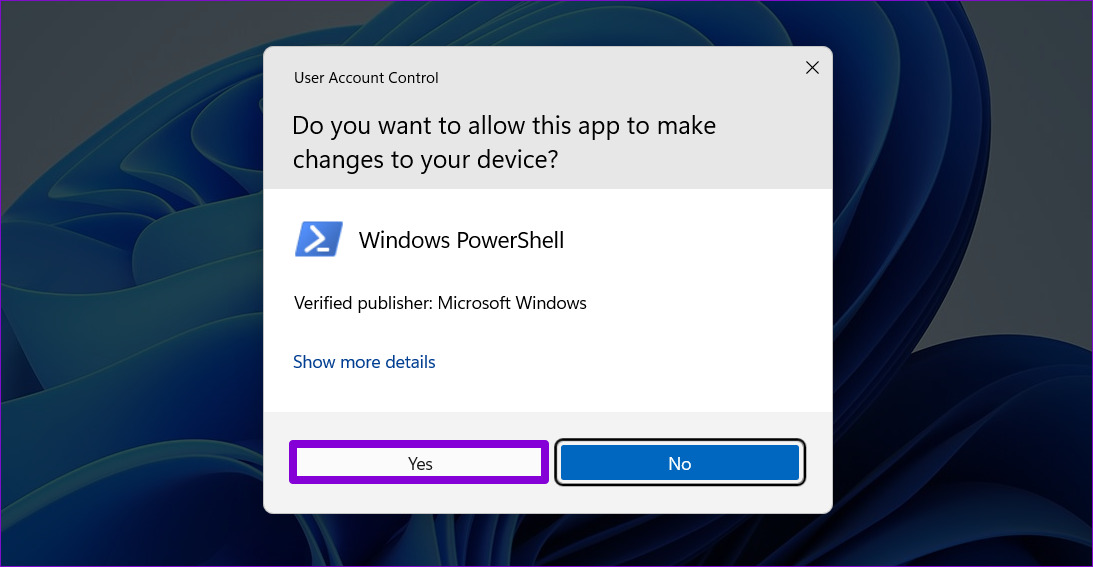
Step 2: When a User Account Control (UAC) prompt appears, click on Yes.
Step 3: Type the following command and press Enter to list all the optional features available on your PC.
Step 4: Scroll down and look for the optional feature you want to add or remove and note down or copy its name.
For this example, we add, then remove, the Legacy Windows Media Player, which is denoted by WindowsMediaPlayer.
Step 5: Once you have noted the feature’s name, type the following command to add an optional feature to your PC.
You will need to replace the
Try Out the Optional Features on Windows 11
Enabling or removing optional features on Windows 11 is relatively easy. You can either make the best of them or eliminate unused software components that might be taking up your PC’s storage capacity. The above article may contain affiliate links which help support Guiding Tech. However, it does not affect our editorial integrity. The content remains unbiased and authentic.


![]()