Apple has been making strides on the audio front in the last few years. When they launched Spatial Audio for Apple Music in 2021, they aimed to provide a more immersive music experience. It felt like we were sitting next to Ed Sheeran in the studio as we listened to Shape of You. And undoubtedly, Personalized Spatial Audio blew our minds equally. Keep reading this guide to find out more.
What Is Personalized Spatial Audio
As Apple defines it, Personalized Spatial Audio is a technology that provides a three-dimensional audio experience when you move your head. If you were wondering what spatial audio is in the first place, it is a listening experience that creates a surround sound effect within your earphones. You will hear notes and sounds from music in all directions, thus creating a multi-dimensional effect. Apple states that the way each human being perceives audio is unique, and for a more immersive audio experience, and offers customization to the spatial audio profile – and the way it works is quite interesting.
How Does Personalized Spatial Audio Work
Personalized Spatial Audio scans your ears and facial profile on your iPhone to optimize the audio output based on your unique ear shape. The analysis of your ear structure tweaks the audio based on all the unique folds and contours of your ear. Once done, the audio will adjust to frequencies, and the right intensity and accounts for the shift in sound profile as it enters your ear. The objective is to ensure you get the best sensation when listening to spatial audio. However, setting this feature up was quite a tedious process and It took us nearly three attempts to register the right ear. Eventually, when we completed the process, the music experience was unlike anything else. We recommend you try it too. The good thing is that you can demo it first before setting up the feature to be sure.
What You Need to Use Personalized Spatial Audio
You must have an iPhone with a TrueDepth camera running iOS 16 to set up Personalized Spatial Audio. After setting up, you can access the feature on any of the below devices by signing into your Apple ID.
An iPhone or iPod touch running iOS 16 or later, an iPad with iPadOS 16.1 or later or an Apple Watch with watchOS 9 or later, Apple TV with tvOS 16 or later, or a Mac with Apple silicon and macOS Ventura
An Airpods 3rd Gen, Airpods Pro, Airpods Pro 2, or Airpods Max.
Beats Fit Pro is the only other compatible audio device.
How to Get a Quick Demo of Personalized Spatial Audio on iOS 16
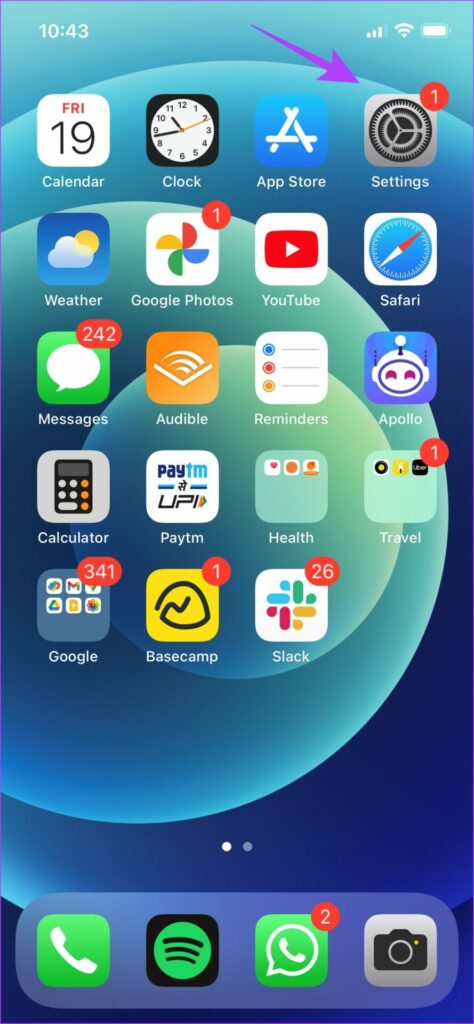
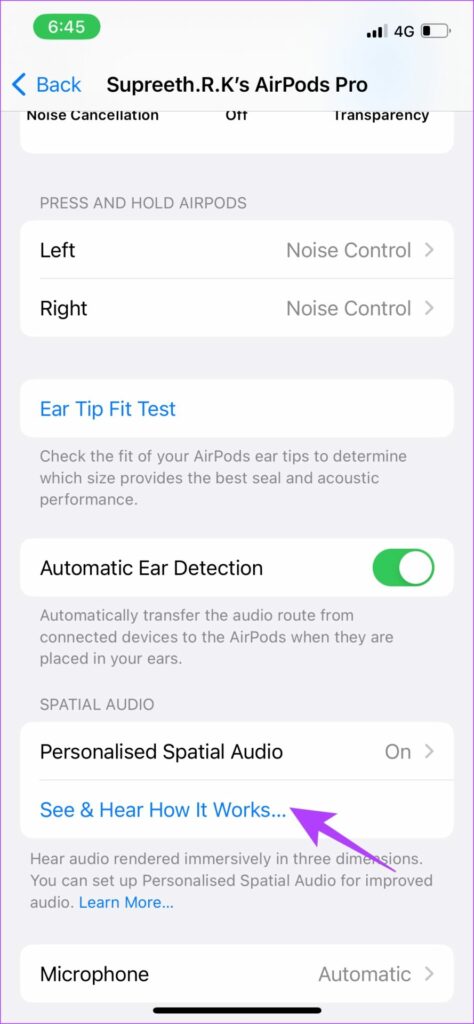
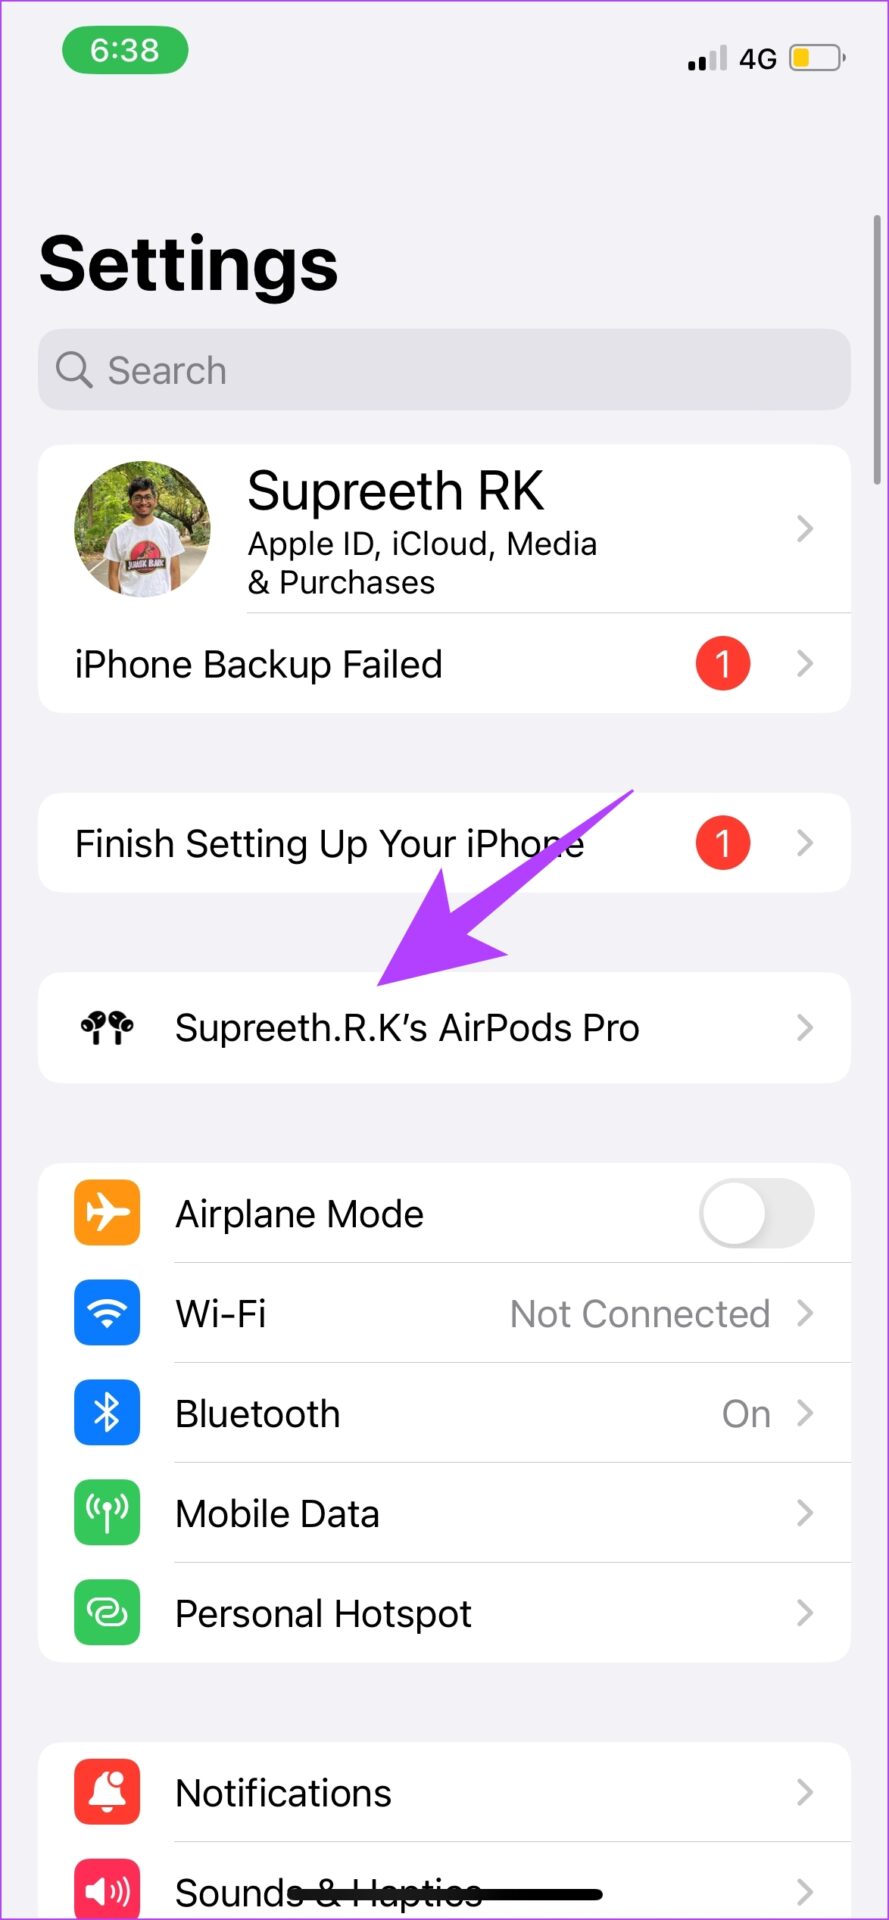
Step 1: Open the Settings app. Step 2: Select your AirPods. Step 3: Select ‘See & Hear How It Works..’ under the Spatial Audio section. Step 4: You will get a demo and a comparison of stereo audio and spatial audio. Click on done after you finish listening to the demo. Now that you have experienced the difference, we’re pretty sure you don’t want to turn back. Here’s how you can set up Personalize Spatial audio on your iPhone and AirPods and listen to your favorites.
How to Set Up Personalized Spatial Audio on iPhone Using AirPods
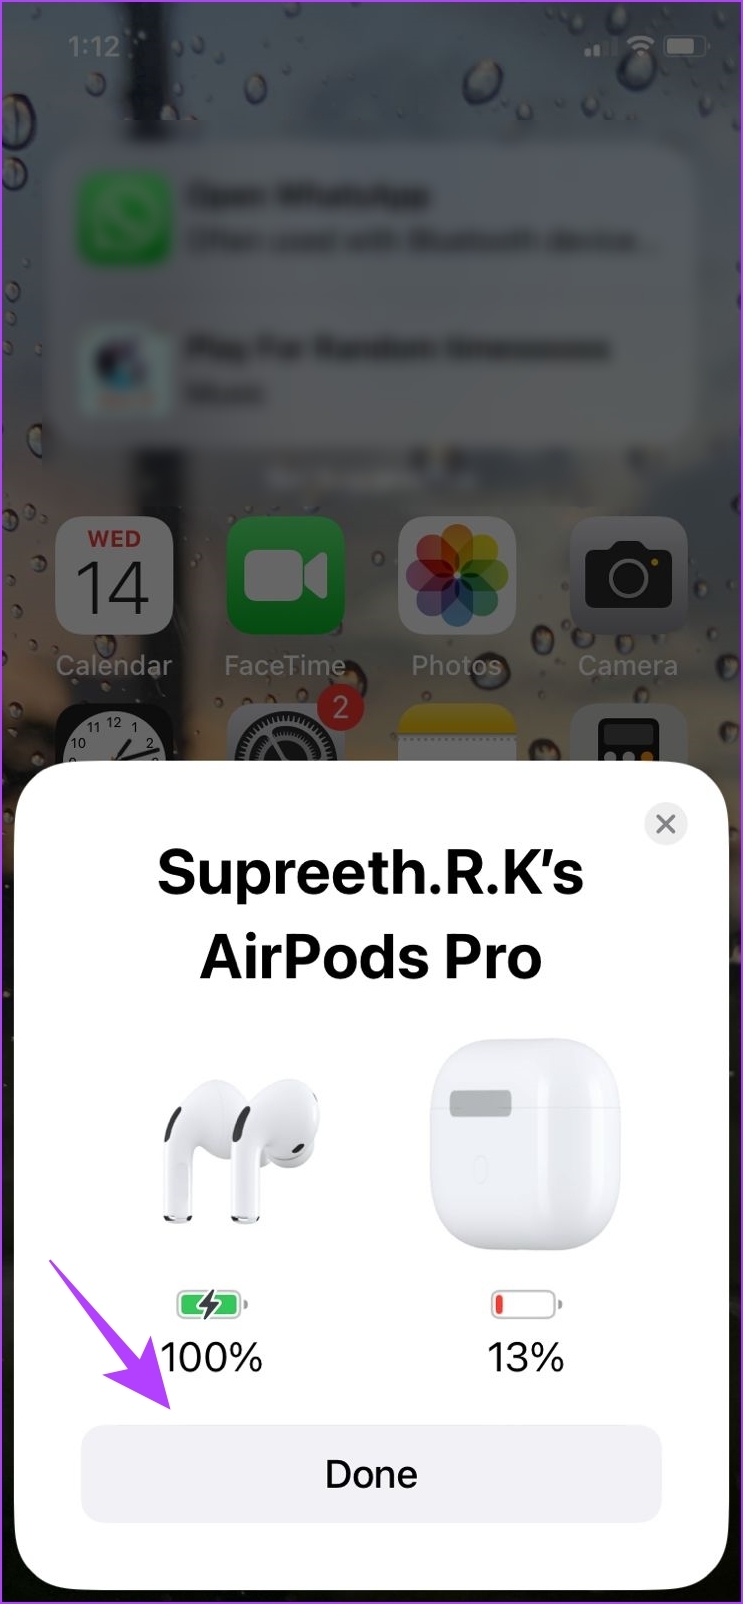
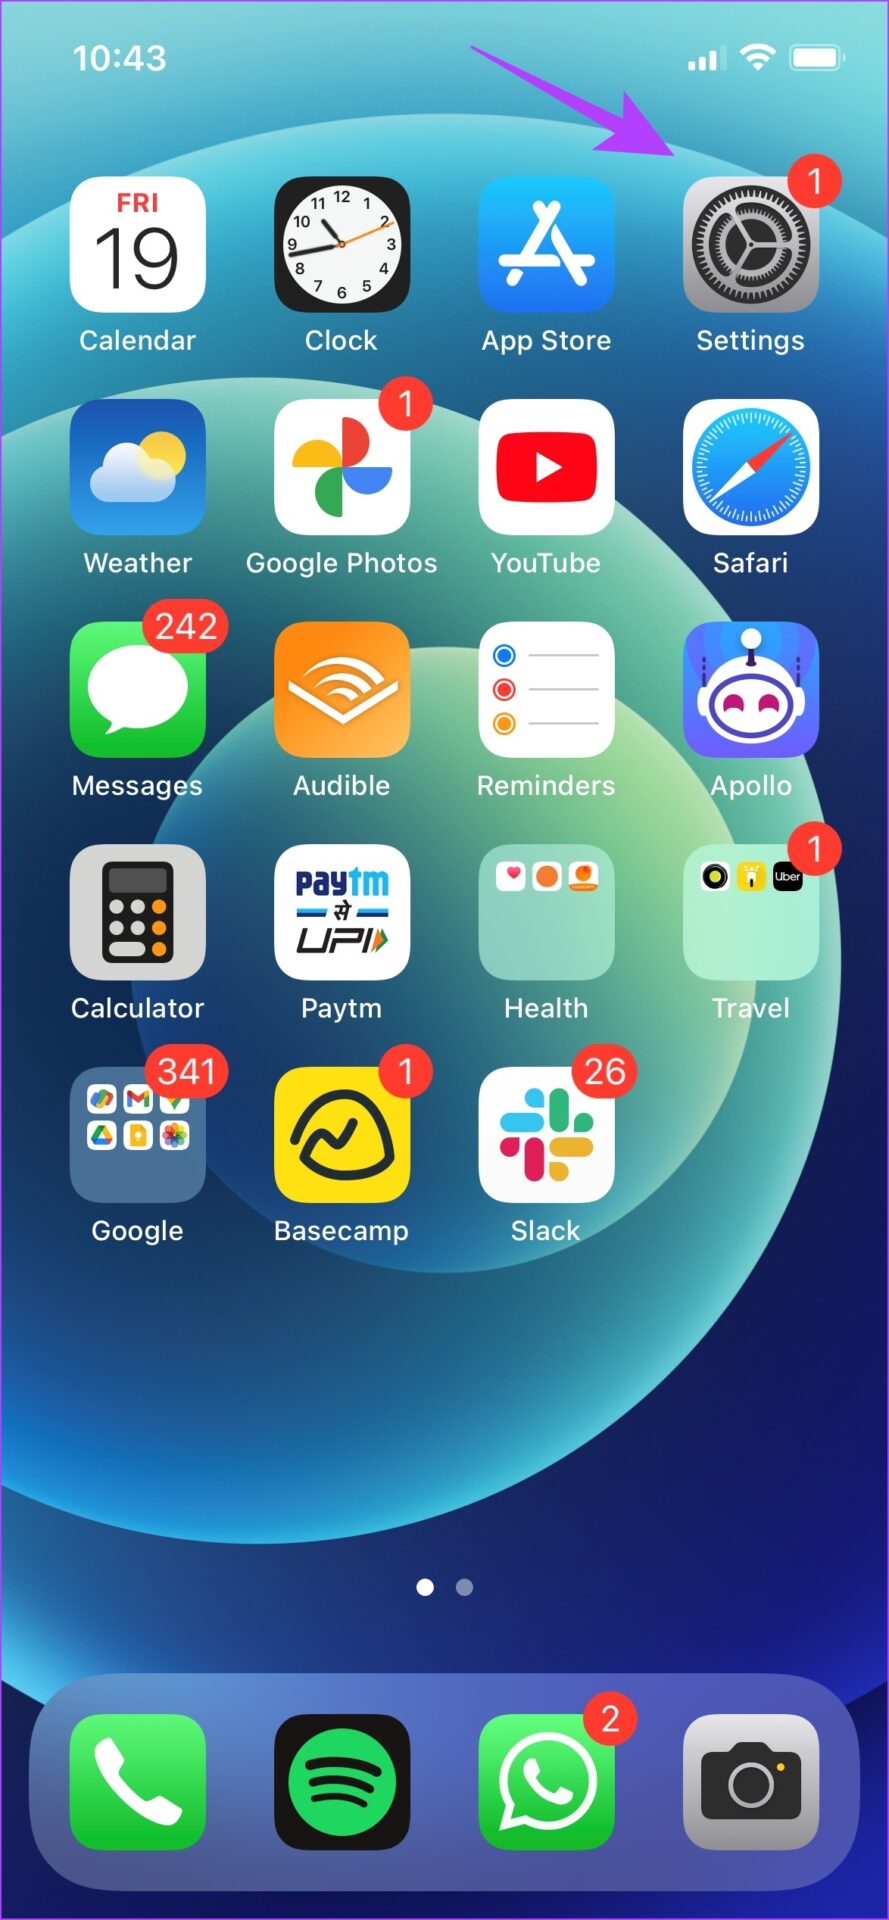
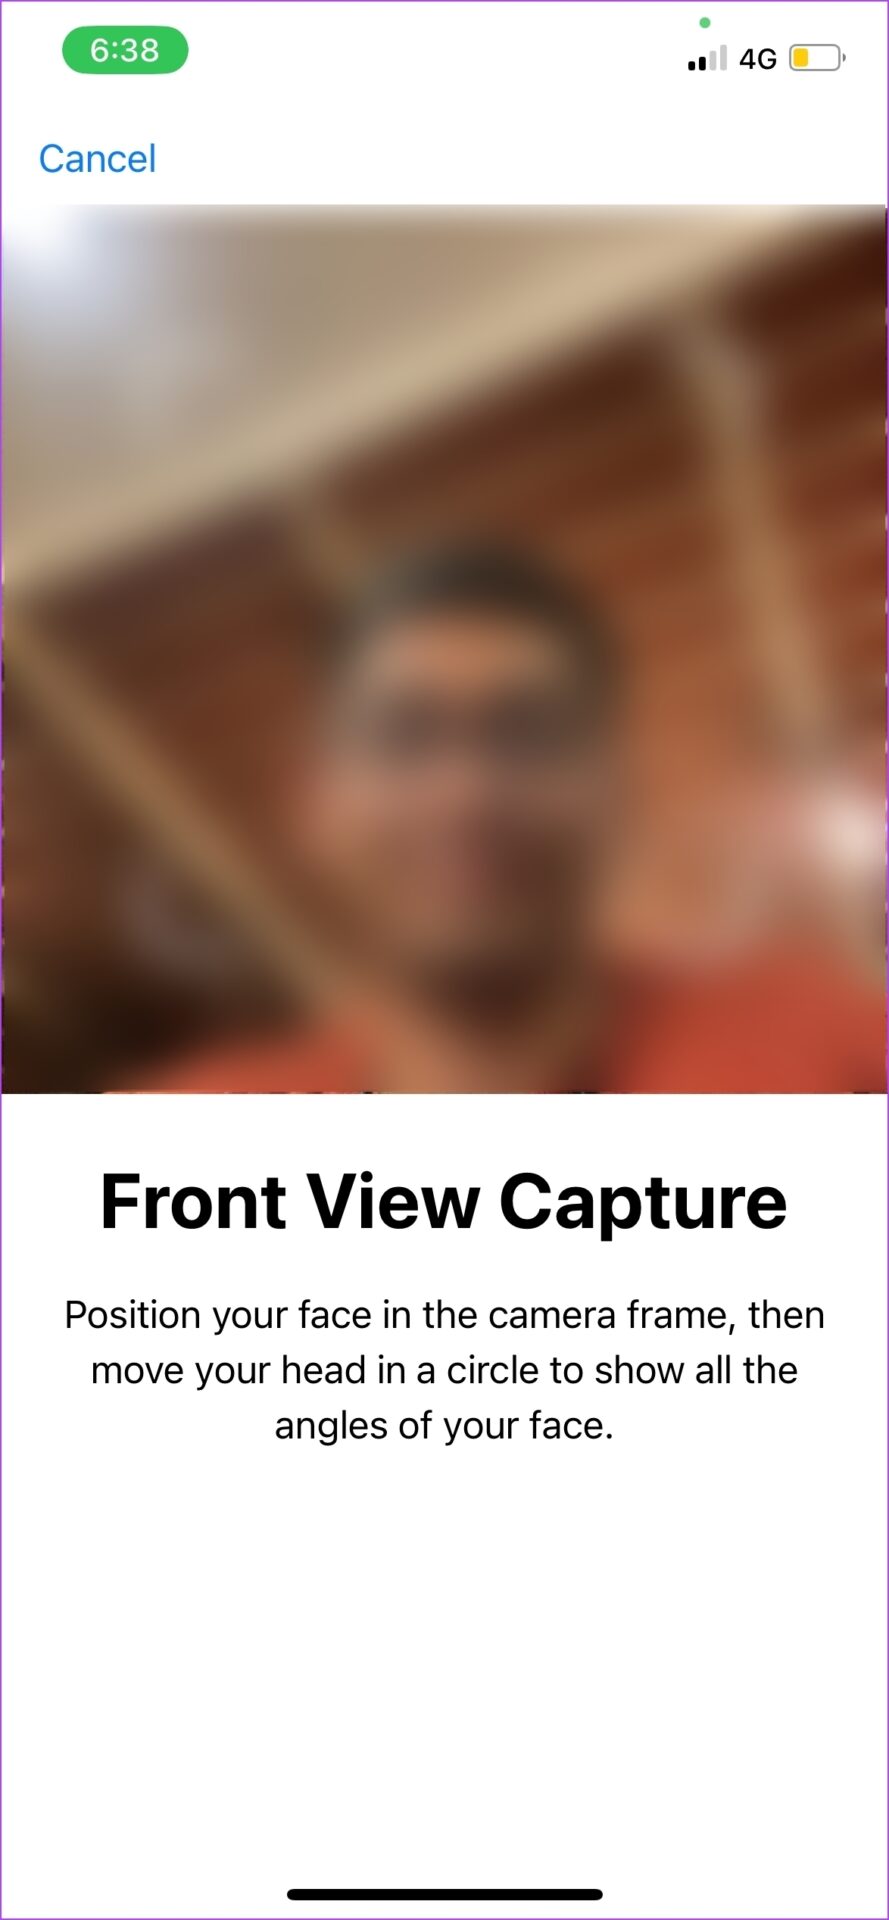
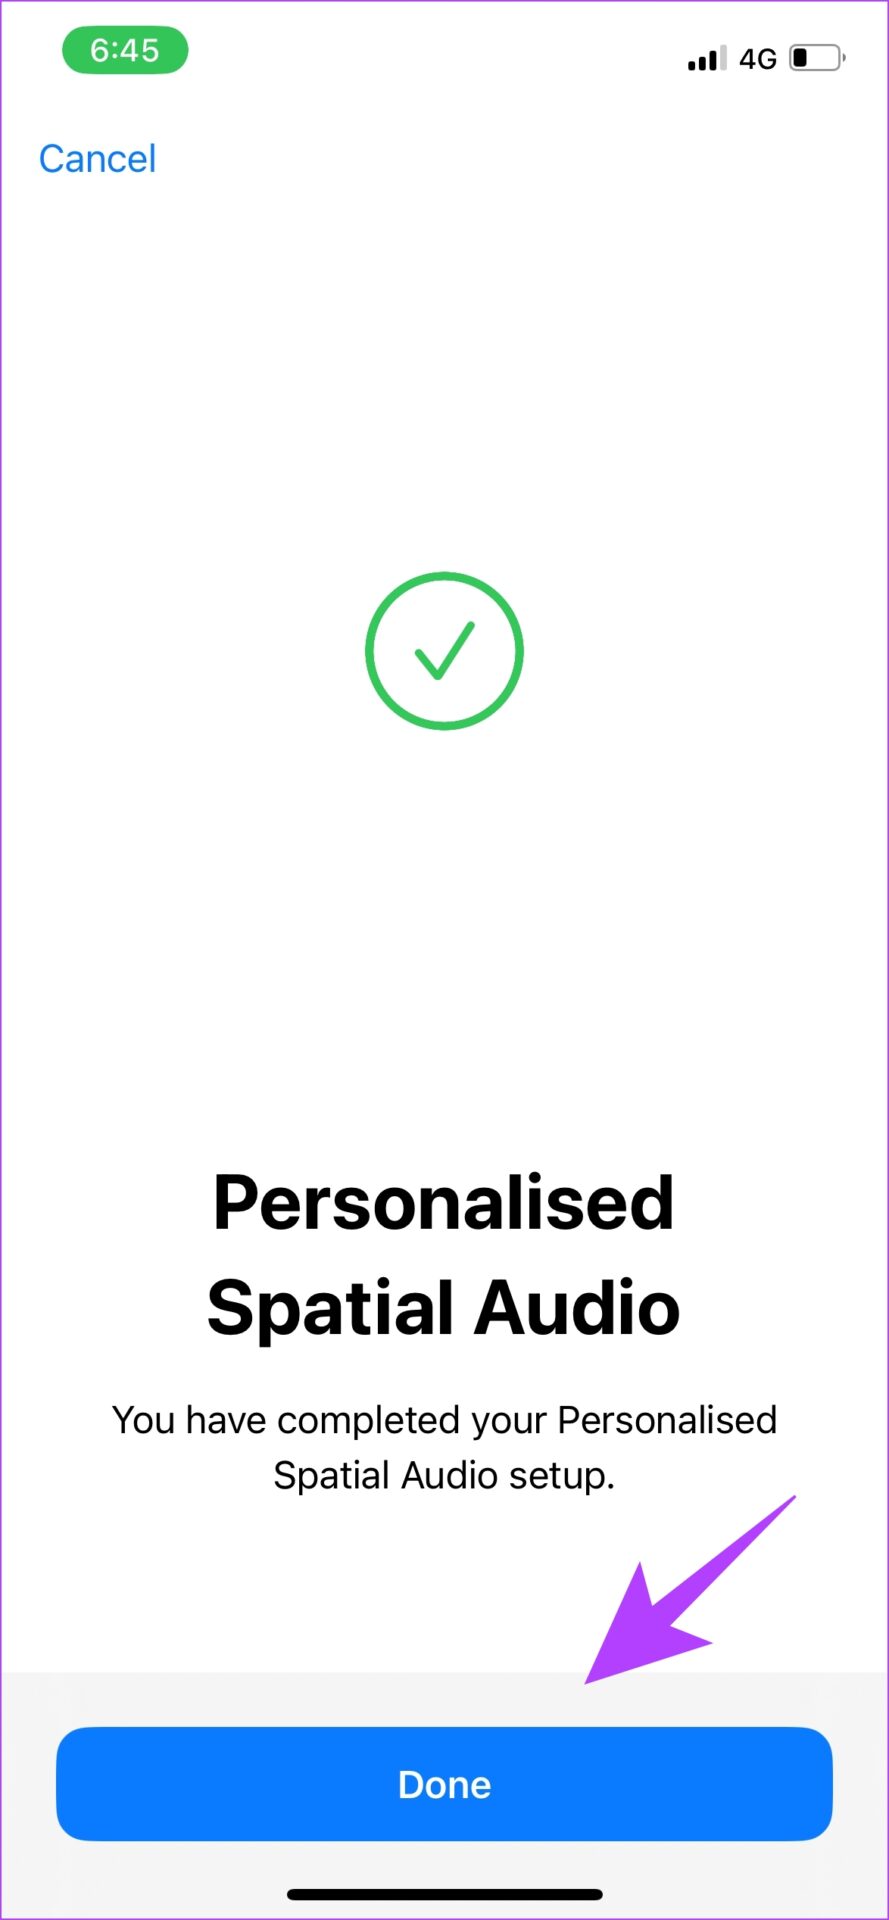
Step 1: First, connect your AirPods to your iPhone. For that, place the AirPods case near your iPhone with the open lid. Step 2: Now, press and hold the button on the charging case’s back, as shown on your iPhone. Step 3: Wait for the AirPods to establish a connection. Once connected, tap on Done. Step 4: Open the Settings app and select the connected AirPods. Step 5: Select ‘Personalized Spatial Audio’. On the next screen, select ‘Personalize Spatial Audio…’ again. Step 6: Click on Continue to begin the scanning process. Step 7: First, position the front profile of your face. Follow the instructions to rotate your head, and register your profile. Step 8: Next, capture the profile of your right ear and follow the prompts to move your head to register the profile. Repeat the same for your left ear profile. Step 9: After registration, you will receive a confirmation message. Tap on Done. As mentioned earlier, we had to go through multiple attempts to register the ear profiles. If you are facing the same problem and receiving the error message ‘Personalized Spatial Audio Could Not Be Set Up’, don’t worry. We have a few tips which helped us get it right.
Fix the Personalized Spatial Audio Could Not Be Set Up Error
Scan your face without a lot of objects in the background.Remove your glasses or any facial accessories of a similar scale.Ensure your hair does not get in the way of your ears.Place your phone at a distance of 10-20 cm from your face.When you receive prompts to move your head, do it slowly and gently.
Once done, go on and listen to fine-tuned spatial audio that’s made for your ears.
How to Get the Best Spatial Audio Experience With Apple Music
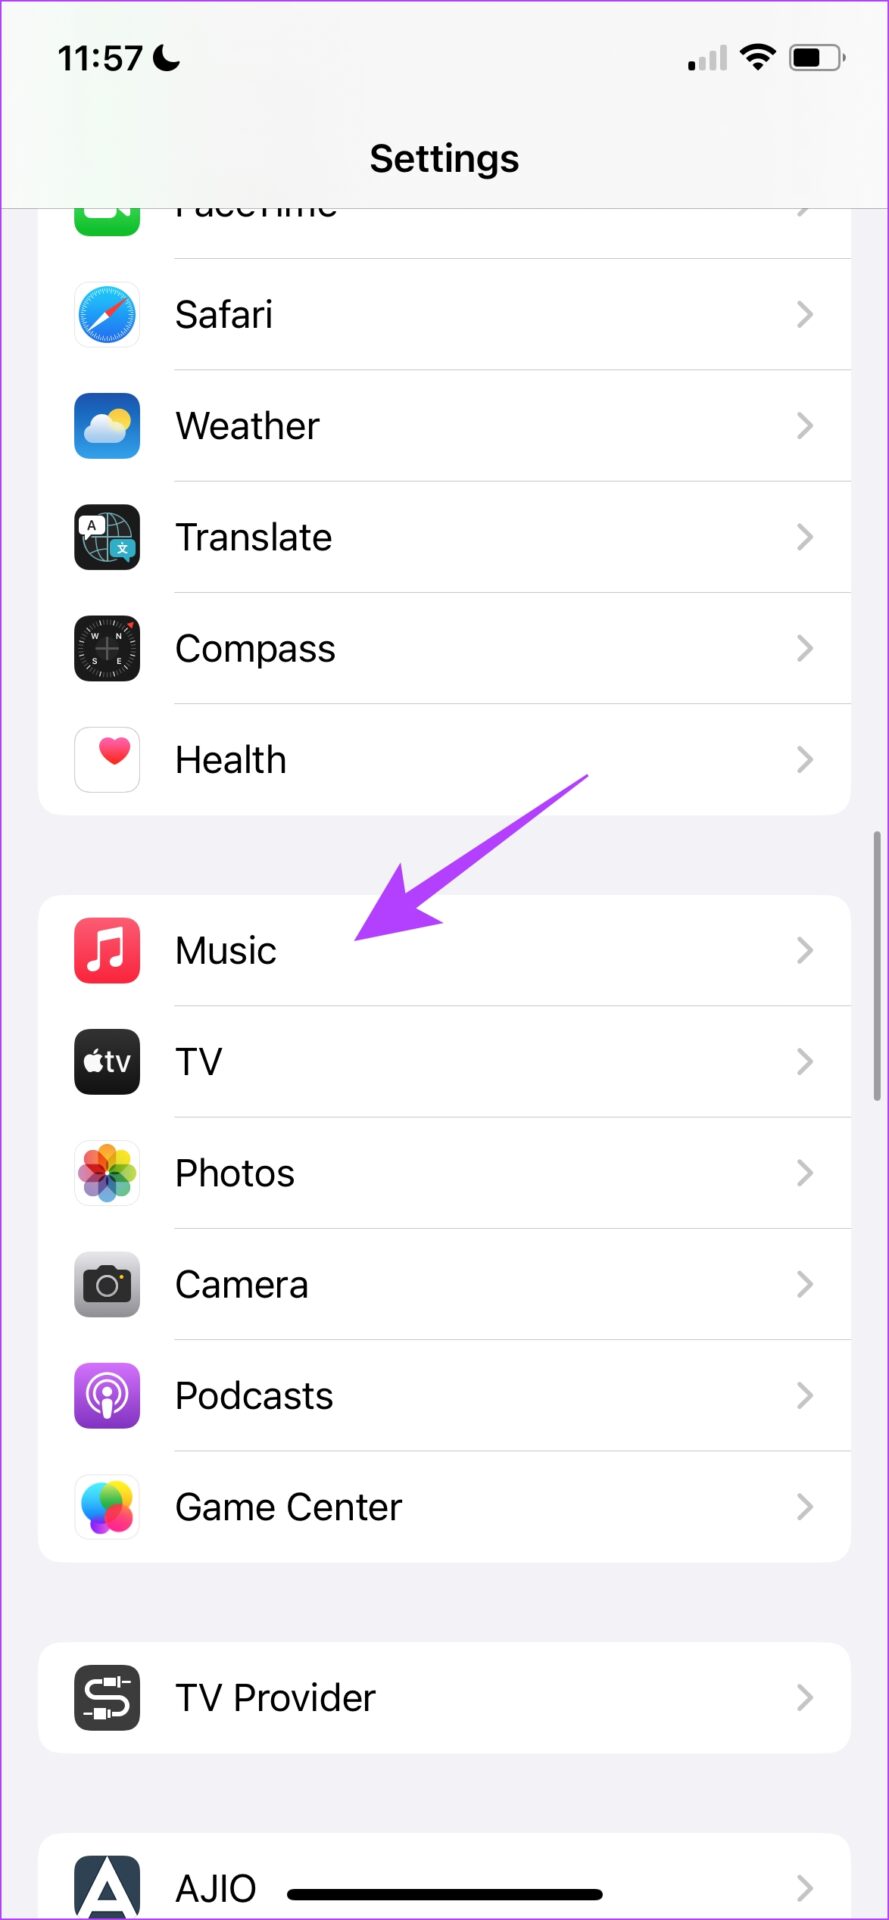
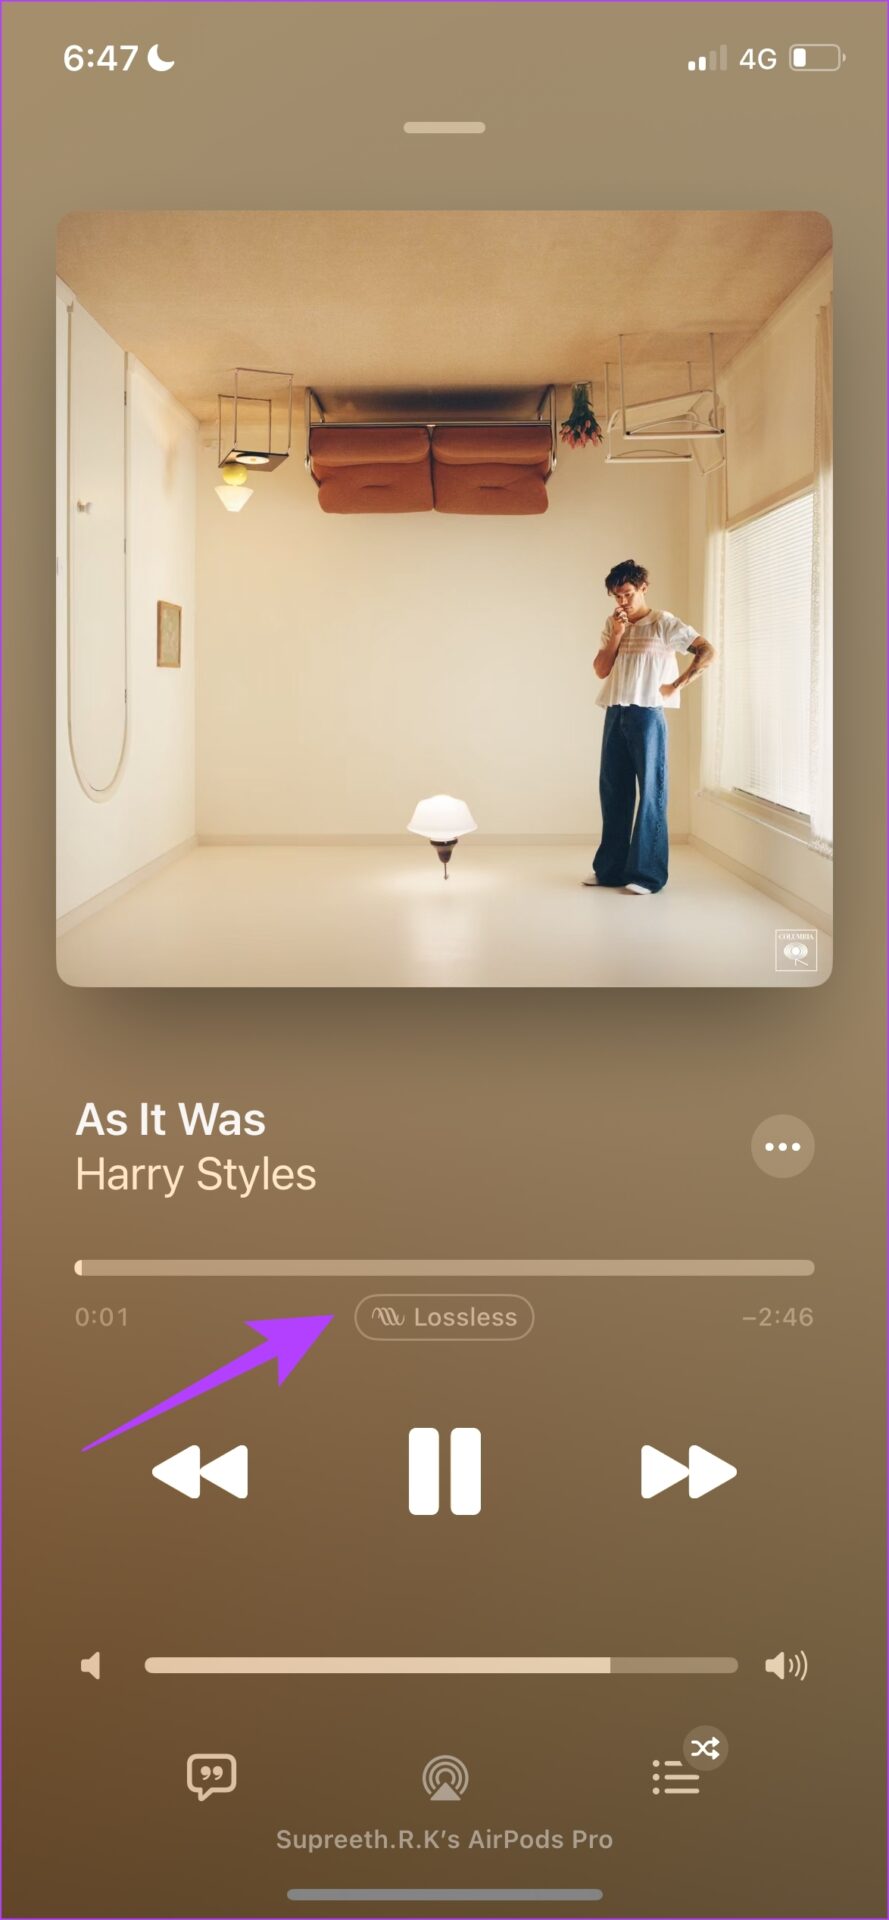
Apple Music has had the Hi-Ress Lossless audio feature for a year now and we’re sure a personalized experience would be even better. Here’s how you can listen to music that works best for spatial audio. This requires enabling a few options within settings. Step 1: Open the Settings App and tap on Music. Step 2: Select Audio Quality. Step 3: Turn on the toggle for Lossless Audio. Step 4: On the same screen, tap on any streaming mode and select Hi-Res Lossless, if not already. Note: Listening to Hi-Res Lossless music will consume more data than the High-Efficiency option. Step 5: Now, open Apple Music. Step 6: In the search bar, search for Spatial Audio. You will find an array of playlists tuned to provide an immersive spatial audio experience. Step 7: The song that is playing will carry a tag indicating that it has lossless spatial audio.
Enjoy Spatial Audio Fine Tuned to Your Ears
This is all you need to know about using personalized spatial audio on iPhone. For best results, we recommend using Apple Music. It is impressive the way Apple enhances the experience through software updates like these. The AirPods caused a revolution in the wireless earphone space, and we’re eager to see how the competition responds to a feature like this. The above article may contain affiliate links which help support Guiding Tech. However, it does not affect our editorial integrity. The content remains unbiased and authentic.