You may want to create PDF files for important documents, contracts, bills, invoices, etc. You might need to add a signature for authenticity. Adobe Acrobat Reader makes that easier. This post will show you how to sign PDFs in Adobe Acrobat Reader on iPhone and Mac.
Sign PDF in Adobe Acrobat Reader on iPhone and iPad
It’s a one-time setup before you begin to sign PDF documents using the Adobe Acrobat Reader on your iPhone and iPad. You can quickly open, edit and share PDF files with anyone on the go using the official Adobe Acrobat Reader apps. You can use the Sign PDF feature on your iPhone or iPad whenever you have to sign a PDF document and share it quickly. Before starting with the steps, please ensure that you use the latest Adobe Acrobat Reader app version on your iPhone or iPad. Download Adobe Acrobat Reader for iPhone Download Adobe Acrobat Reader for iPad Follow these steps. Step 1: Open the Adobe Acrobat Reader app on your iPhone or iPad.
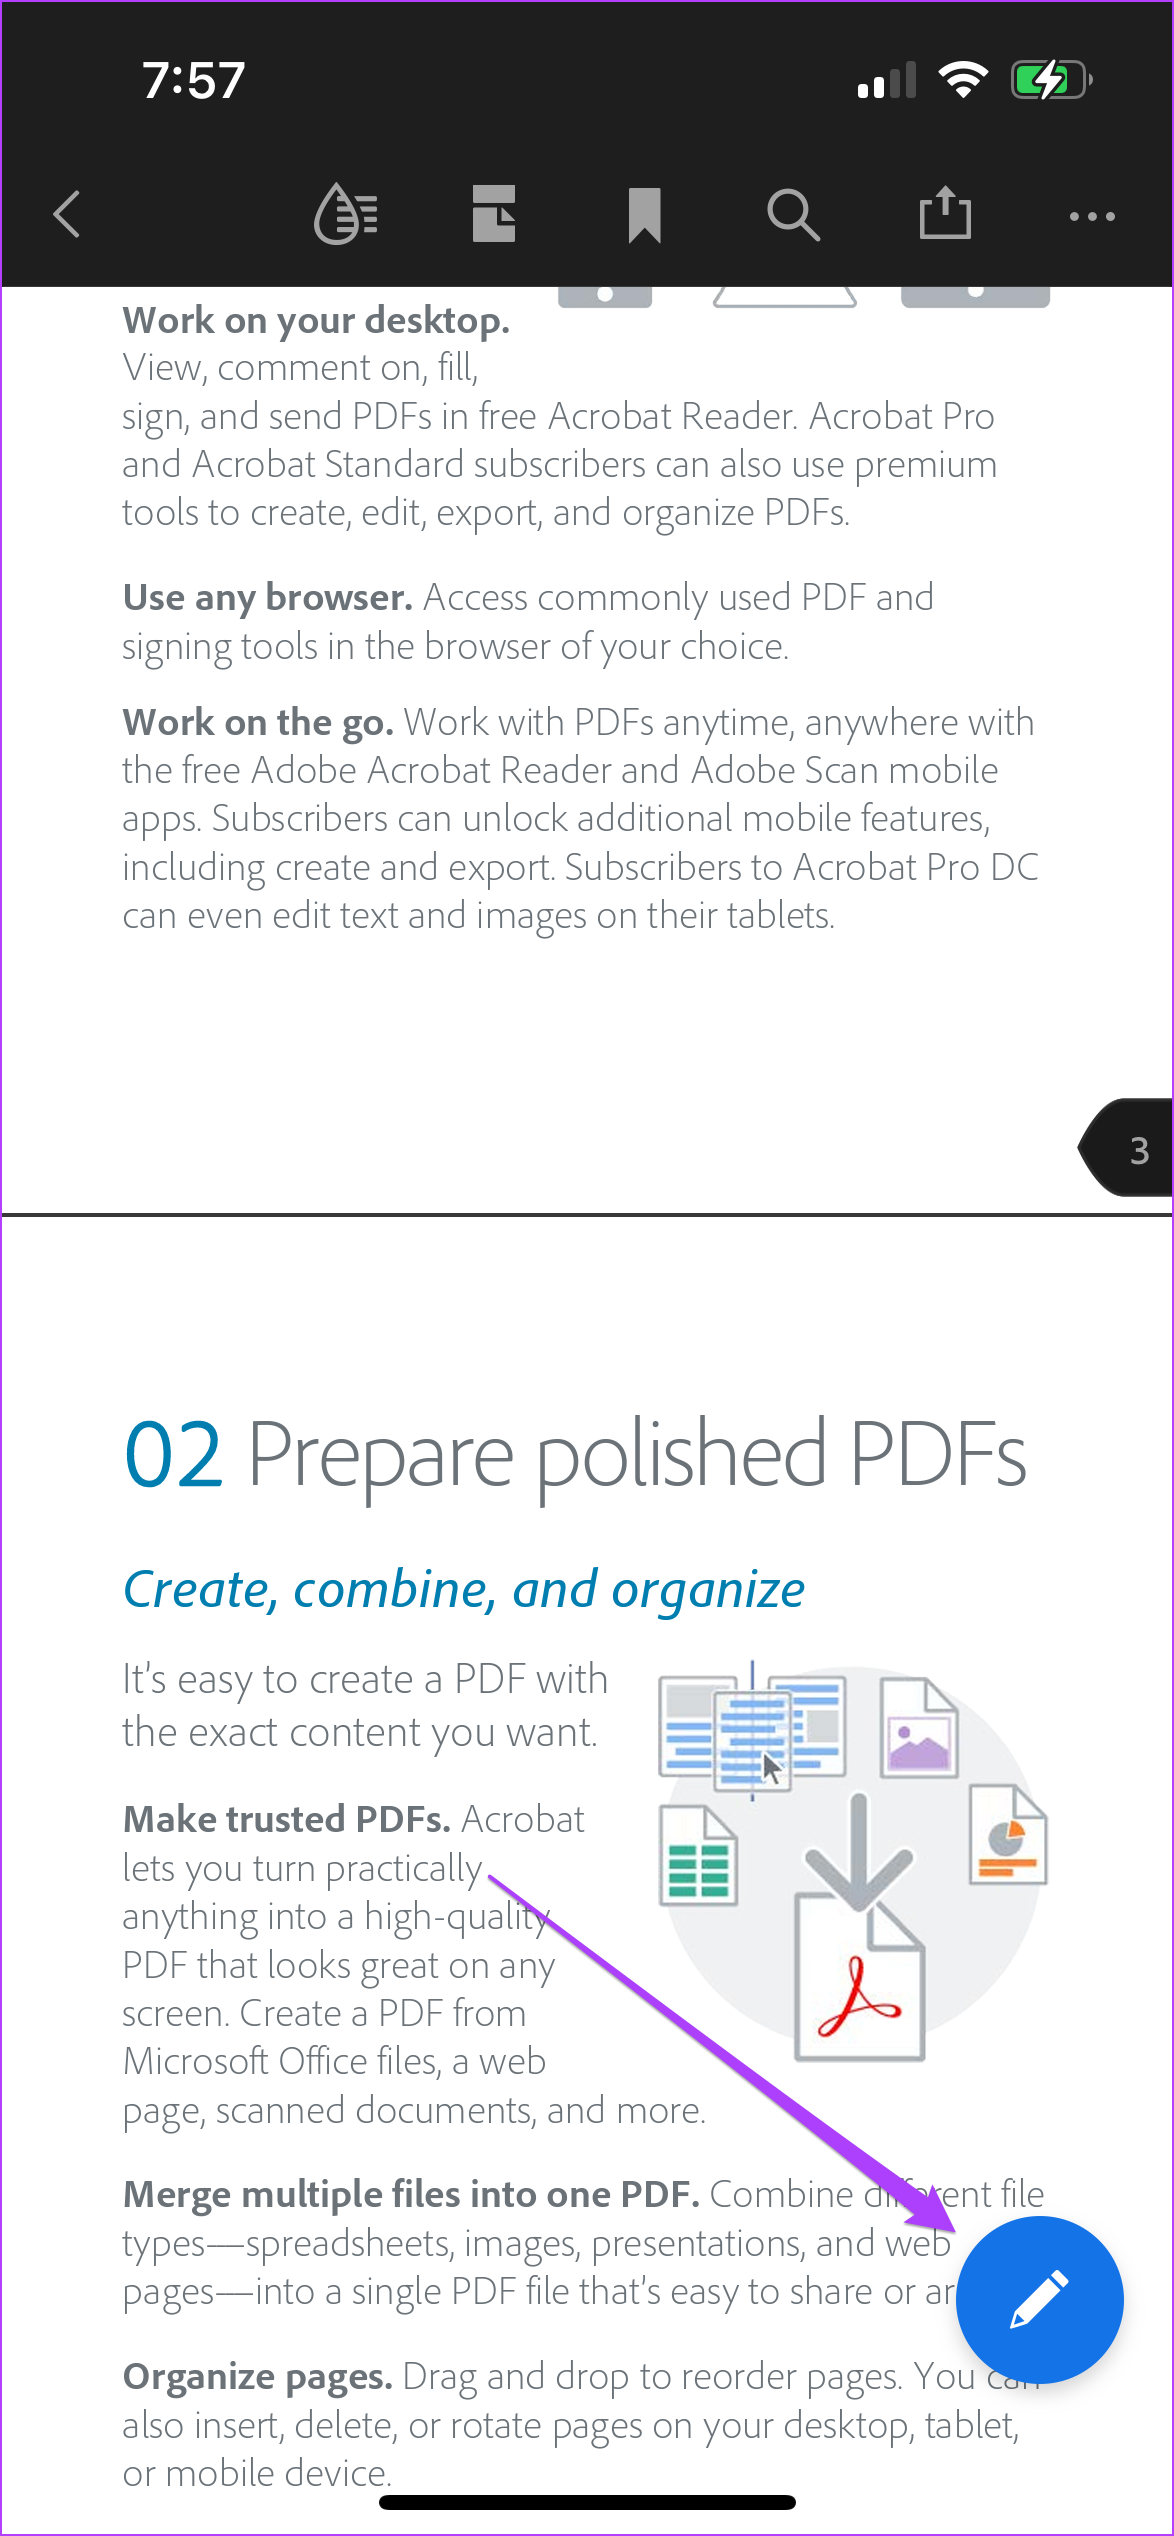
Step 2: Open the PDF file you have to sign. Step 3: After the file opens, tap on the blue pencil icon at the bottom right.
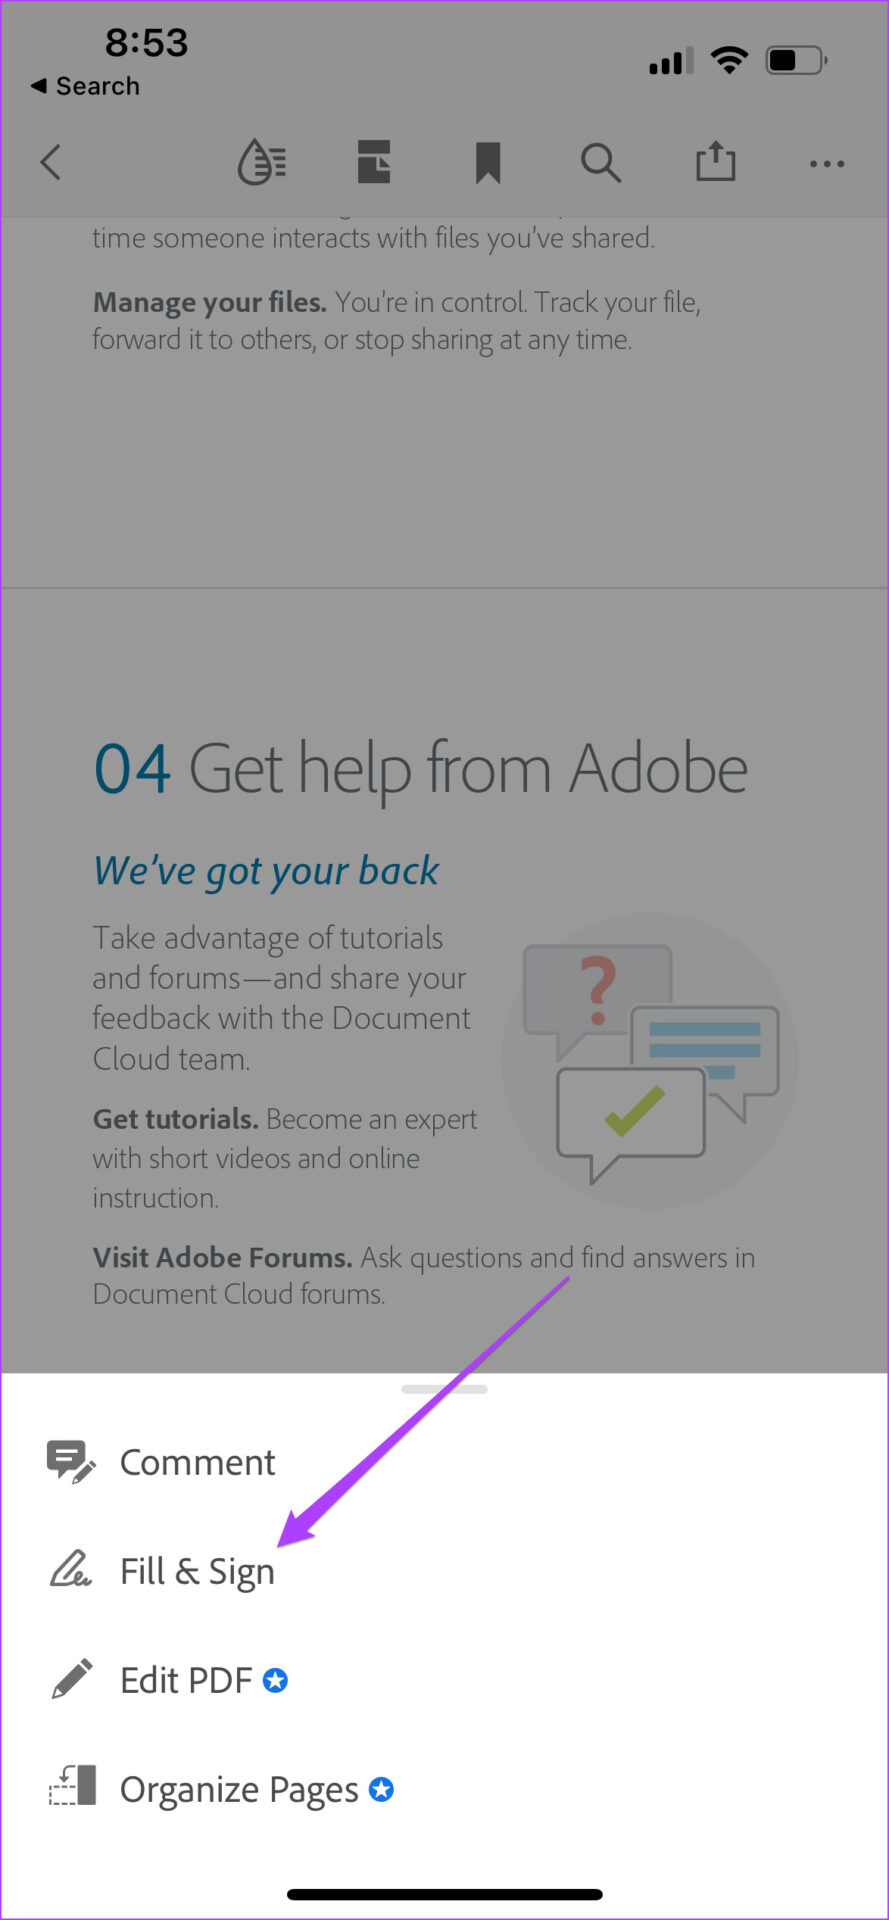
Step 4: Tap on Fill & Sign.
Step 5: Tap on the pencil icon at the bottom right to add your signature.
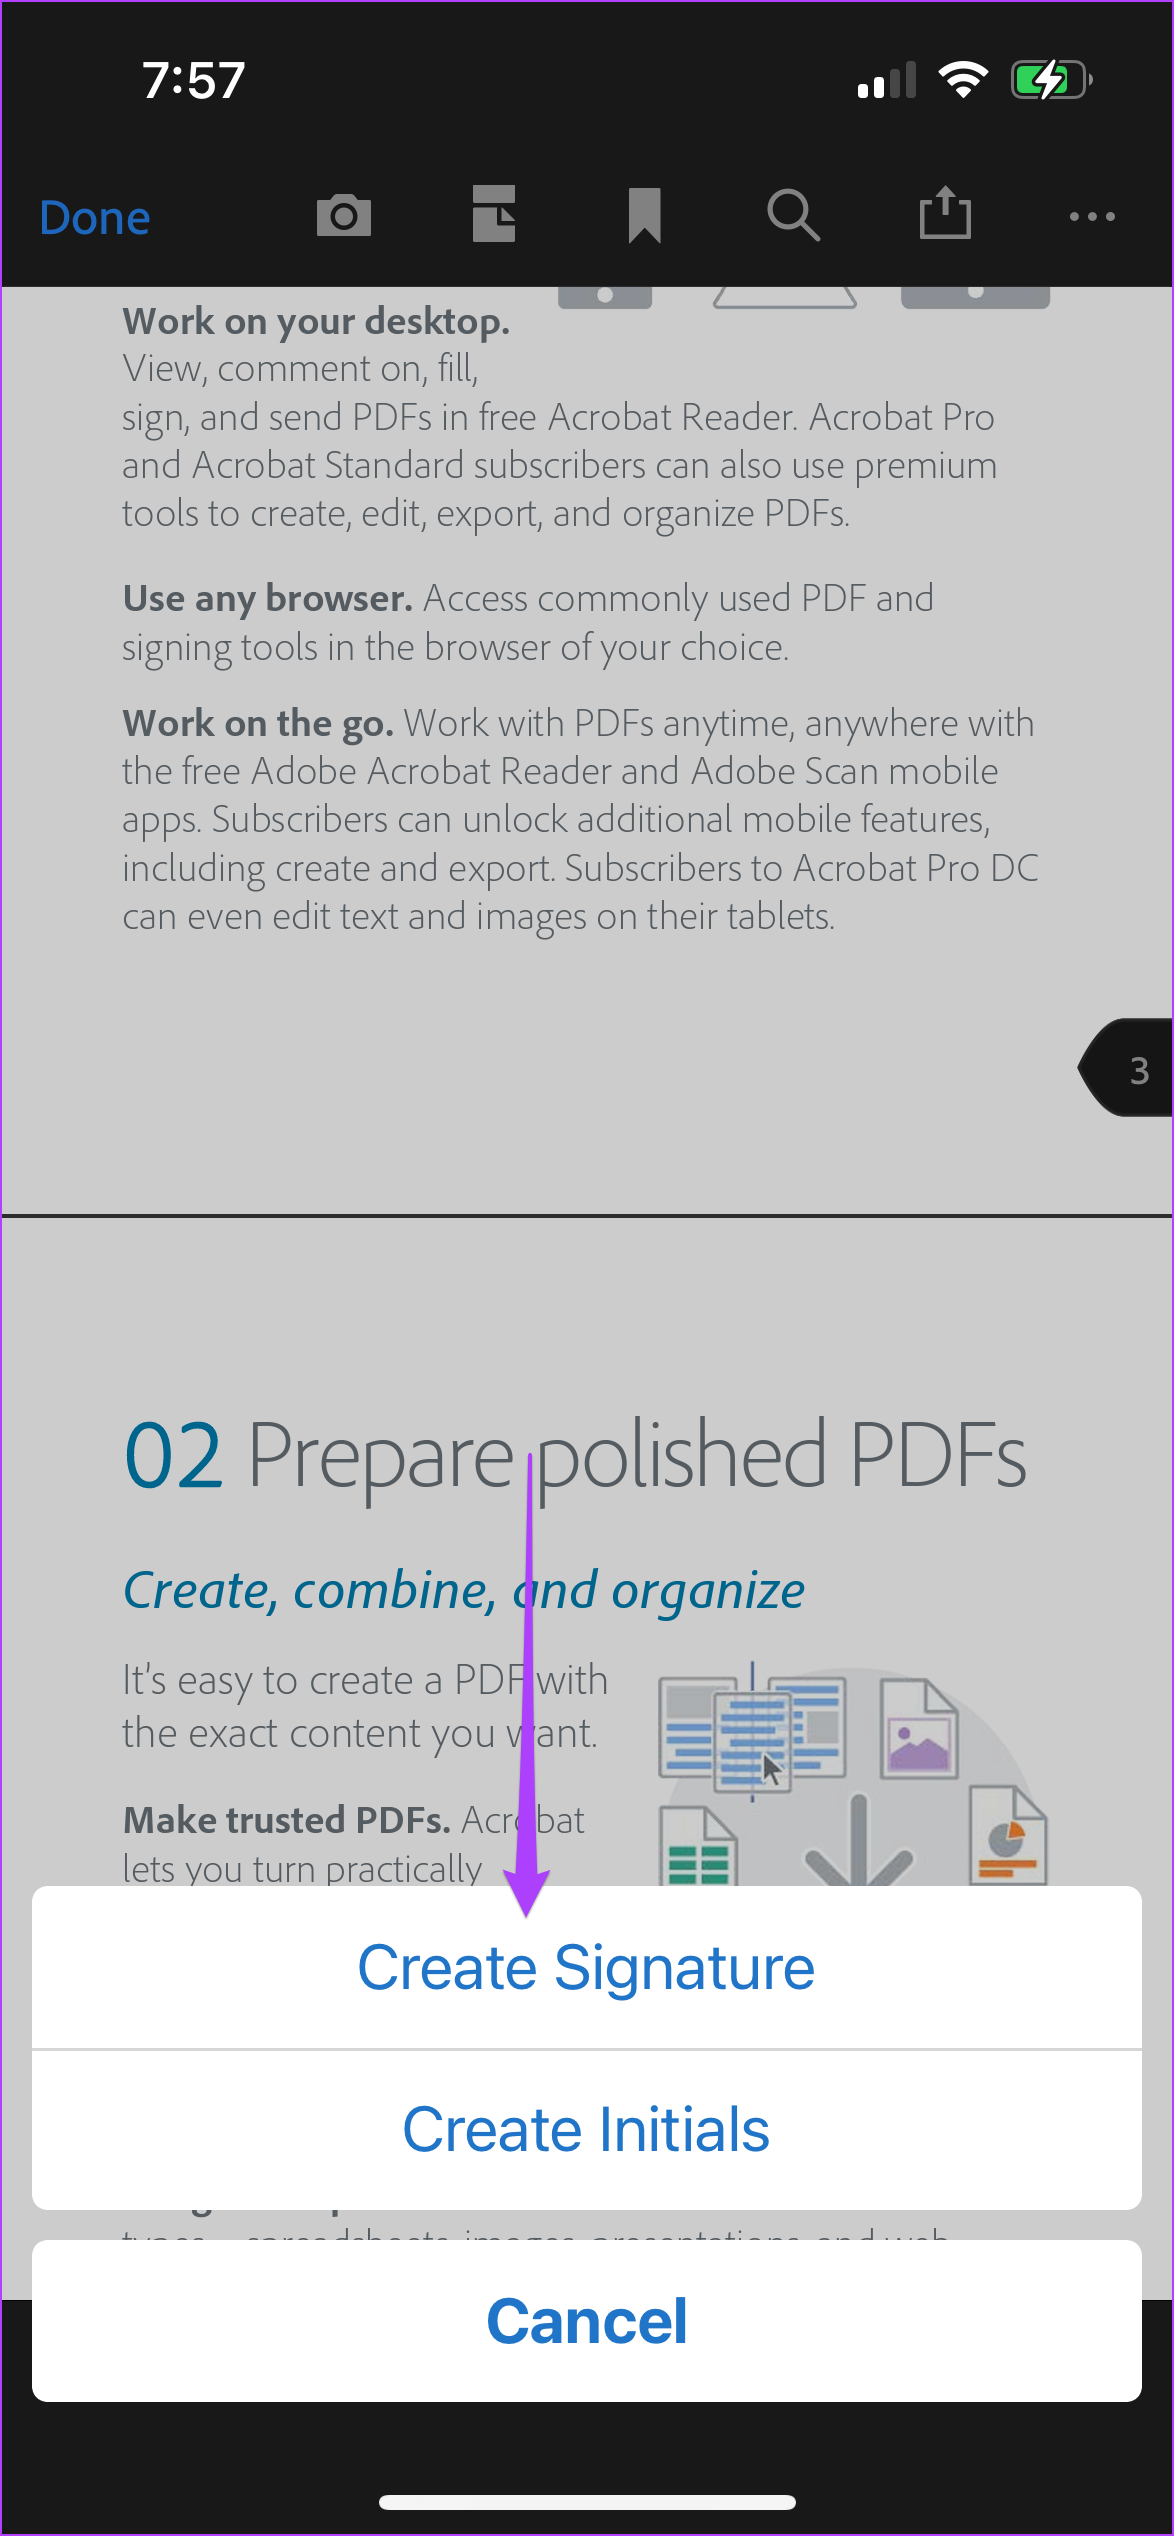
Step 6: Tap on Create Signature.
You will have to rotate your iPhone or iPad to add your signature. Step 7: Swipe your fingers to draw your signature in the space provided.
If you have saved a PNG file of your signature or want to click a picture of your signature, you can choose from the sign options.
You can choose to save this new signature on your iPhone or iPad. Enable or disable the toggle at the bottom left as per your choice.
Step 8: After drawing your signature, tap on Done to save it.
Step 9: Tap on the document to add your signature to your PDF. Step 10: You can now choose to resize your signature and change its color.
Step 11: Tap on Done to save changes.
Bonus Tip: Delete Saved Signature in Adobe Acrobat Reader
Follow these steps if you want to remove your saved signature from iPhone and iPhone. This will only remove the signature from Adobe Acrobat Reader and not the the PDF files you have signed already. Step 1: Open the document in the Adobe Acrobat Reader app on your iPhone and iPad. Tap the blue pencil icon again.
Step 2: Select Fill and Sign.
Step 3: Tap the pencil icon at the bottom.
You saved signature will appear in the pop-up menu. Step 4: Tap the minus icon to remove it.
Sign PDF in Adobe Acrobat Reader on Mac
For documents like agreements, contracts, invoices, etc., creating a PDF makes sense. Adding a signature to such documents make them nearly like the physical ones. So whether you’re signing any document or just a college assignment, using Adobe Acrobat Reader to sign it digitally makes things quite convenient. The Adobe Acrobat Reader app is also available for Mac and you don’t need the Adobe Creative Cloud subscription to create digital signature. Download Adobe Acrobat Reader for Mac Follow these steps. Step 1: Press Command + Spacebar to reveal Spotlight Search, type Adobe Acrobat Reader DC, and press Return.
Step 2: Select your PDF file to add your signature. Step 3: After your file opens, click the pencil icon at the top menu bar.
Step 4: Click on Add Signature.
Step 5: In the Signature window, type your signature. You can choose to type in uppercase or lowercase.
Step 6: To change the style of your signature, click on Change Style.
Step 7: Select the signature style of your choice.
You can choose to save this signature by checking the box.
You can also choose to add a PNG file or draw your signature if you have a stylus.
Step 8: After choosing your preferences, click on Apply.
Your cursor will now show you the signature that you have just saved. Step 9: Click on the page area of your choice to paste your signature. Step 10: Press Command + S to save changes. Later, if you want to change the color of the signature, you can do that as well. Follow these steps to change signature color. Step 1: Select the signature and click on the big black dot in the top menu bar.
Step 2: Choose your signature color from the palette.
Step 3: Press Command + S to save changes.
Bonus Tip: Delete Saved Signature in Adobe Acrobat Reader on Mac
After you’ve added a digital signature to the Adobe Acrobat Reader app, you can alter it or remove it altogether. That makes sense if you share your computer with others. Removing the signature from the Acrobat Reader will not remove the signature from the PDFs that you’ve signed and saved already. Step 1: Open the Adobe Acrobat Reader app on your Mac. Click on Sign Yourself in the top menu bar.
Step 2: Click on the minus sign next to your saved signature.
That’s it. Your digital signature will no longer appear in the Adobe Acrobat Reader app on Mac.
Sign PDF Using Adobe Acrobat Reader
This is how you can add a signature using Adobe Acrobat Reader on your Apple device. To unlock more features, you can opt for an Adobe Creative Cloud subscription. It will give you more options like compressing PDF, adding rich media, and more accessibility options. The above article may contain affiliate links which help support Guiding Tech. However, it does not affect our editorial integrity. The content remains unbiased and authentic.