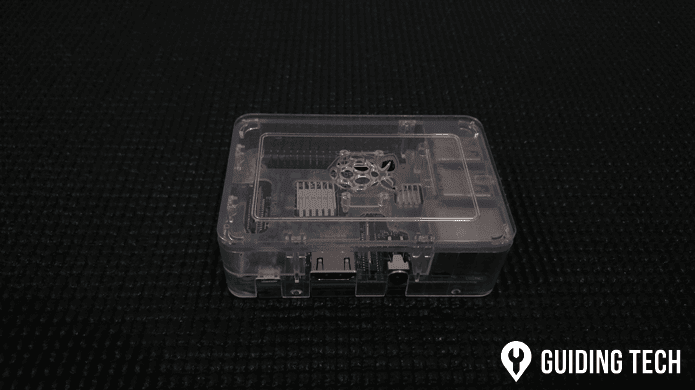
Microsoft also, for the first time, has acknowledged the importance of these small devices and released an edition of Windows especially for them. A preview of Windows 10 IoT is released so as to motivate developers to make or port their Windows apps to it. Let’s see how to install Windows 10 IoT on your Raspberry Pi 2. Cool Tip: To discover many cool projects for Raspberry Pi, do visit Hackaday.com‘s Raspberry Pi 2 page.
What You’ll Need
You must have a physical PC running the Windows 10 Insider preview. Installations on VM and Windows 8 won’t work.A phone charger supplying at least 1.0 A. Your normal smartphone charger with a micro USB will work.A micro SD card of at least 8 GB capacity and a card reader. If you are using your phone’s card, make sure to back up any data on it, as the card will be erased during the process.An Ethernet cable.HDMI cable to connect to an external display.Make a Microsoft Account by going to their official sign up page, if you haven’t already.
Downloading the Windows 10 IoT Preview
Step 1: To get the Windows 10 IoT preview you need to sign up on Microsoft Connect. Head to this page and sign in with your Microsoft account. On the next page click Continue. Step 2: Enter the profile name of your choice, accept the agreement and click Continue. Step 3: Finally you have to go through two surveys, which are just agreements you need to accept to get access to the preview image. Step 4: Go to this page and click the Download link. Alternatively you can also use FTM (File Transfer Manager) by Microsoft to download by clicking on the blue Download button. Step 5: After the file is downloaded, open it and copy the Flash.ffu file to your C: drive. Insert your SD card into the reader and connect the reader to PC.
Installing Windows 10 IoT
Step 1: Open the start menu, search for CMD. Command Prompt will appear in the top, right-click on it and select Run as Administrator. Step 2: In the command prompt, type diskpart. Then type list disk, which will list all the disks connected to your PC. The SD card connected will be shown as a disk, which you can identify from the capacity. Remember the Disk Number corresponding to the SD card. Double check to make sure that the disk number corresponds to SD card and not to any other drives. Finally type exit to leave DISKPART. Don’t close the cmd window. Step 3: Now we need to navigate to C:\ drive, where we copied the image file in previous step. To do that type cd C:\ and press enter. To copy the image to the SD card, paste the following: dism.exe /Apply-Image /ImageFile:flash.ffu /ApplyDrive:\.\PhysicalDriveX /SkipPlatformCheck In the above code, replace the X in PhysicalDriveX with the number of the Disk you found in step 2. Then press enter. Step 4: After the file is copied, insert the SD card into your Raspberry Pi, connect the HDMI, Ethernet and USB cables. It will start booting automatically once you connect the USB cable. A Windows logo will be displayed and Windows will do some behind the scenes set up. This may take a few minutes. Finally it will show the following screen, which means you have successfully installed Windows 10 IoT! Sadly, you probably can’t do anything more than stare at it, unless you have developer superpowers. If you know Powershell and are interested in developing Windows applications, follow this documentation to control your board through Powershell.
Conclusion
This release is pretty much meant for developers, but it in the future, we will surely see a full-fledged edition for IoT. Also, as more developers come on board and DIYers start experimenting, we will see some great apps and cool projects. If you have any cool Pi projects or additional thoughts, please share in the comments. The above article may contain affiliate links which help support Guiding Tech. However, it does not affect our editorial integrity. The content remains unbiased and authentic.


