Why VirtualBox? Well, there are many reasons for it. Firstly, it is free, open-source, highly customizable, and easy to set up and configure. Most importantly, it is cross-platform, meaning it can be installed and used on various host operating systems, including Windows, macOS, and Linux. Now, let’s understand the prerequisites for installing VirtualBox.
Prerequisites for Installing VirtualBox on Windows
Before setting up a virtual machine on Windows 11 or 10, there are some prerequisites you should know, such as the requirements, free space, and drivers.
1. Requirements
To run VirtualBox on a Windows PC, your system must meet the following minimum requirements:
CPU: x86-compatible hardware (most modern Intel and AMD CPUs are supported) RAM: The minimum requirement of the host operating system (Windows 11: 4GB) plus the minimum requirement of the operating system you wish to virtualize. Disk space: The minimum space requirement of the virtualized operating system plus up to 50MB for the VirtualBox installation Supported operating systems for your virtual machine: Windows 11, Windows 10, Windows 7, Windows 8 and 8.1, Windows Vista, Windows XP, Windows 2000, Windows Server 2003, 2008, and 2012 (including R2), Windows NT, Ubuntu Desktop, and macOS X.
Check out a complete list of VirtualBox-supported OS if yours is not listed above.
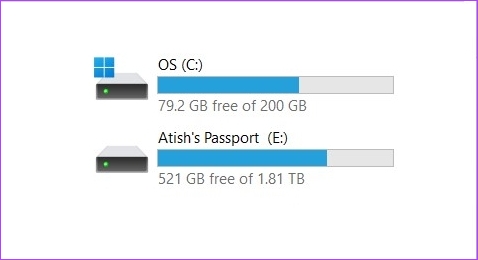
2. Free Space
Having enough free space on your hard drive is essential for installing and running VirtualBox and virtual machines on your computer. If you plan on running multiple virtual machines simultaneously, you will need to have enough free space to accommodate the combined size of all the virtual machines.
Moreover, you may want to create a ‘Virtual hard disk’ for each virtual machine, allowing you to store files and data on the virtual machine. This will require additional hard drive space. Most importantly, the more free space you have on your hard disk, the better the performance of your virtual machine will be.
3. Drivers
VirtualBox comes bundled with generic drivers that allow the virtual machine to access and use hardware components on your PC, such as the network adapter and graphics card. But if you have a device or piece of software that needs a specific driver, you will have to install it manually.
How to Install VirtualBox on Windows
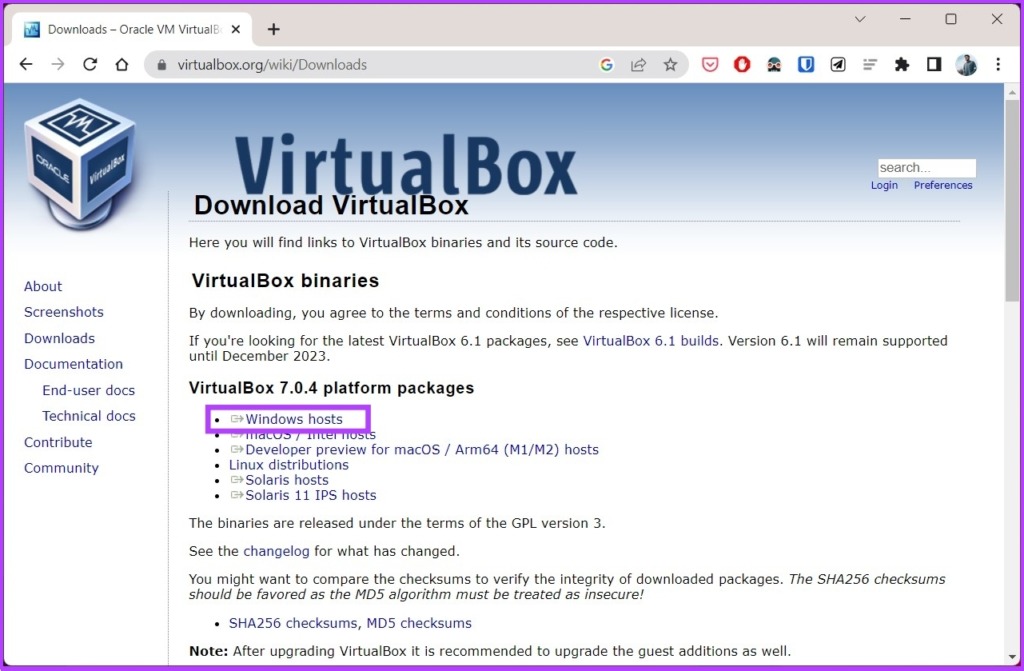
Installing VirtualBox on Windows is pretty straightforward. Follow the below steps. Step 1: Go to the Oracle VirtualBox download page using the below link. Download VirtualBox
Step 2: Click on the Windows hosts link. Save the installer file anywhere you prefer.
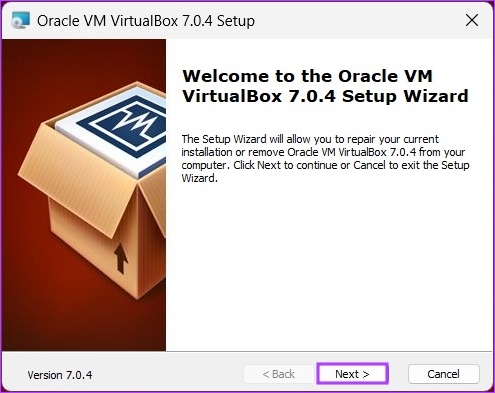
Step 3: Navigate to the installer file and double-click on it.
Step 4: An installation wizard will pop up; click Next.
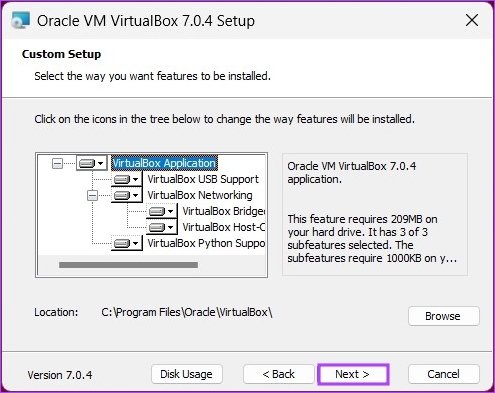
Step 5: On the next screen, customize the things you want to install. You can change the installation location too. For this article, we will go with the default installation without changing any settings. Click Next.
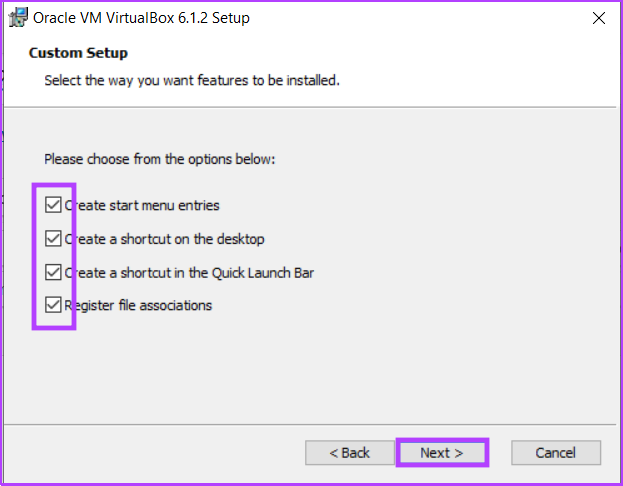
Step 6: In the next screen, you will see a list of shortcuts and file associations the installation will create. Check or uncheck the options you want to include, and click Next.
Step 7: The next screen will show a warning about Network Interfaces. The setup process will install a virtual network adapter. Click Yes. Note: After clicking Yes, you may encounter a temporary network disconnection.
Step 8: If there are any missing dependencies, VirtualBox will install them. Click Yes.
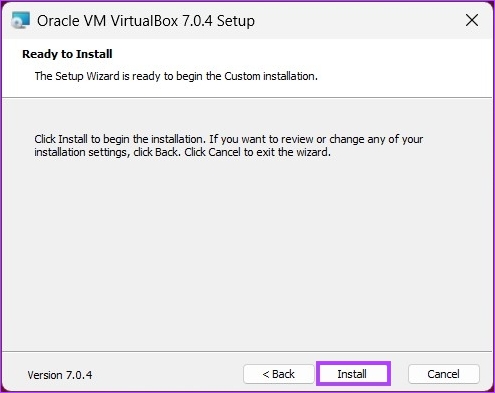
Step 9: Finally, click Install in the ‘Ready to Install’ screen.
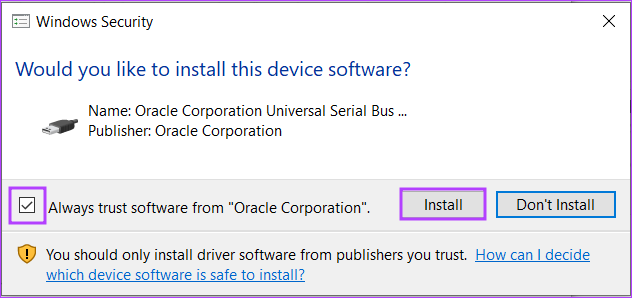
The installation will take some time depending on your system speed. Step 10: During installation, you may get a Windows Security prompt. Click Install.
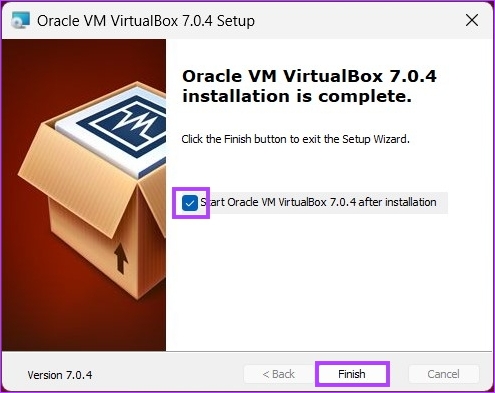
Step 11: Once the installation is complete, click Finish to close the wizard after the installation. Note: Check the box that says ‘Start Oracle VM VirtualBox after Installation,’ if you want to try VirtualBox right away.
There you go. You have successfully installed VirtualBox on your PC. If you are a power user and want more out of VirtualBox, you must go for the VirtualBox’s extension pack. However, before we proceed, let’s first understand Oracle VM VirtualBox Extension Pack. Keep reading.
How to Install Virtualbox Extension Pack on Windows 11 and 10
Oracle’s VirtualBox comes in two packages: the basic version and the extension pack. The basic package includes all open-source components, while the extension pack enhances VirtualBox’s capabilities with features such as VRDP support, host webcam passthrough, AES-encrypted disk image support, cloud integration, etc. Here’s how to install the VirtualBox Extension Pack on Windows 10 and 11. Step 1: Visit the Oracle VirtualBox download page using the below link. Download VirtualBox
Step 2: Under the ‘VirtualBox Extension Pack’ section, click the ‘All supported platforms’ link to download the latest pack. Save the installer file anywhere you prefer.
Step 3: Navigate to the installer file and double-click on it.
Step 4: Click Next in the pop-up.
Step 5: On the next screen, customize the things you want to install. We will go with the default installation settings. Click Next.
Step 6: Now, you will see a list of shortcuts and file associations the installation will create. Check or uncheck the options you wish and click Next.
Step 7: The next screen will show a warning about Network Interfaces. The setup process will install a virtual network adapter. Click Yes. Note: After clicking Yes, you may encounter a temporary network disconnection.
Step 8: If there are any missing dependencies, VirtualBox will install them. Click Yes.
Step 9: Click Install.
Step 10: During installation, you may get a Windows Security prompt, click Install. Tip: Check the box for ‘Always trust software from Oracle Corporation’ to avoid this pop-up.
Step 11: Once done, click Finish. Tip: To start VirtualBox after installation, check the box for ‘Start Oracle VM VirtualBox 7.0.4 after installation.’
Run Parallel Operating Systems
Now that you know how to install any operating system you want on your host computer hassle-free, check out how to install Windows 11 on VirtualBox easily and efficiently. We hope this article helps.