As one of the most popular PDF readers, Adobe Acrobat has several features, one of them being insert attachments. This feature can be used to embed Word documents into any PDF. Apart from Microsoft Word files, you can insert other file types into a PDF. However, for file types such as EXE, VBS, or ZIP file formats, Acrobat warns that it won’t open the file once attached because of the frequent association with malicious programs that may damage your computer.
How to Insert Microsoft Word as an Attachment into a PDF using Adobe Acrobat
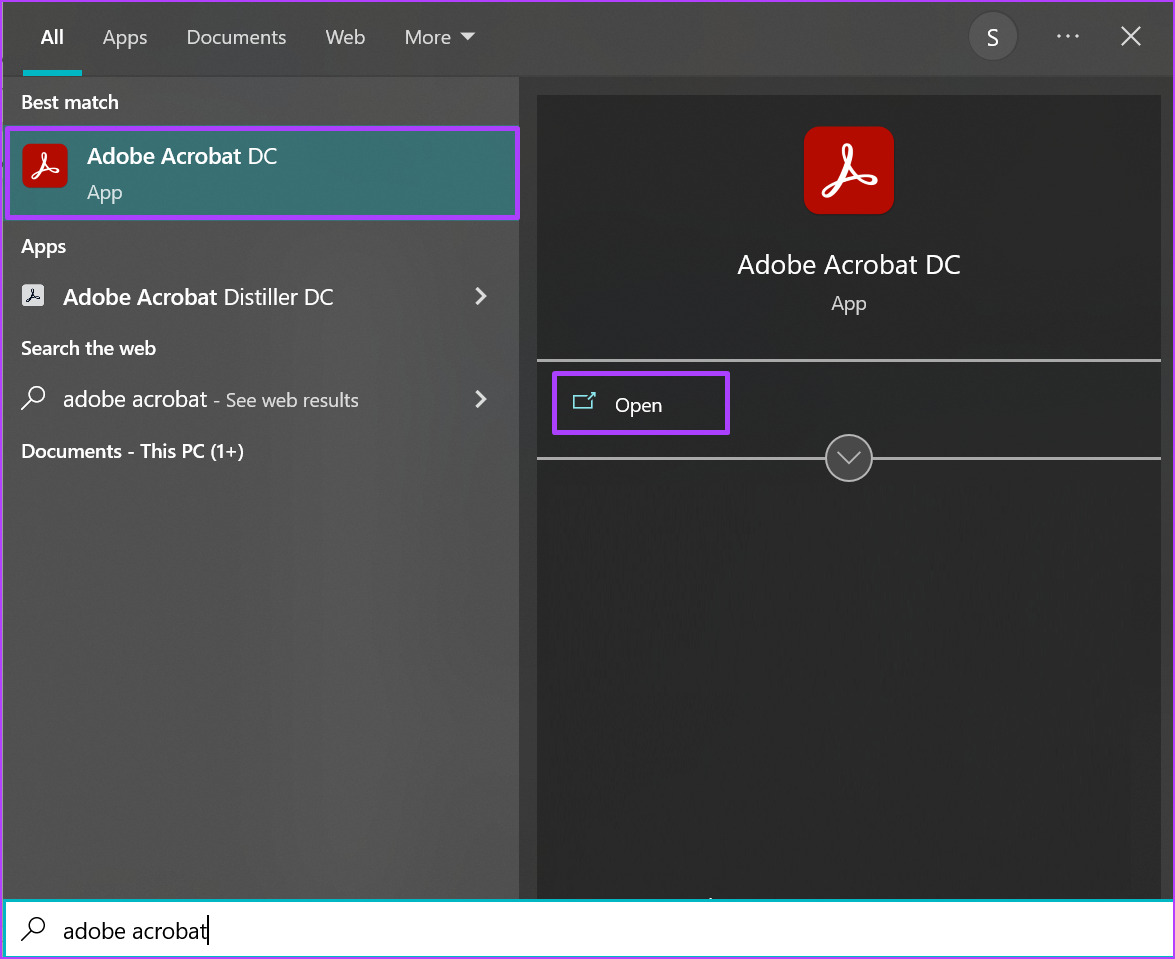
To insert a Word document into a PDF, you will need to make use of the Tools tab on Adobe Acrobat. These steps work for Adobe Acrobat Pro DC, Adobe Acrobat 2020, and Adobe Acrobat 2017. Here are the steps to follow: Step 1: On your PC, click on the Start menu and search for Adobe Acrobat.
Step 2: Click on Open to launch the Adobe Acrobat app from the results.
Step 3: On launching the app, navigate your cursor to its top left and click on File.
Step 4: Click on Open from the options shown.
Step 5: Browse to the PDF file you want to use, select it to insert a Word document into and click on Open to launch it.
Step 6: On the Ribbon, click on Tools.
Step 7: On the new page, click on Edit PDF.
Step 8: Click on the horizontal ellipsis which represents Options.
Step 9: Click on Attach File from the list.
Step 10: From your PC, select the Word file to be inserted and click on Open.
Step 11: Click on the Save icon to retain your changes.
After inserting the Word file into the PDF, you should see it in the Attachments pane of Adobe Acrobat.
How to Open a Microsoft Word Attachment in a PDF File Using Adobe Acrobat
If you are the recipient of a PDF file with a Word attachment or inserted a Word file into a PDF and can’t view it, here’s what you should do. Step 1: On your PC, click on the Start menu and search for Adobe Acrobat.
Step 2: Click on Open to launch the Adobe Acrobat app from the results.
Step 3: On launching the app, navigate your cursor to its top left and click on File.
Step 4: Click on Open from the options shown.
Step 5: From your PC, select the PDF file to insert a Word document and click on Open to launch it.
Step 6: At the left of the Adobe Acrobat app, click on the paper clip icon representing Attachments to launch the Attachments pane.
Step 7: On the Attachments pane, you should see the Word file embedded in the PDF. Right-click on it and select Open Attachment.
Step 8: On the dialog box, choose between ‘Open this file’ or ‘Always allow opening files of these type.’
Step 9: Click OK on the dialog box.
After clicking OK, the attached document should open up in Microsoft Word.
How to Delete a Microsoft Word Attachment in a PDF File Using Adobe Acrobat
If you no longer want the Word file in your attachment, here are the steps to follow to delete it. Step 1: On your PC, click on the Start menu and search for Adobe Acrobat.
Step 2: Click on Open to launch the Adobe Acrobat app from the results.
Step 3: On launching the app, navigate your cursor to its top left and click on File.
Step 4: Click on Open from the options shown.
Step 5: From your PC, select the PDF file to insert a Word document into and click on Open to launch it. Step 6: At the left of the Adobe Acrobat app, click on the paper clip icon representing Attachments to launch the Attachments pane.
Step 7: On the Attachments pane, you should see the Word file embedded in the PDF. Right-click on it and select Delete Attachment.
Step 8: On the dialog box, confirm that you want to delete the Word file by clicking Yes.
Step 9: Click on the Save icon to retain your changes.
The file should no longer be visible on the Attachments pane.
Signing a PDF Using Adobe Acrobat
Apart from using Adobe Acrobat to insert Word attachments into Word, you can use it to sign PDFs. Adobe Acrobat has a signature feature that you can use to create and store your digital signature. The above article may contain affiliate links which help support Guiding Tech. However, it does not affect our editorial integrity. The content remains unbiased and authentic.


