This guide will walk you through the steps involved in enabling, disabling, and managing app permissions on Windows 11. So, without further ado, let’s get started.
How Do App Permissions Work on Windows
Apps on Windows require permissions to access both the hardware and software features of your PC to work. This includes permission to access your location, camera, microphone, etc. For instance, a Weather app on Windows will ask for permission to access your location data to provide relevant information.
Ideally, you’d want to allow an app all the permissions it needs. However, there can be times when an app tries to seek permissions it does not require. And allowing those permissions could put your privacy at risk. In both cases, you’ll need to learn how to allow or disallow app permissions on Windows 11. That’s what we’ll be covering in the following section.
How to Enable or Disable Permissions for Individual Apps
If you want to enable or disable permissions for a specific app, you’ll need to open its app settings on Windows. There are two ways you can go about that.
Enable Disable Permissions From Settings
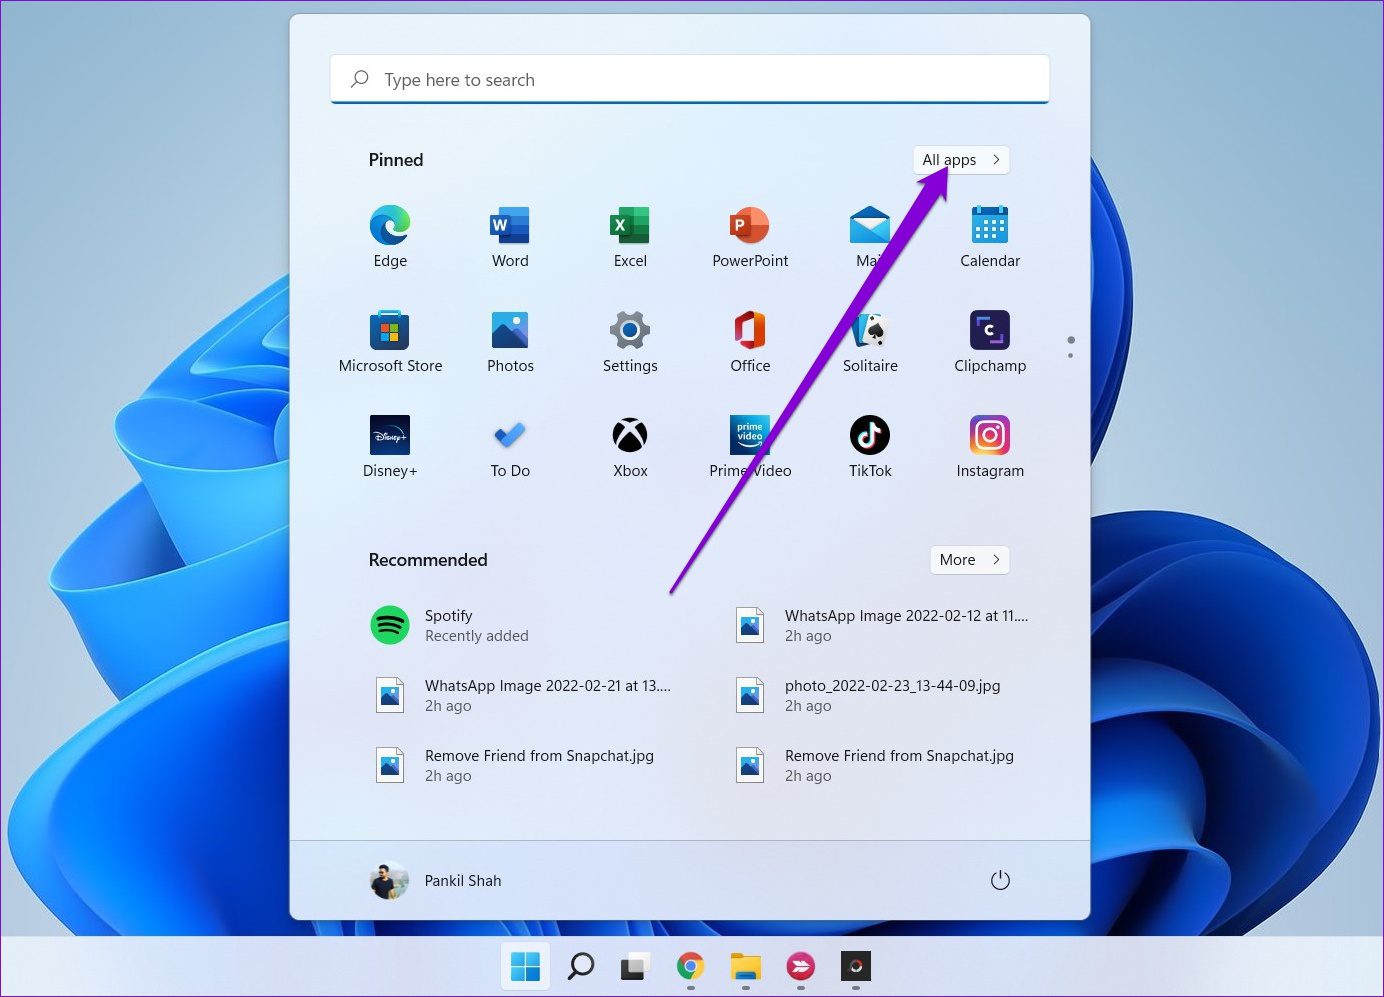
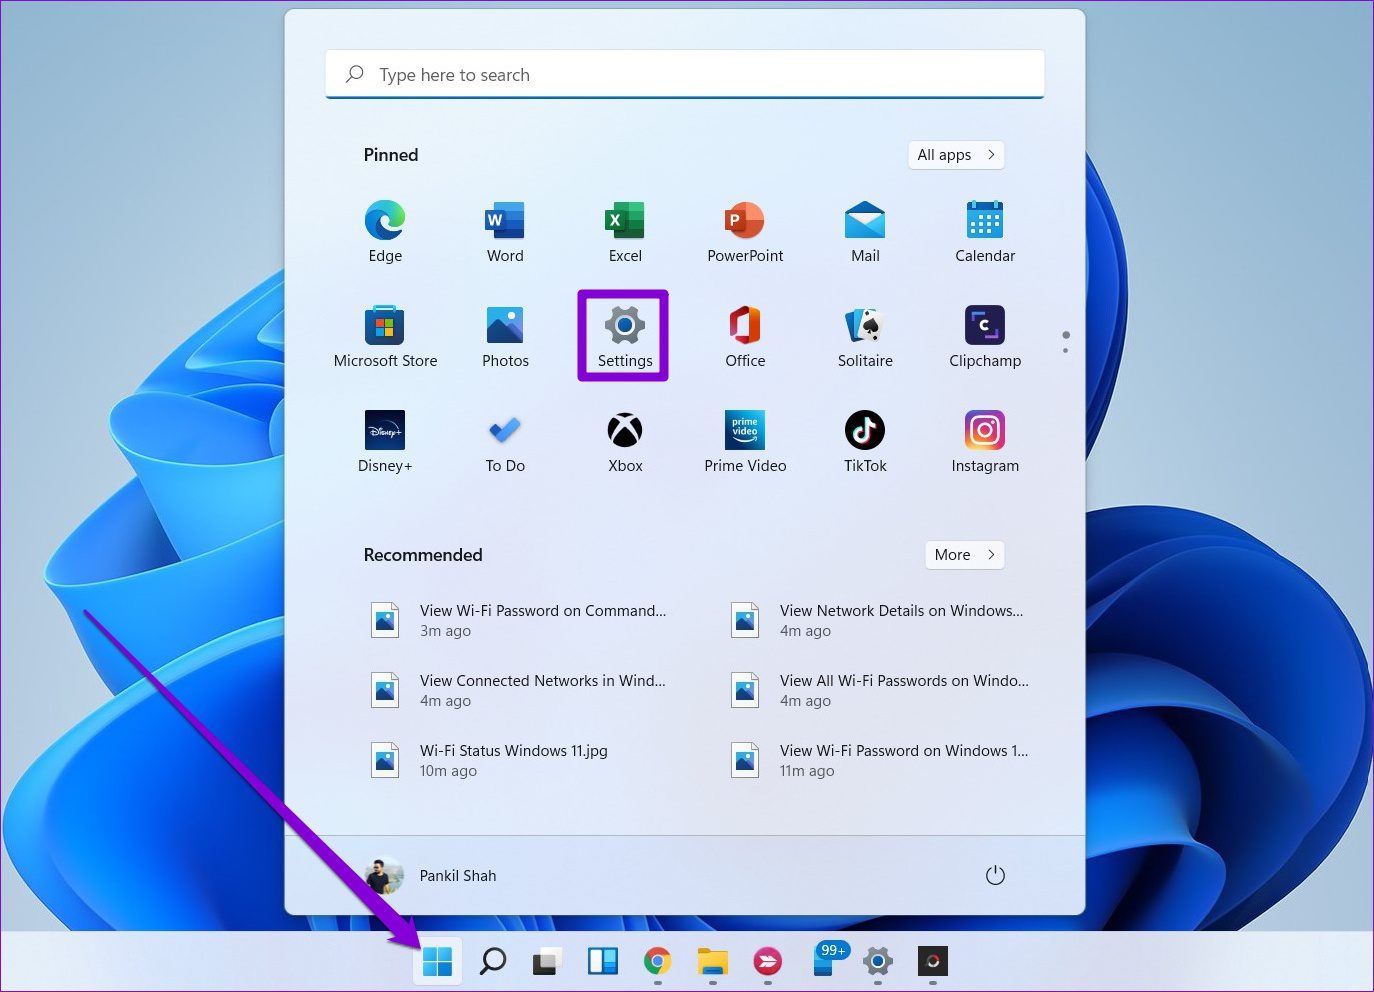
Step 1: Open the Start menu and click on All apps at the top to view a list of installed apps.
Step 2: Scroll down to locate the app for which you wish to configure permissions. Right-click on it, select More, and choose App settings.
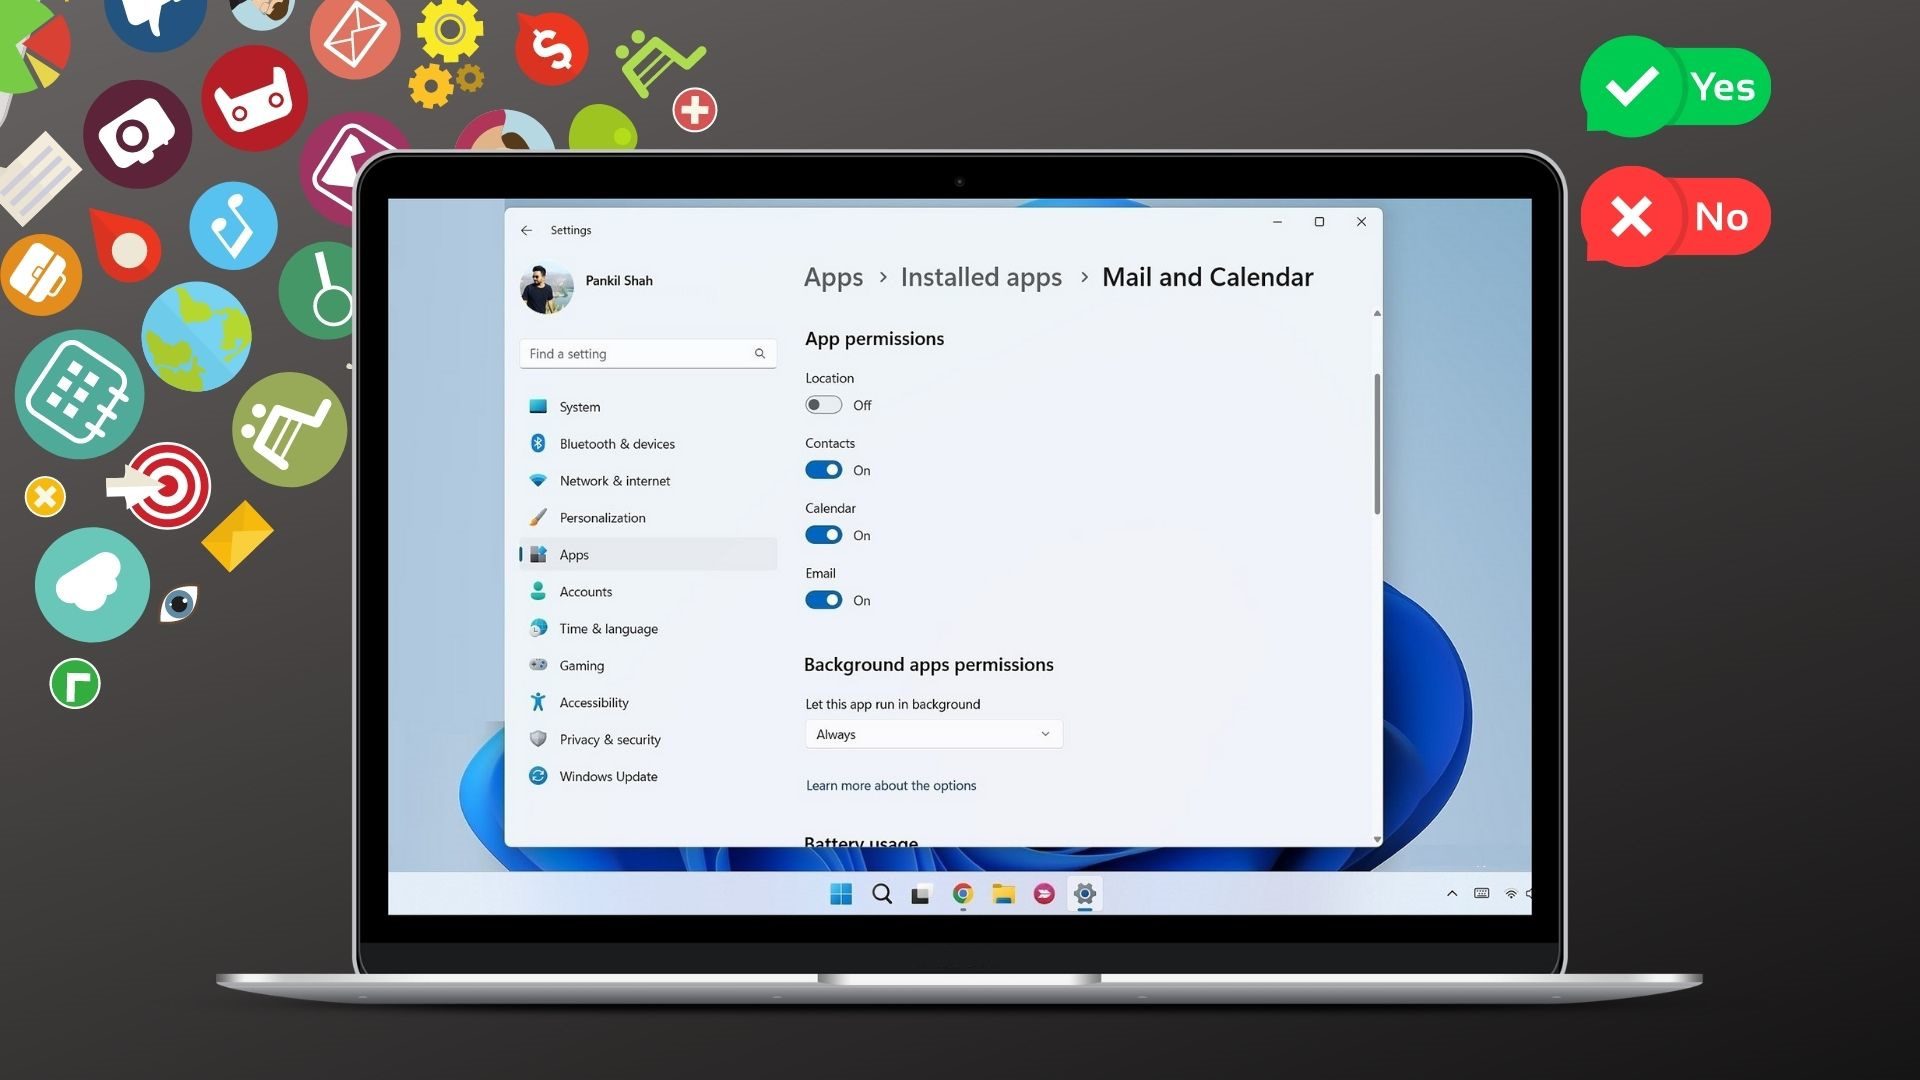
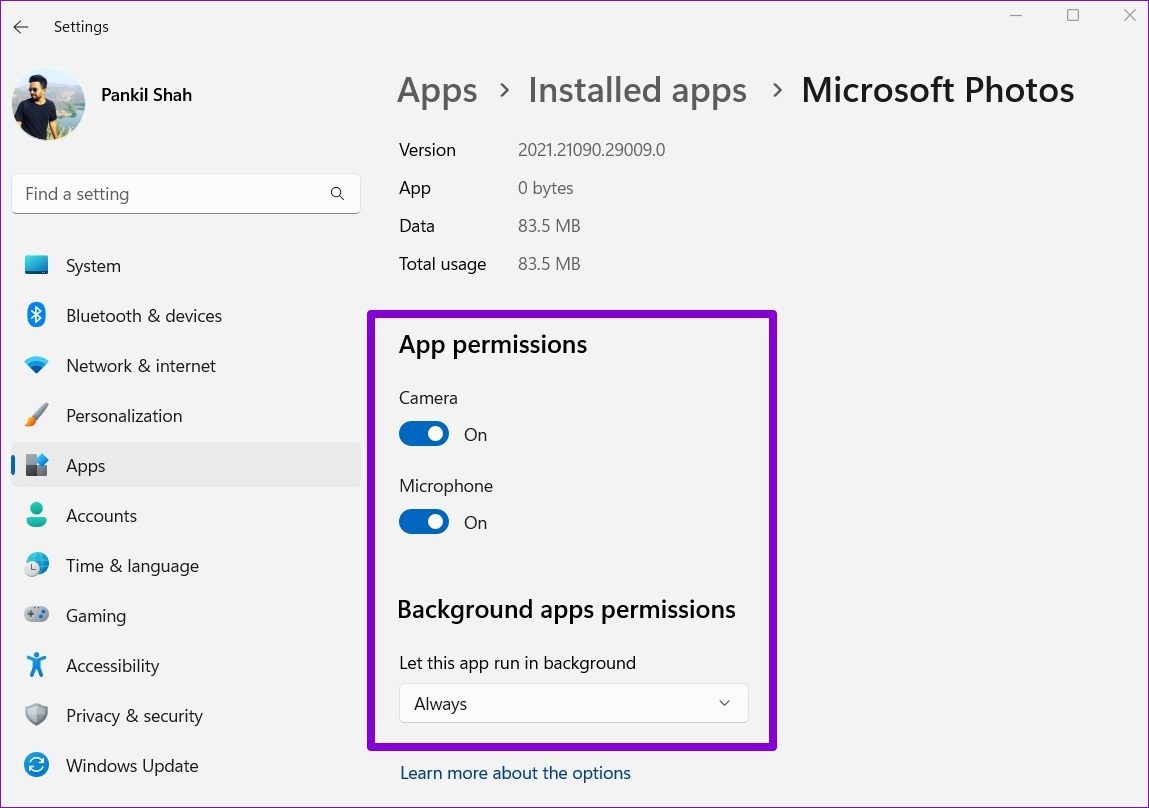
Step 3: In the following window, use the toggles under App permissions to enable or disable specific permissions as you see fit.
Further, you can allow or disallow an app from working in the background.
Enable or Disable Permissions for a Single App From Settings
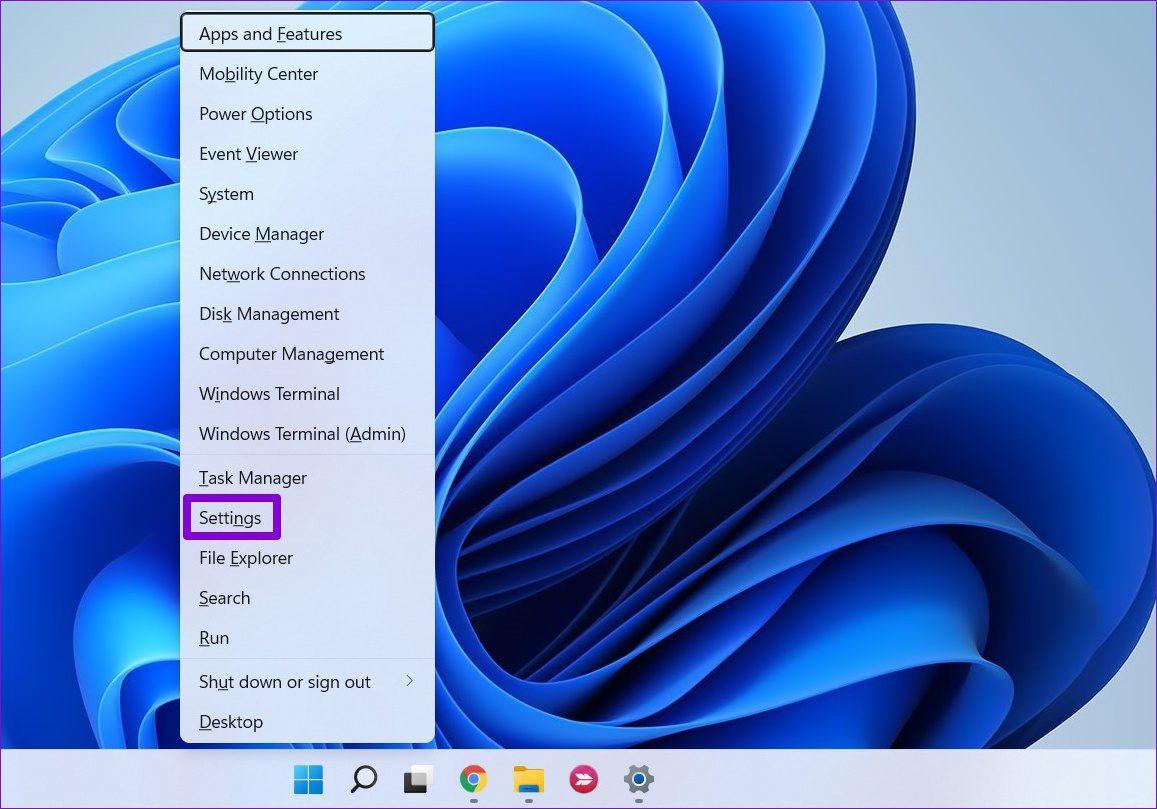
If you’re looking to modify permissions for several different apps, then you can use the following method to save time. Step 1: Right-click on the Start menu and select Settings from the resulting menu.
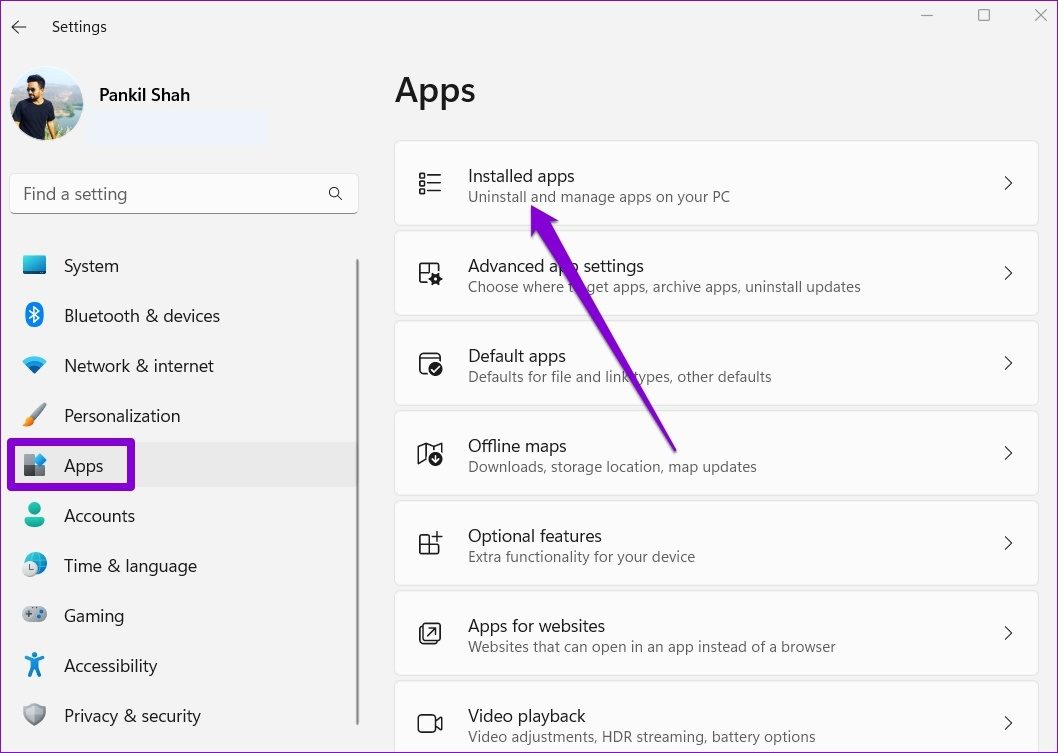
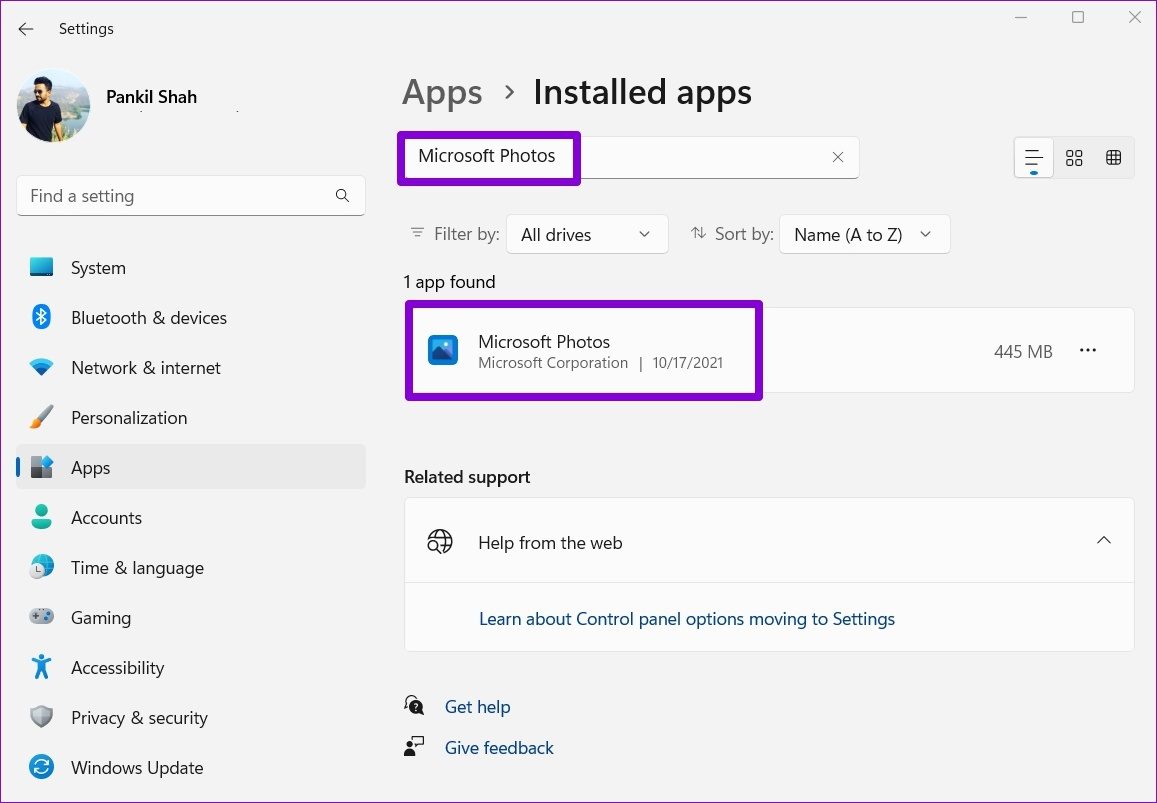
Step 2: Head over to the Apps tab on your left and click on Installed apps.
Step 3: Use the search bar to look for the app which you wish to modify permissions.
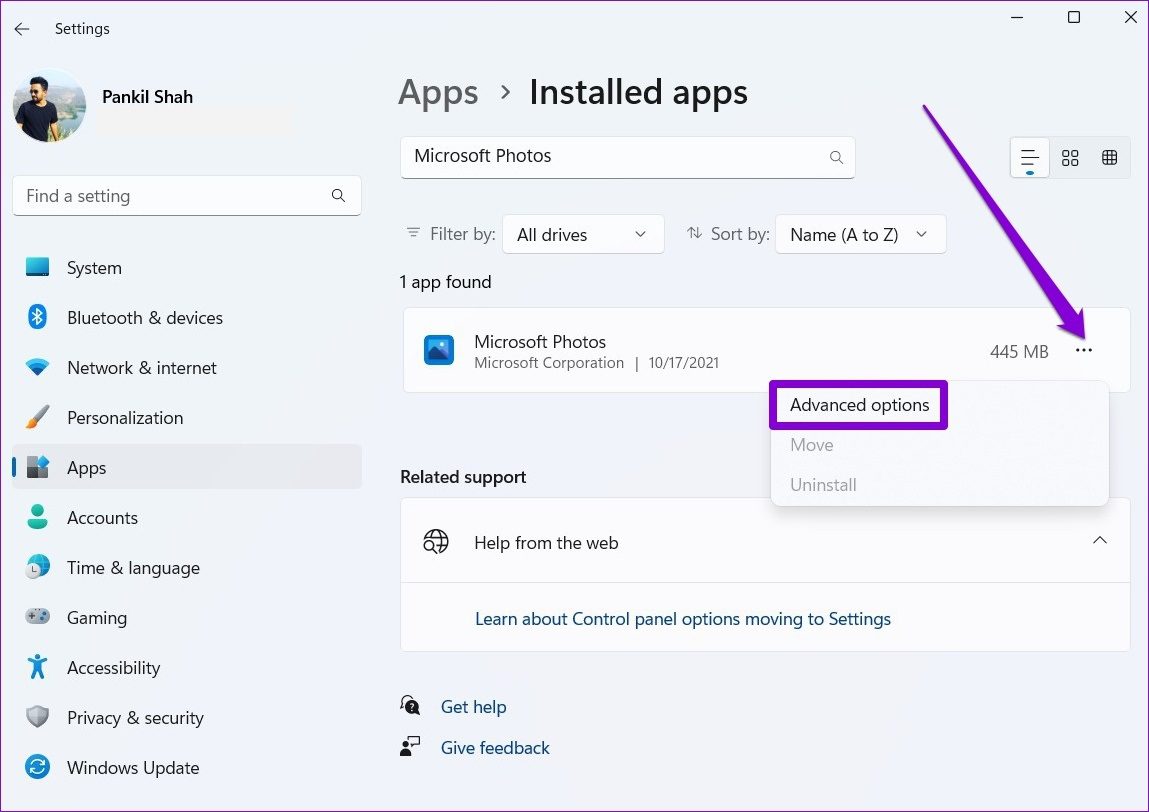
Step 4: Click on the three-dot menu icon next to the app and select Advanced options.
Step 5: Use the toggles under App permissions to manage permissions for that app.
Any changes you make should take effect right away. If the app is already running, you may want to restart it for changes to take effect. Note that if an app or a game doesn’t require any special permissions to work, you won’t see any toggles under the App permissions section. Additionally, some of the apps may not appear on the list if they can use all system resources.
How to Manage App Permissions for Multiple Apps at Once
While the above methods are quite straightforward, if you’re looking to manage specific app permissions for many different apps at once, there’s a much simpler way to do it. Read on to learn how. Step 1: Open the Start menu and click on the cog-shaped icon to launch the Settings app.
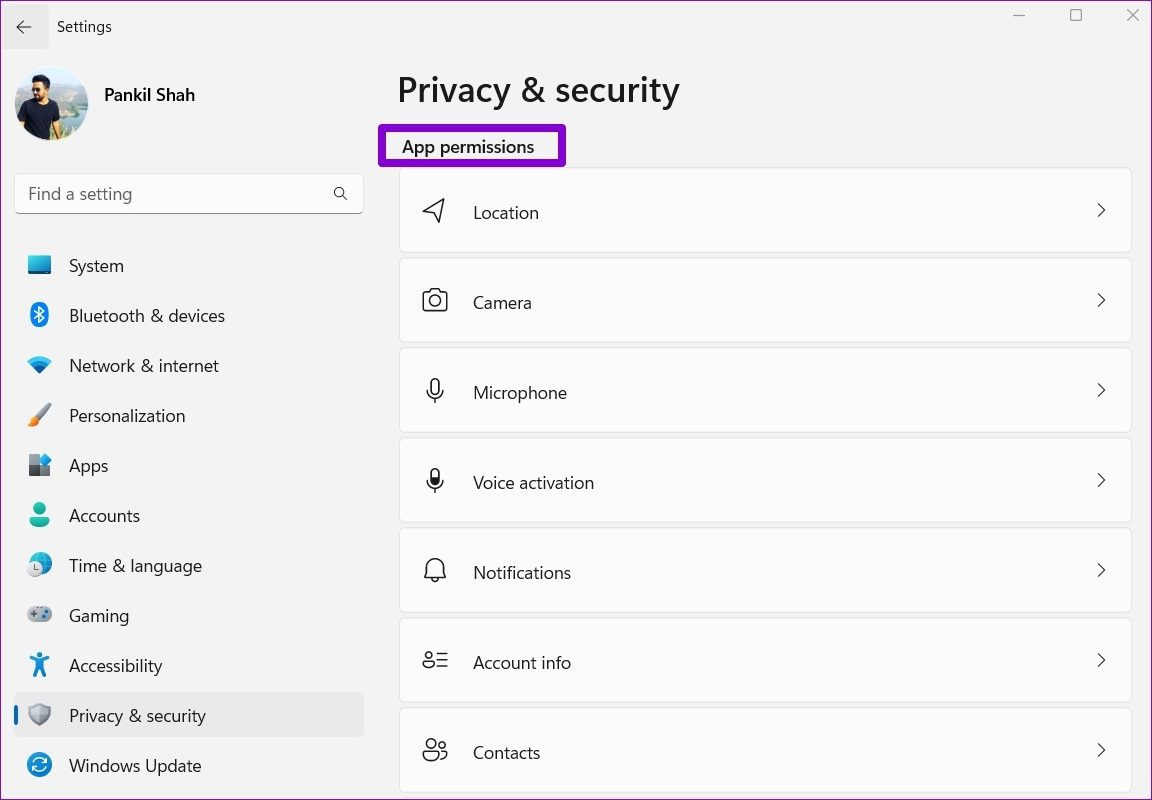
Step 2: Switch to the Privacy & security tab on the left column.
Step 3: Scroll down to the App permissions section to view a list of all the app permissions.
Step 4: Click on the permission to configure it. For demonstration purposes, we’ll be modifying Camera permission for apps.
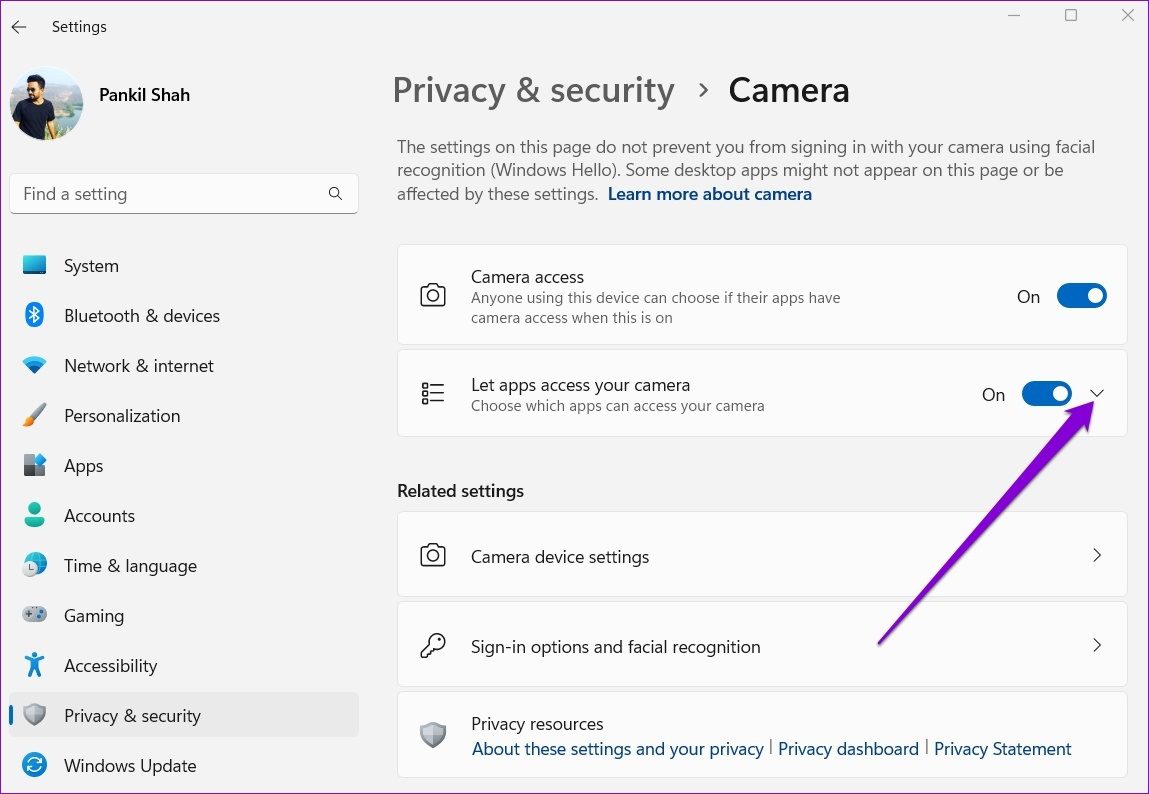
Step 5: If you want to disable the camera permission for all the apps on your PC, you can toggle off the switch next to ‘Let apps access your camera.’
Alternatively, if you’d like to configure camera permissions on a per-app basis, click on the downward arrow next to ‘Let apps access your camera.’
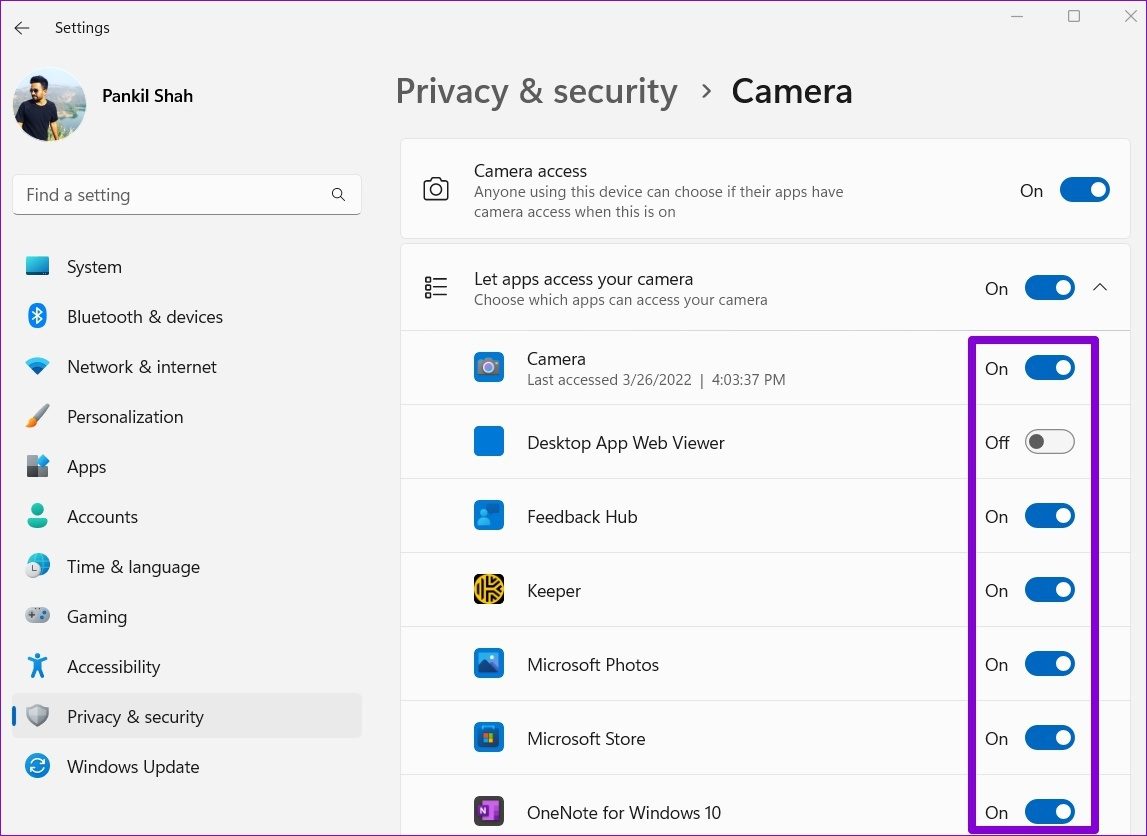
Next, use the toggles next to the apps to quickly manage camera permission for each app.
Likewise, you can repeat the above steps to manage the location, microphone, and other app permissions for multiple apps at once. It’s important to know that while you can manage app permissions separately for each Microsoft Store app, you can’t do the same with the Desktop apps.
Manage Permissions Carefully
Carelessly granting app permissions may lead to unintended consequences. Even if you’re not concerned about your privacy, it’s worth checking the app permissions on Windows every once in a while. That way, you can monitor the behavior of different apps and restrict the nefarious ones. The above article may contain affiliate links which help support Guiding Tech. However, it does not affect our editorial integrity. The content remains unbiased and authentic.