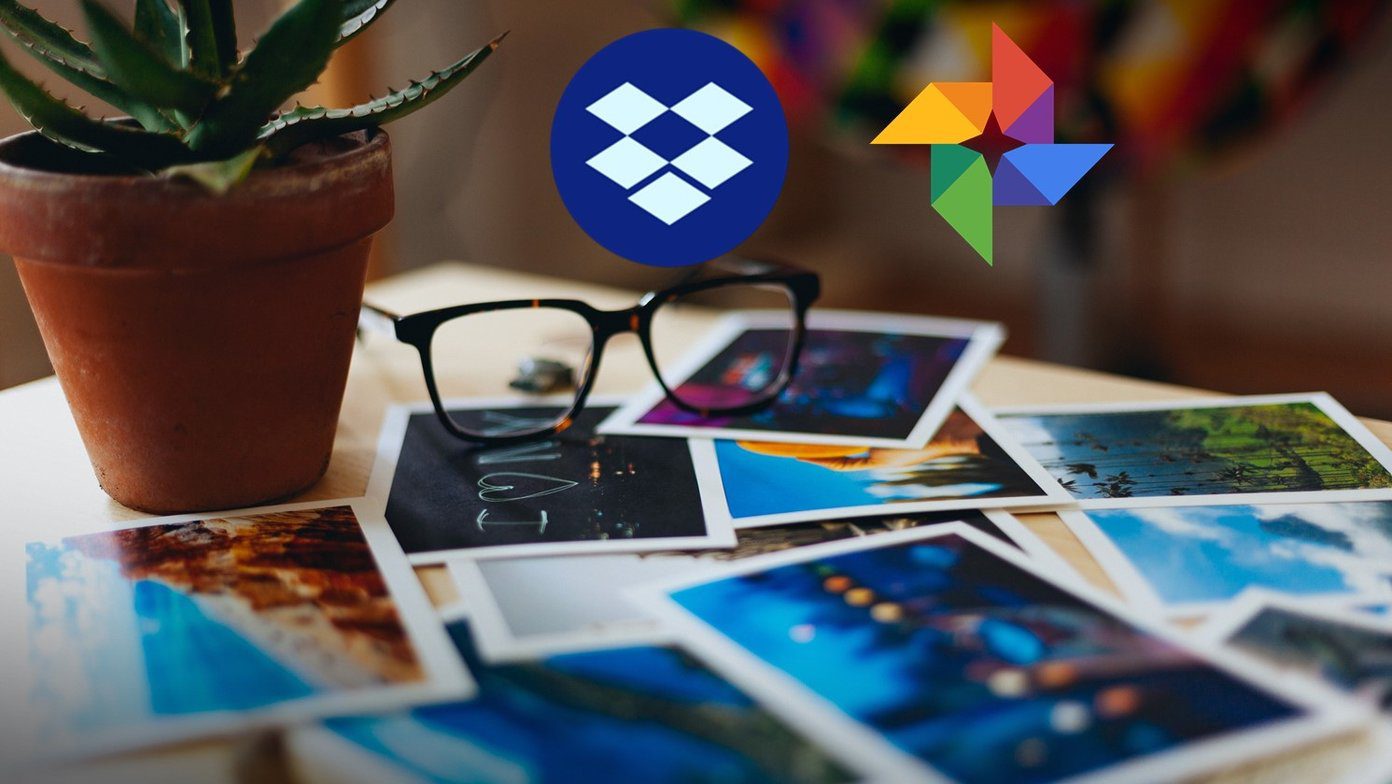
Now, after I got my hands on all the pictures, I used to download them to my hard disk and upload them again on Facebook and Picasa for sharing. Clearly I was wasting my bandwidth and time, and that persuaded me to look for alternate web services that could automate the task for me. pi.pe (That’s how they like to write their name) is one such great web service which helped me with the task at hand. And not only that, using pi.pe you can transfer photos and media files between a dozen social networks without downloading them to your computer. So let’s see how we can copy media files from one service to another using pi.pe. Update: Pi.pe services have been shutdown temporarily and there is no update on when it might be back. However, you can have a look at an all new service called MultCloud to transfer photos between multiple cloud accounts.
Using pi.pe
Step 1: Open pi.pe homepage and log in using Google, Facebook or Yahoo account. If you are planning to transfer files from Google Drive, I would recommend using the Google account to authenticate yourself. pi.pe will read the email address associated with your account which will be used to send you emails regarding the status of your transfers. Step 2: After successful authentication, you will see a list of services you can use to import the files. The account you select here will be selected as the source of the transfer. After you select an account, you will have to authenticate yourself and grant pi.pe complete access over your account. Having selected the source, click on the Continue button. Step 3: In the next step, you will be asked to choose the folders or individual photos you would like to transfer. Selecting a folder will include all the sub-folders as well. Please make sure you select only media files and proceed to the next step. Step 4: After reviewing the selection, select the service you would like to export the photos to. For the article I have selected Picasa but there are many services you can choose from including Facebook and Facebook Pages. Finally pi.pe will ask you to give a name to the album. When you are ready, click on the Start transfer button to initiate the file transfer. pi.pe will initiate the transfer and notify you through email once all the files are processed. You can also save the pipe to upload any new files that are added to the source service. This will make sure that any new addition to the collaborated folder will be uploaded automatically. Note: Make sure you have enough storage space in the destination service.
Conclusion
pi.pe was able to transfer around 1 GB of photos from my Google Drive storage to Picasa within 15 minutes and it’s impressively fast. Do try out the service and let us know how it worked out for you. The above article may contain affiliate links which help support Guiding Tech. However, it does not affect our editorial integrity. The content remains unbiased and authentic.