Running PowerShell with admin privileges can be useful in certain situations where you need to troubleshoot or fix issues on your PC that regular users would not have permission to fix. For example, you may need to access system logs or troubleshoot services. With that out of the way, let’s begin with the article.
1. Open Powershell as Admin Using Windows Search
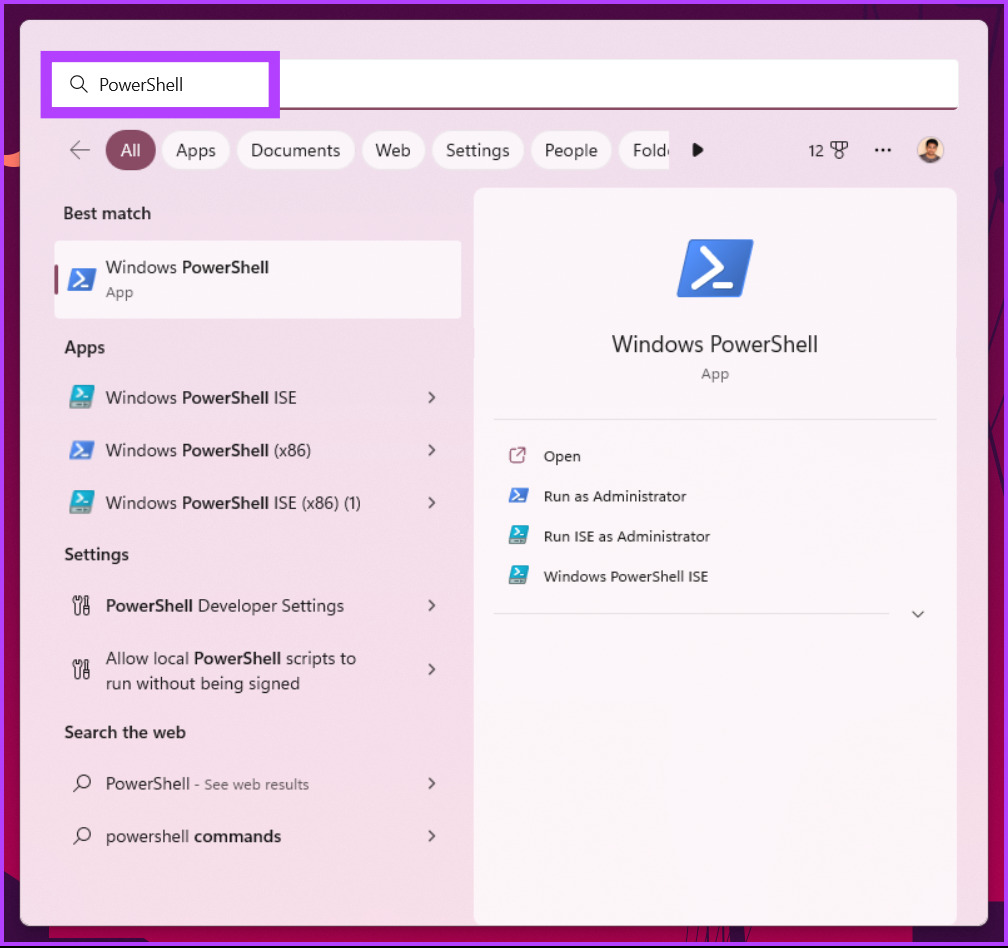
One of the easiest and most common ways to open and run PowerShell as an administrator in Windows 11 is by using Windows’ search feature. Follow the steps below. Step 1: Press the Windows key on your keyboard and type PowerShell in the search box.
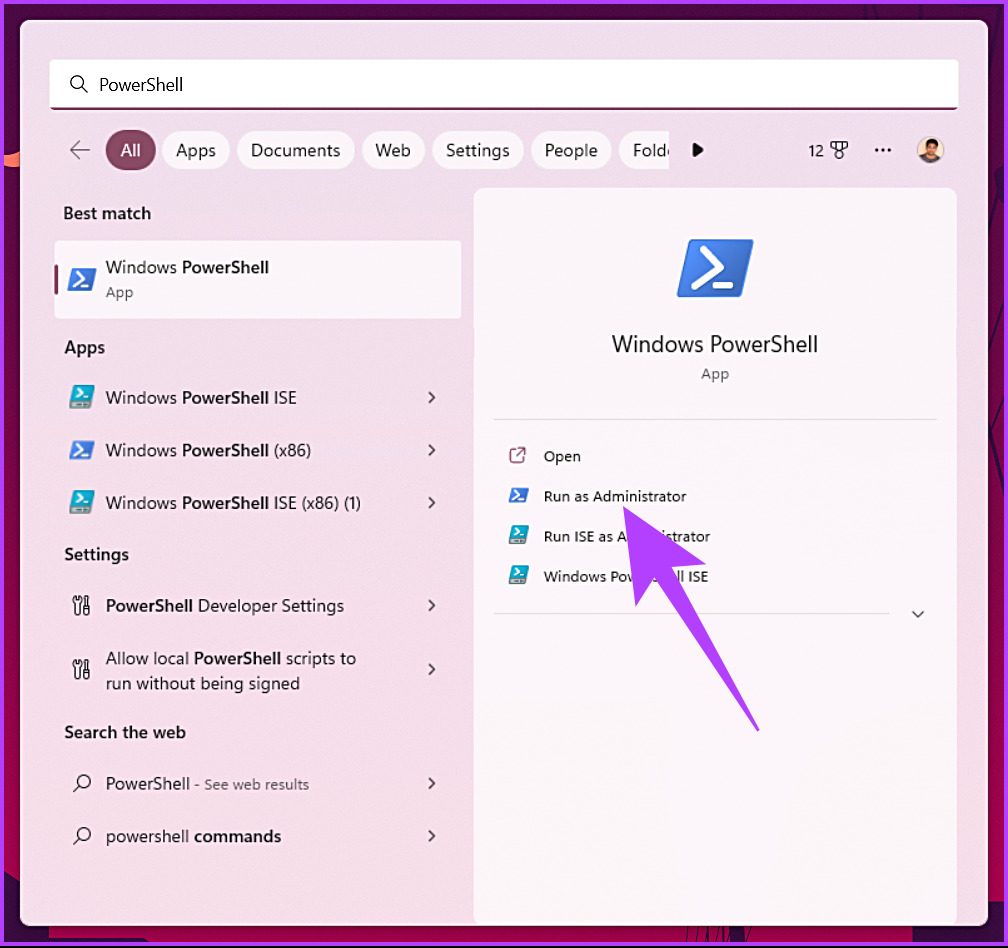
Step 2: Click on ‘Run as Administrator’ from the right pane. Note: Alternatively, you can also right-click on the PowerShell in the left pane and select ‘Run as administrator.’
You will get a UAC prompt asking for your consent; click Yes. That’s it. The PowerShell will open as administrator. If you don’t want to use the Windows Search feature to find and open PowerShell, you can do the same with the help of the Windows context menu. Keep reading.
2. How to Start Powershell as Administrator Using WinX
This method is much easier than the Windows search feature. However, this is not a widely used one. Follow the below-mentioned steps. Step 1: Press the ‘Windows key + X’ on your keyboard. Step 2: From the context menu, select Terminal (Admin).
Step 3: In the UAC prompt, click Yes. There you go. You have launched PowerShell in administrator mode. If you landed on some Command Prompt or in any other terminal, click on the Chevron (arrow) icon at the top of the tab and select PowerShell. Sounds too complicated? Jump to the next method.
3. Run Powershell Script as Admin From Start Menu
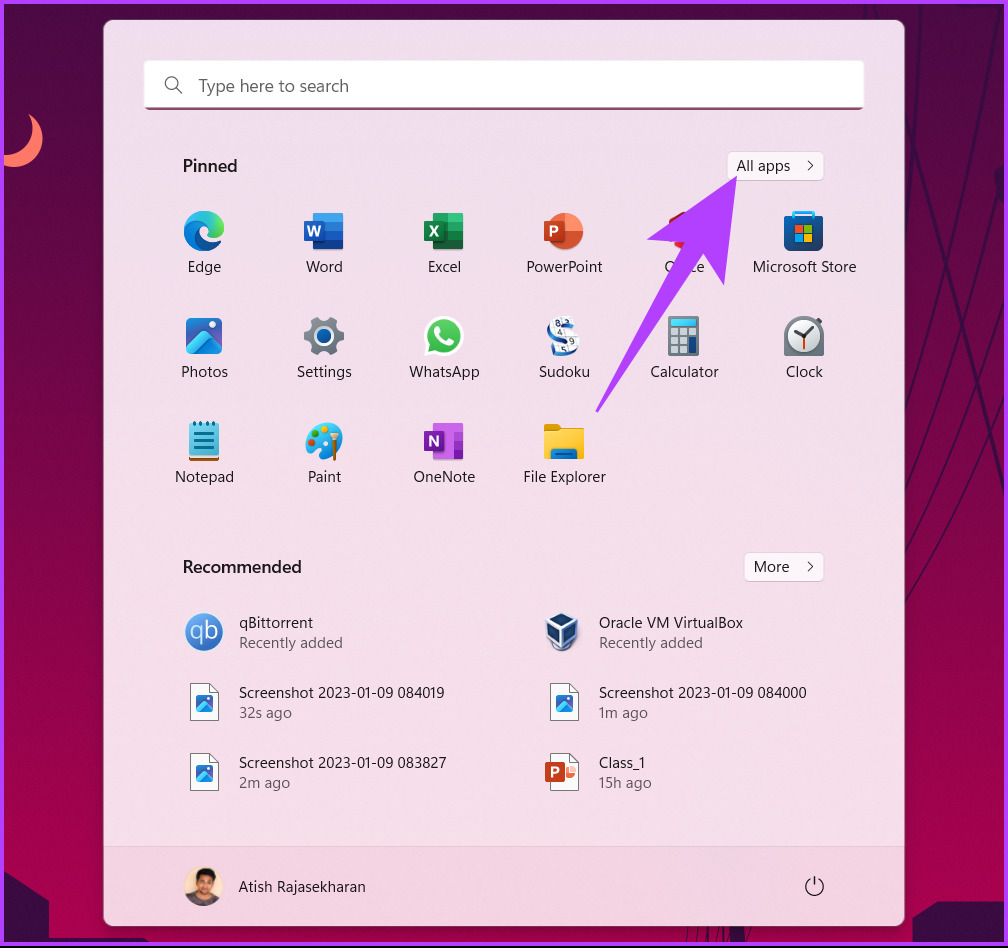
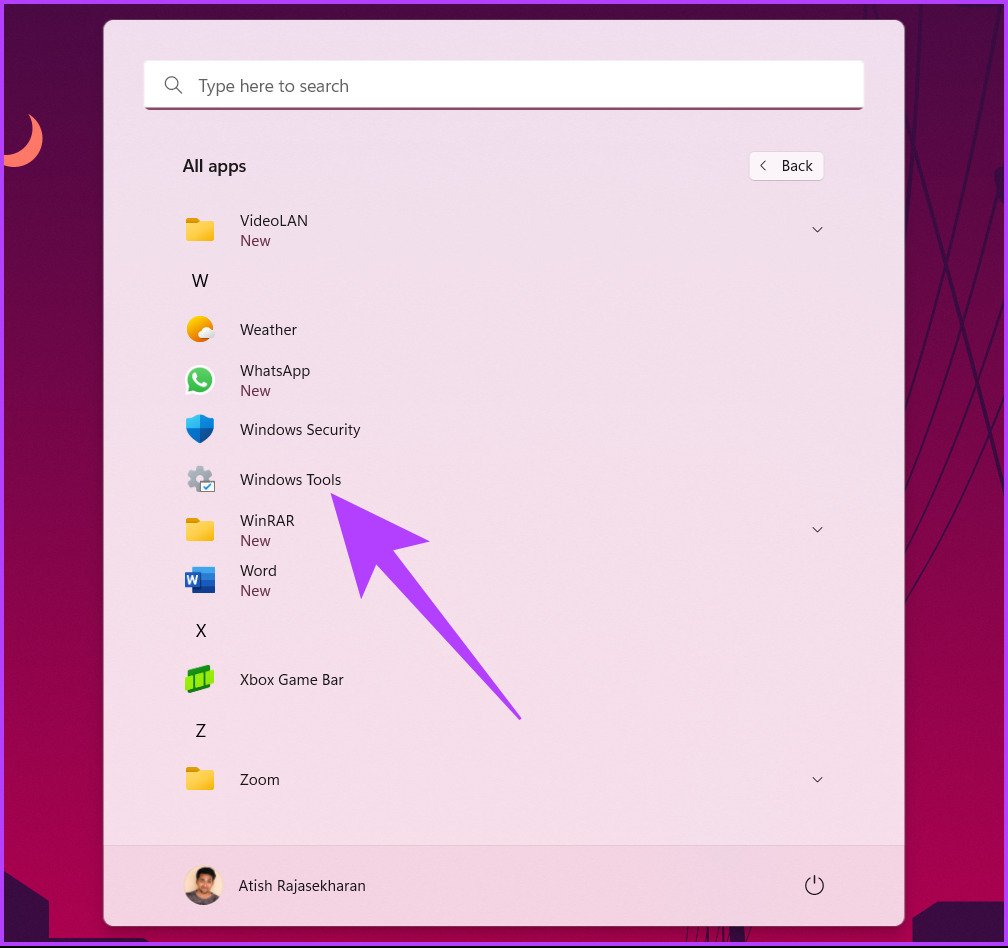
The steps of this method are straightforward and simple. We will be using Windows Tools to execute this method. Follow the instructions below. Step 1: Press the Windows key on your keyboard and click on All apps.
Step 2: Scroll down and click on Windows Tools.
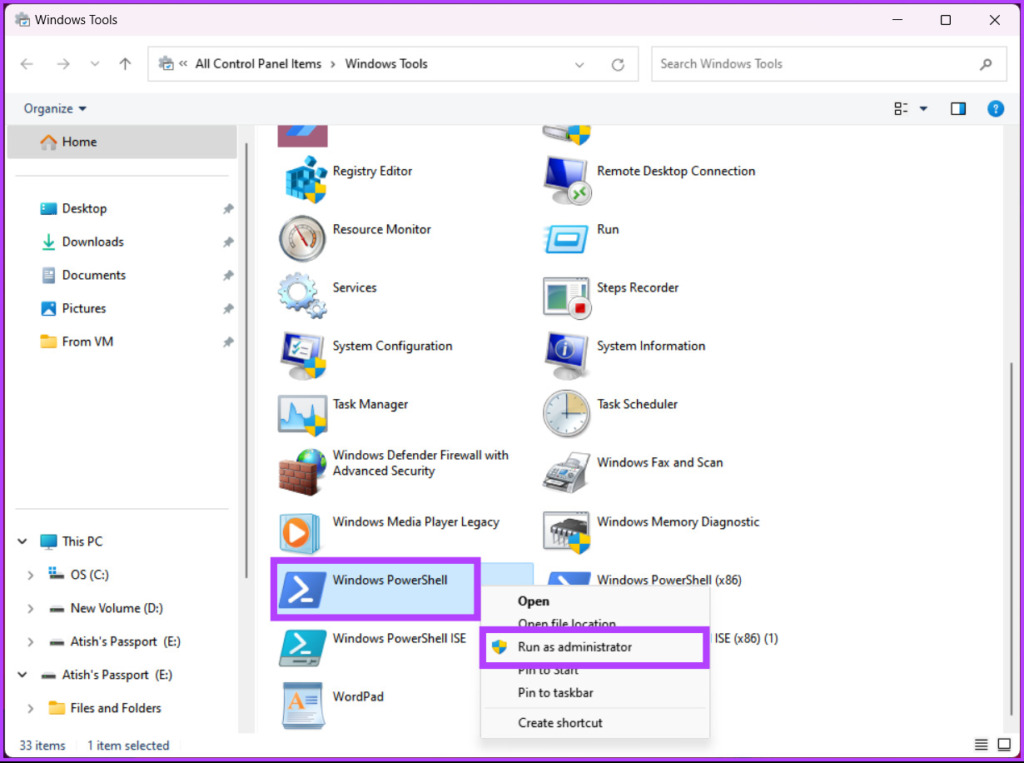
Step 3: In the Windows Tools window, scroll down and right-click on Windows PowerShell. From the context menu, select ‘Run as administrator.’
Step 4: In the prompt, click Yes. There you go. You can now work on PowerShell with administrator privileges. If you want to know another way, jump to the next method.
4. Use Task Manager to Start Powershell as Admin
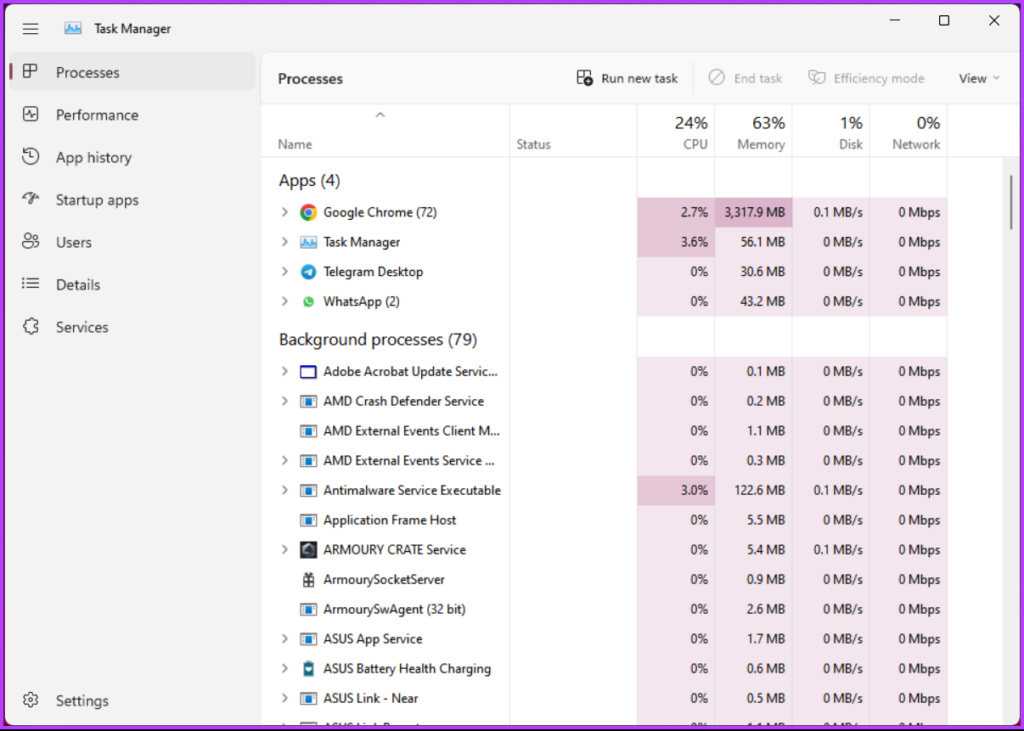
Task Manager is generally used to manage apps, but it can also be used to run a new task, meaning it has the potential to open PowerShell. Follow the steps below. Step 1: Press ‘Ctrl + Shift + Esc’ on your keyboard to open Task Manager. Note: You can also search for Task Manager using Windows Search.
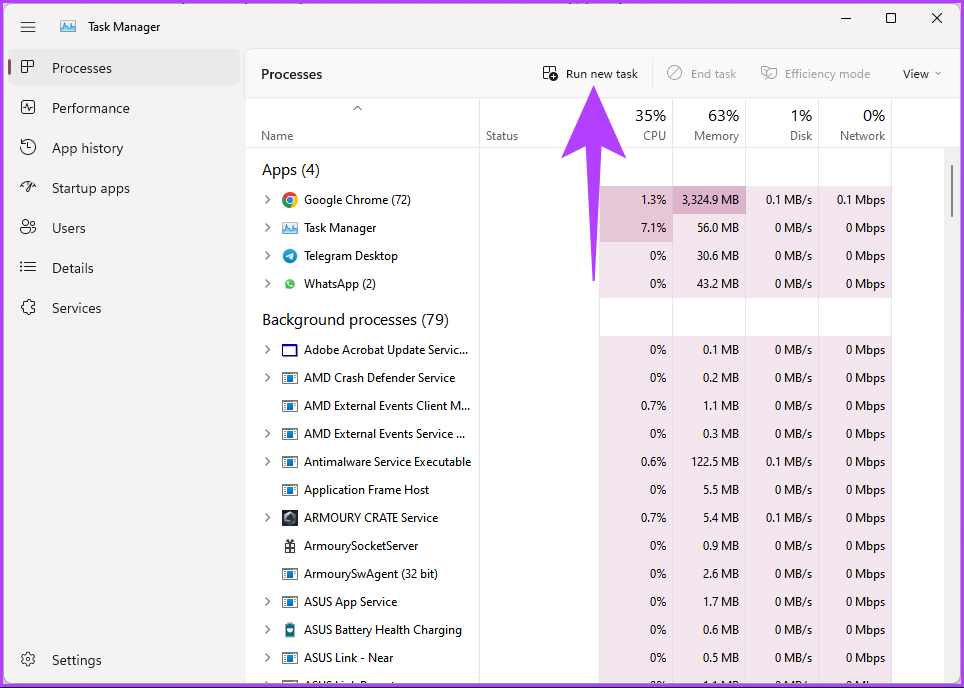
Step 2: Click on the ‘Run new task’ button.
It will open a ‘Create new task’ dialog box. Step 3: Type PowerShell in the text field, check the box next to ‘Create this task with administrative privileges,’ and click OK.
There you have it. It will open PowerShell with administrative privileges without having to go through any complications.
5. How to Open Powershell as Admin Using Run Command Box
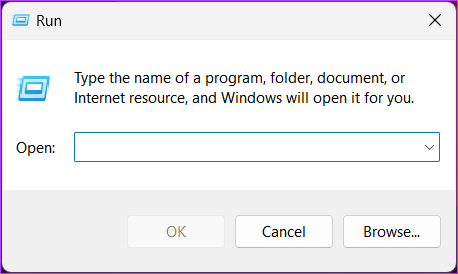
After Windows search, one of the most common ways to access PowerShell with administrator privileges is using the Run command. Follow the below instructions. Step 1: Press the ‘Windows key + R’ on your keyboard to open the Run dialog box. Note: Alternatively, you can press the Windows key on your keyboard and type Run.
Step 2: Type PowerShell and click OK.
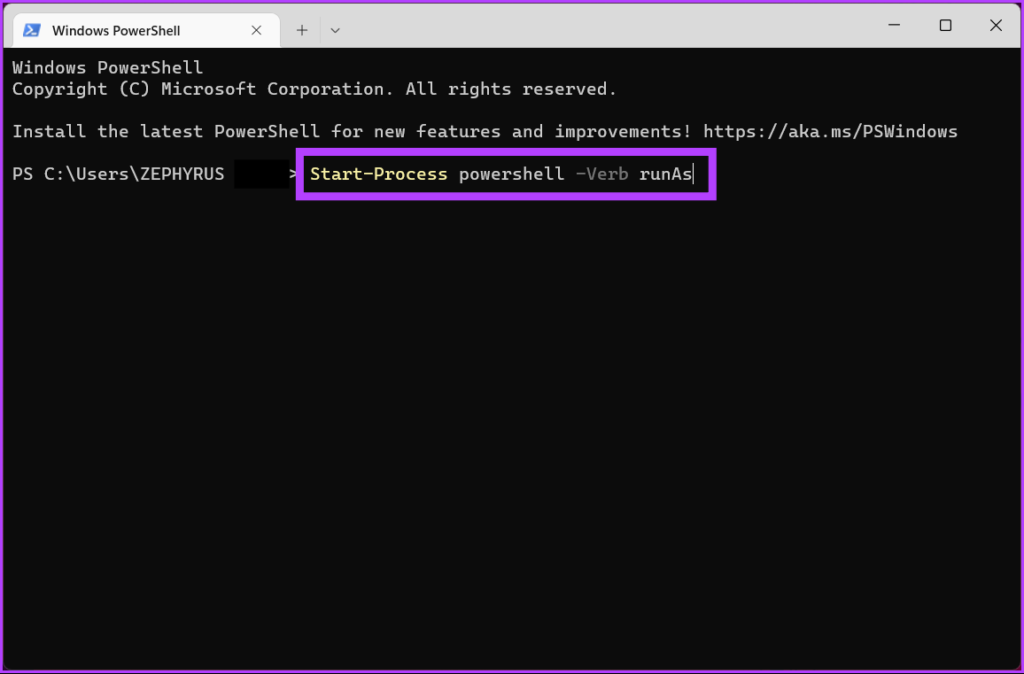
This will open Windows PowerShell with the rights of the current user. Step 3: To switch from normal (current user) mode to administrator mode, type the below command and press Enter.
In the UAC prompt, click Yes. That’s it. You have opened Windows PowerShell with administrative privileges. If the above steps seem complicated, move to the next one.
6. How to Run Powershell as Admin From Cmd
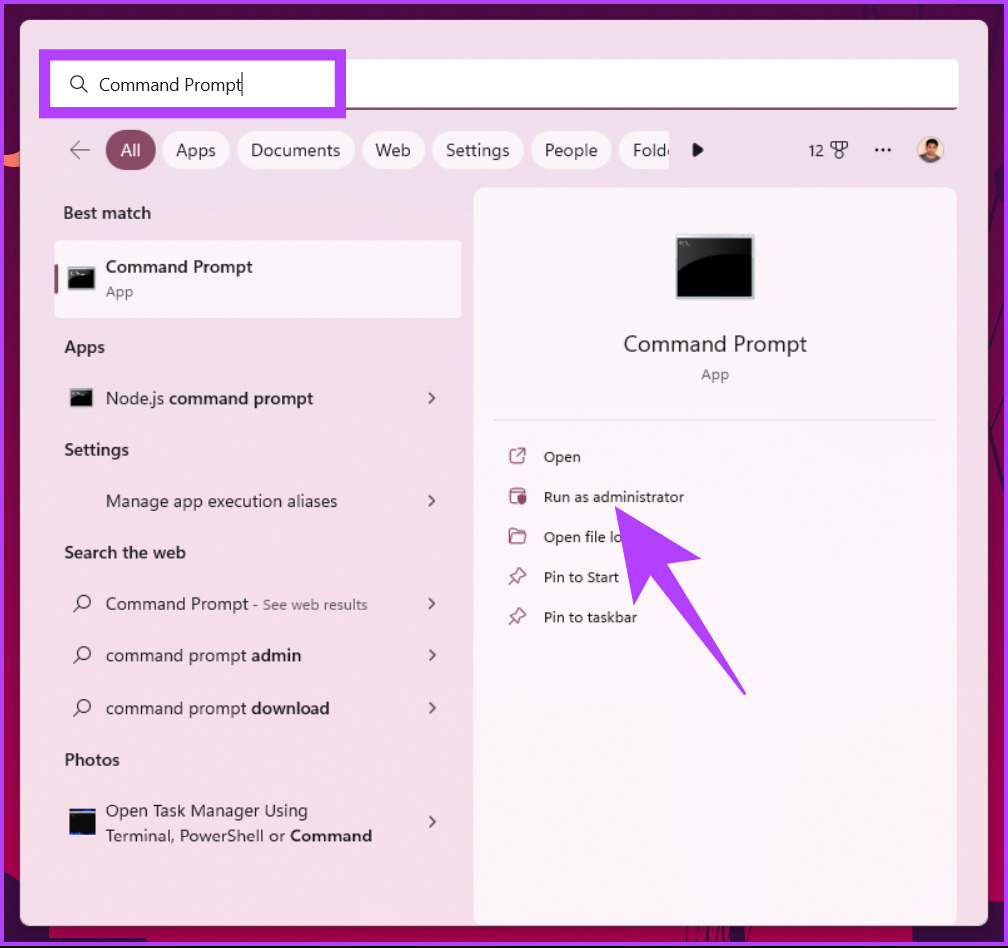
There are a lot of things that be done using Command Prompt, including opening up PowerShell. Follow the steps below. Step 1: Press the Windows key, type Command Prompt and click ‘Run as administrator.’
In the prompt, click Yes. Step 2: In the Command Prompt window, type PowerShell and press Enter.
Tip: If you’re confused, check out our guide to understand the difference between Command Prompt and Powershell. That’s it. You have successfully opened PowerShell with administrative privileges. If the steps are lengthy for you, then move to the next method.
7. How to Create a PowerShell Admin Shortcut on Your Desktop
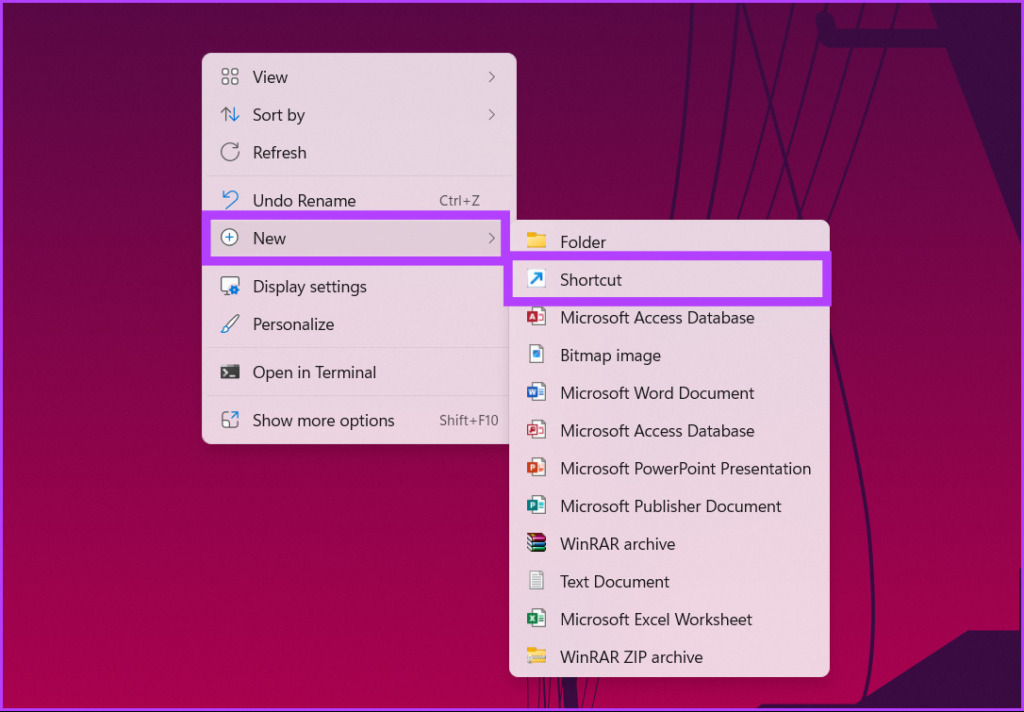
If the above methods are long and tedious for you, then this method can be your one-stop shop. Once you set everything up, you can double-click and open PowerShell as administrator. Let’s begin with the steps. Step 1: Right-click on your Windows desktop, go to New and choose the Shortcut option.
Step 2: In the Create Shortcut window, type the below path and click Next. Note: Choose the bit version your Windows is running on. For 32-bit Windows OS For 64-bit Windows OS
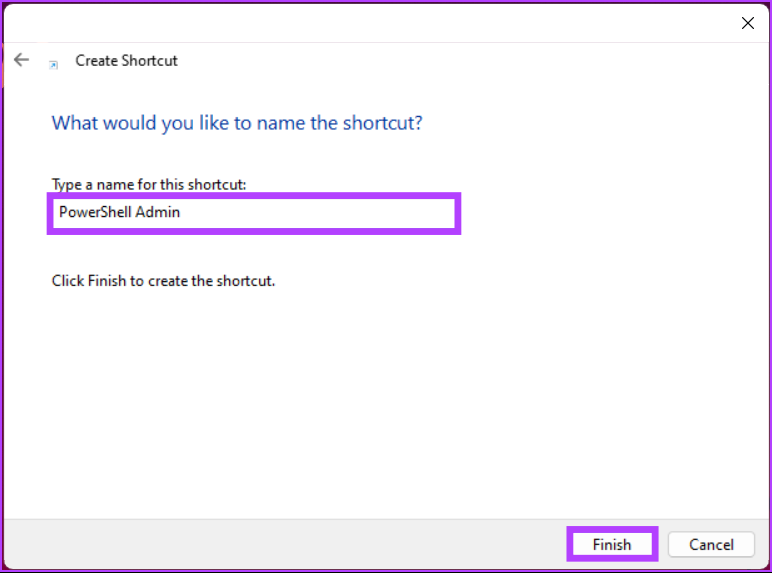
Step 3: In the next screen, give a name to the shortcut and click Finish. Example: PowerShell Admin
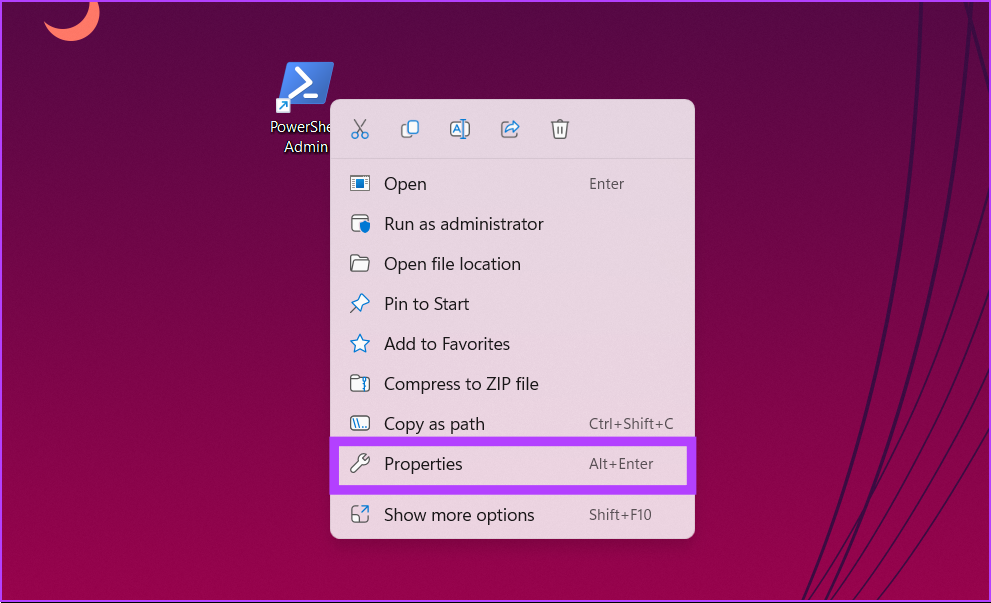
Step 4: Now, right-click on the newly created shortcut and select the Properties option from the context menu.
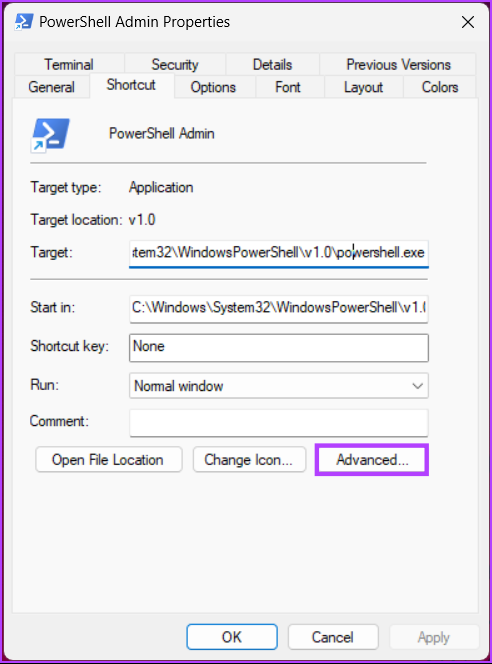
Step 5: In the Shortcut tab, click on the Advanced button.
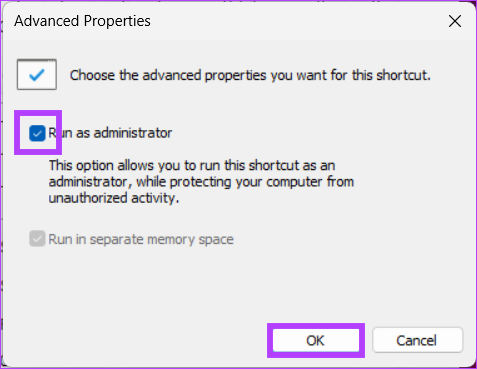
Step 6: In the Advanced Properties, check the ‘Run as administrator’ option and click OK.
Step 7: Finally, click Apply followed by OK.
That’s it. You have successfully created a PowerShell shortcut that, whenever opened, will open with administrator privileges. That said if you are already working on PowerShell and want to switch from current user rights to administrator rights, jump to the next method.
8. Switch from PowerShell to PowerShell Admin
Sometimes, you start adding commands only to realize that you have opened PowerShell without administrator privileges. You have two choices: close the Windows and open PowerShell with administrator rights or follow the steps below to switch to administrator privileges with just a command quickly. Simply type the below command and press Enter.
Quickly Access PowerShell With Admin Rights
Whether you are a power user or need to open PowerShell to manage a system or perform some specific tasks, running it as an administrator can help you get the most out of the tool. Now that you know how to access PowerShell as an administrator, you may also want to know how to make a user an administrator on Windows 11 quickly.