Although you can always check any device’s hardware specs by looking at its packaging or the stickers on it. However, it’s not very helpful if you want more detailed information regarding your PC. Instead, you can use these best methods to check your PC’s specs in Windows 11.
1. Check PC Specs Using the Settings App
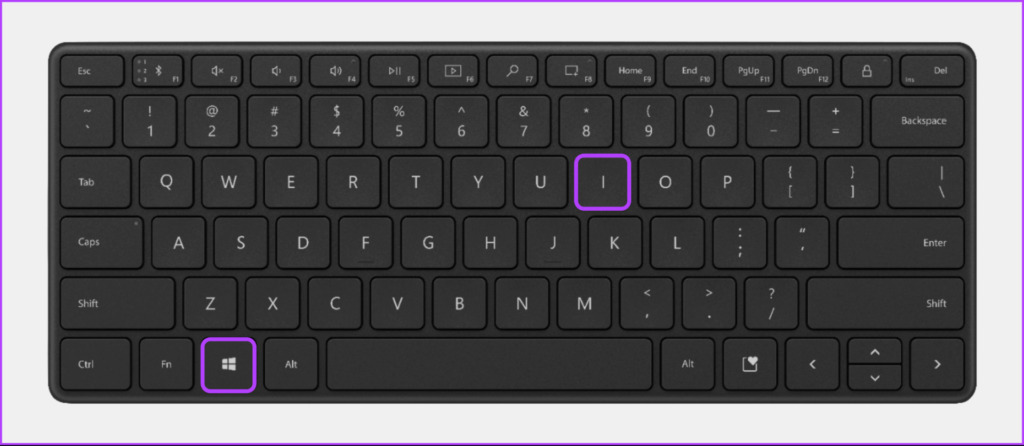
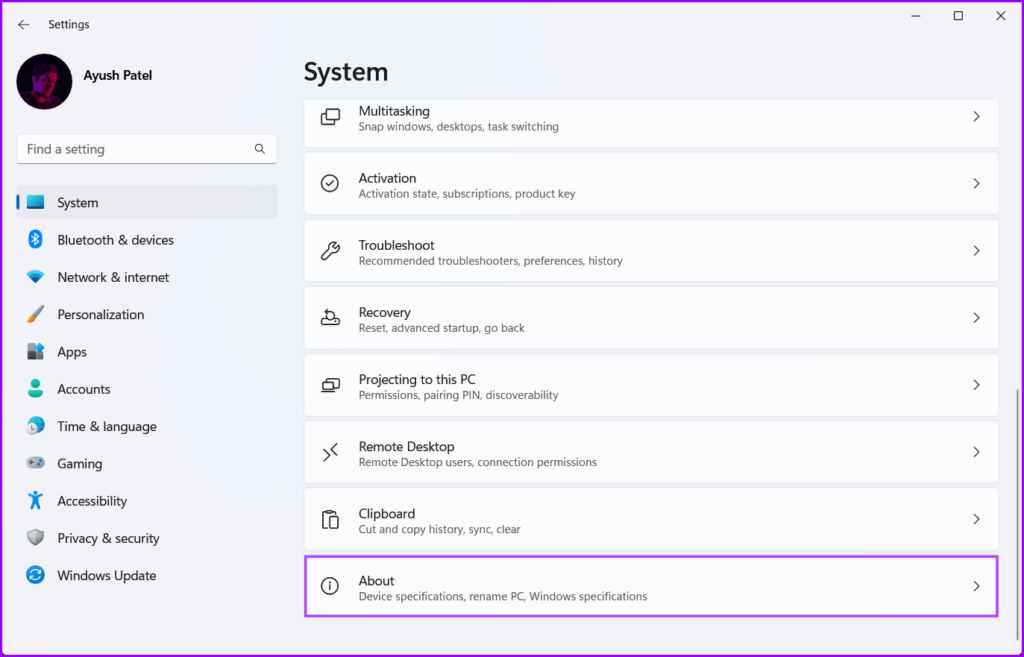
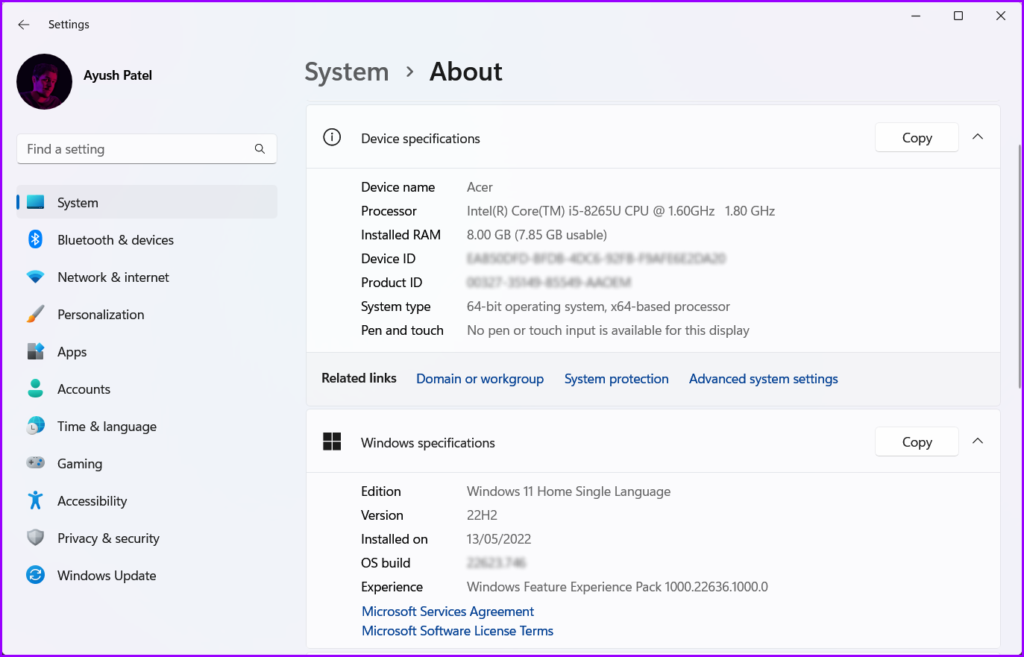
The most common way to check any device’s hardware specs would be to navigate to its About section. And just as you would expect, Windows 11 is no different and allows you to view your PC’s hardware and software specifications. Here’s how you can quickly check your PC specs using the Settings app: Step 1: Press the Windows + I keys to open the Settings app. Step 2: When the Settings app opens, scroll down and click on About. When you reach the About page, you should see the two sections: Device specifications and Windows specifications. The first section reveals the hardware information about your PC, whereas the second section reveals software information about your PC.
2. Check PC Specs Using System Information Utility
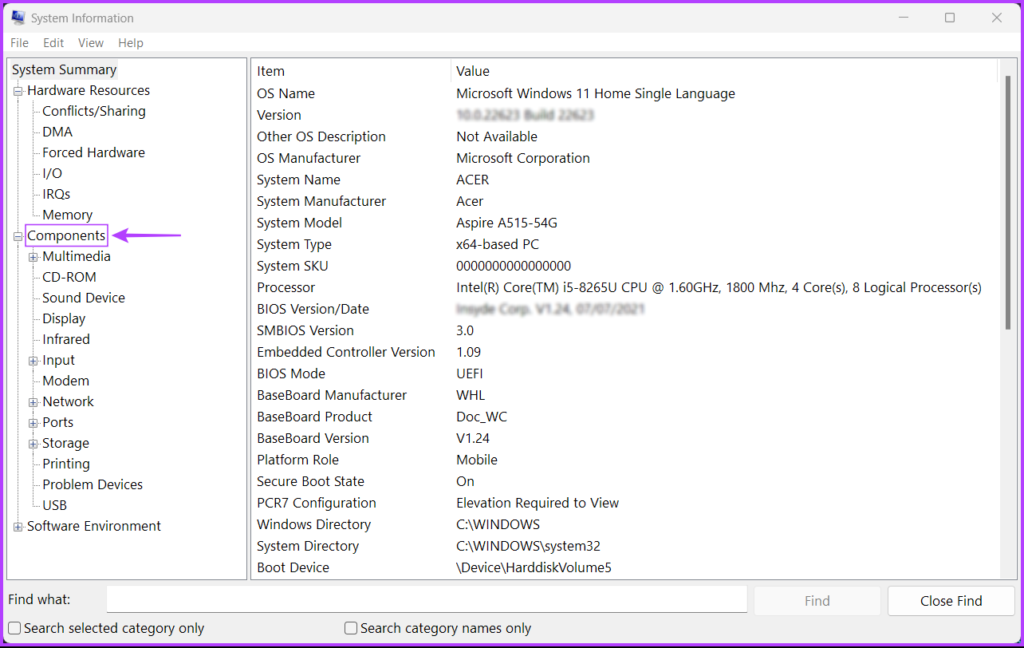
If you think the system specifications offered by the Settings app don’t helpful reveal your PC’s complete hardware specs, then this solution is a good alternative. This method relies on the System Information utility built into Windows to disclose your PC’s hardware specifications. If you want to quickly view your PC’s hardware specifications using the System Information utility, press the Windows + R keys shortcut to open a Run dialog. Then type Msinfo32.exe in the text field and click on OK. After that, a System Information Window will appear on your screen where you can find detailed information about your system, including your PC’s processor, software version, model number, etc. Furthermore, you can also click on Components on the left pane to access more details regarding your device, including the number and types of I/O (Input Output connectivity) ports, display specifications, network adapters, etc.
3. Check PC Specs Using DirectX Diagnostic Tool
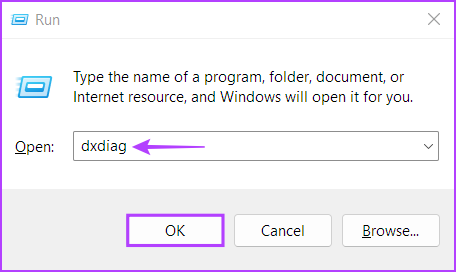
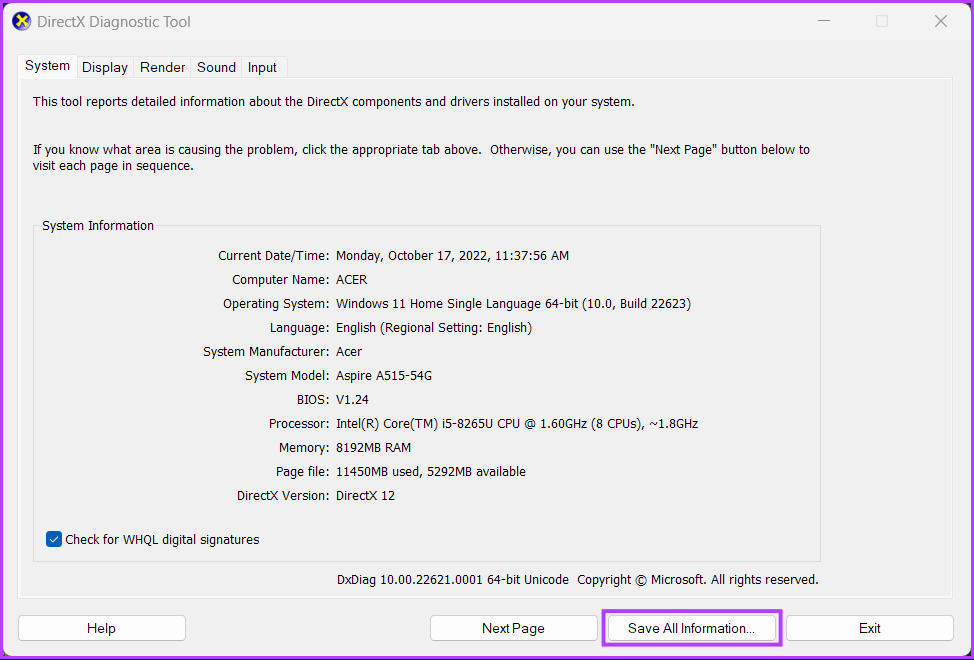
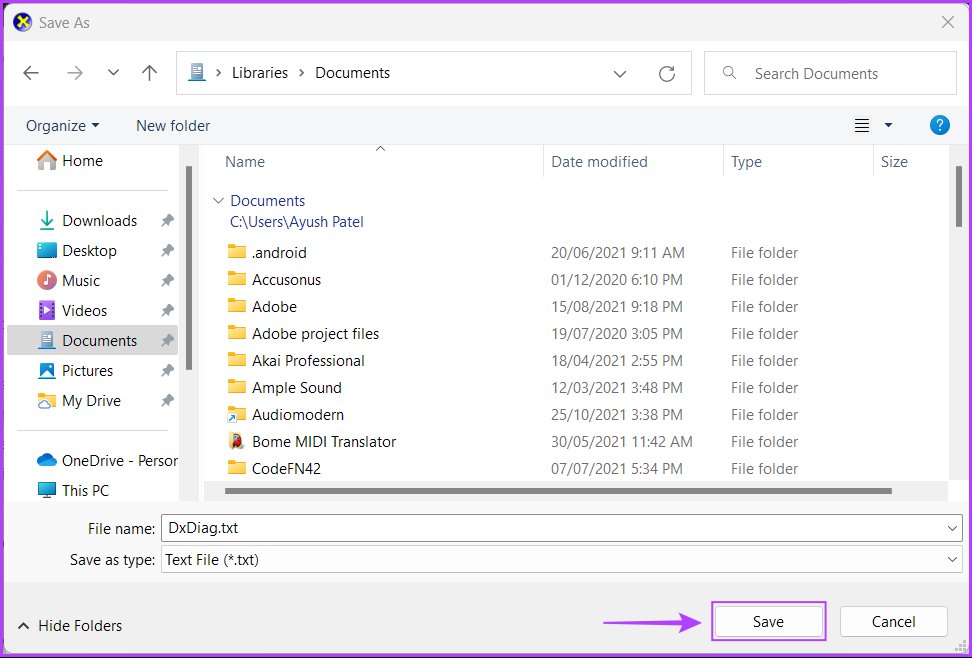
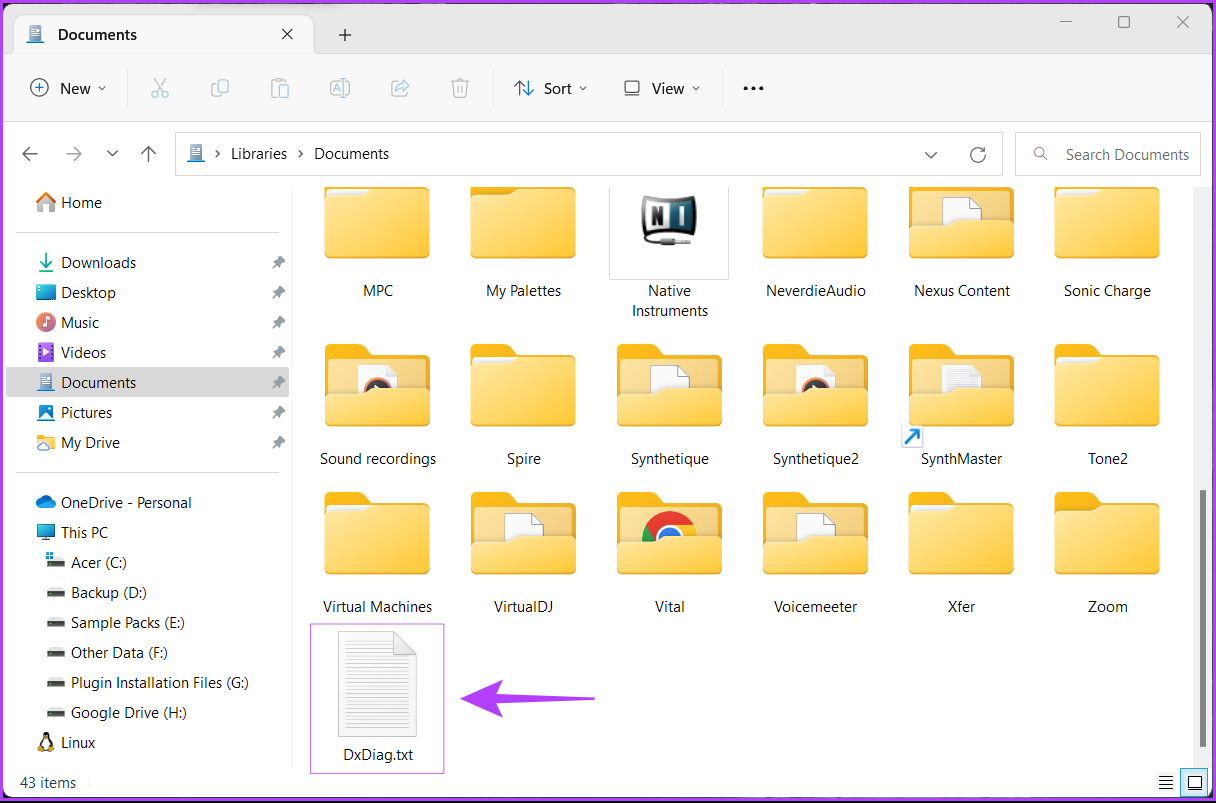
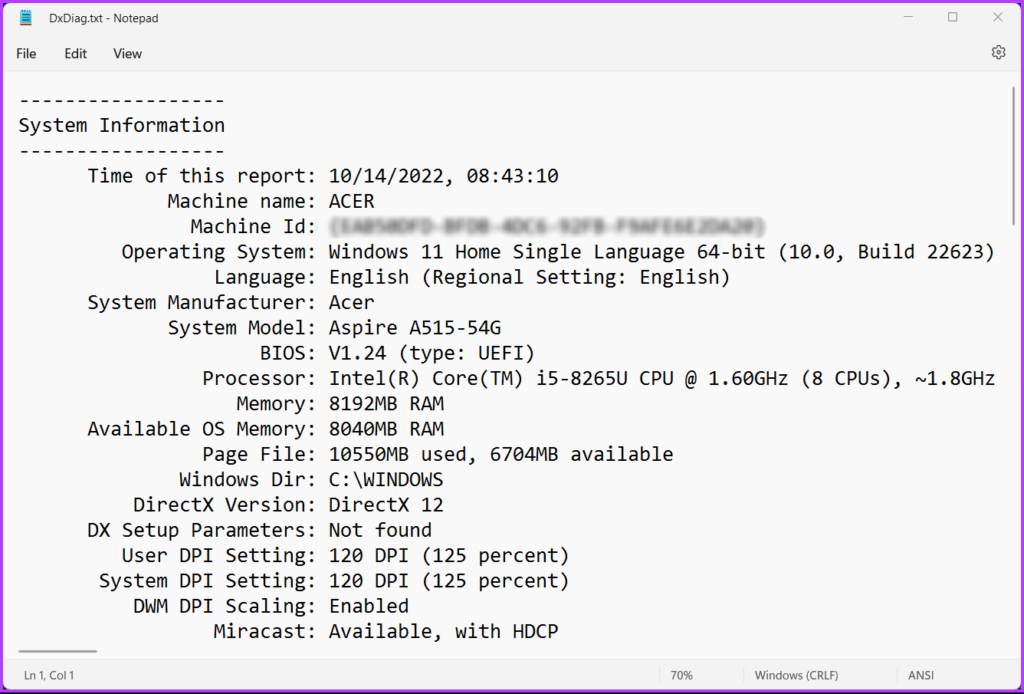
Windows 11 includes a DirectX Diagnostic Tool (DxDiag) to help you troubleshoot display and sound issues on your computer. This tool can check your Windows 11 PC’s hardware specifications. Here’s how to use it: Step 1: Press the Windows + R keys shortcut to open a Run dialog, type dxdiag in the text field, and click OK. Step 2: In the DirectX Diagnostic Tool window, stay on the System tab, and click on the Save All Information button. Step 3: Navigate to the folder where you want to store it and click the Save button. Step 4: Open the File Explorer and navigate to the location where you saved the DxDiag.txt file. Then, double-click to open it. Step 5: When the DxDiag.txt file opens in Notepad, scroll down and you should find all the PC specs listed in an organized manner. Apart from checking your PC’s hardware specifications you can also use it to check whether your PC supports Miracast, your PC’s display capabilities, installed drivers, etc.
4. Check PC Specs Using Command Prompt
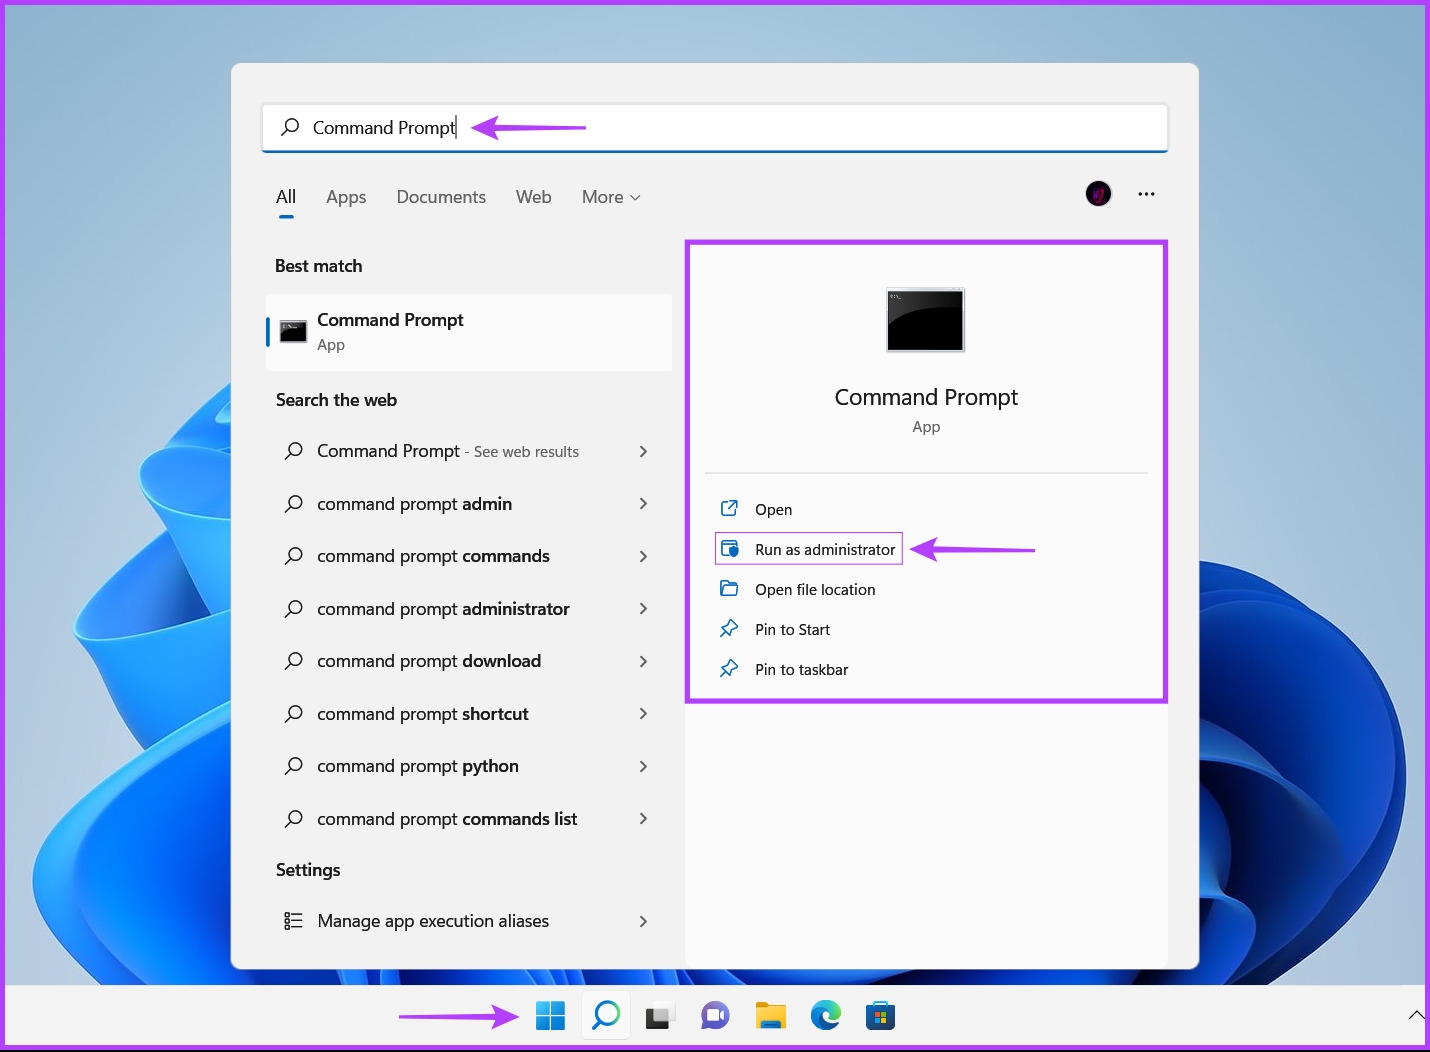
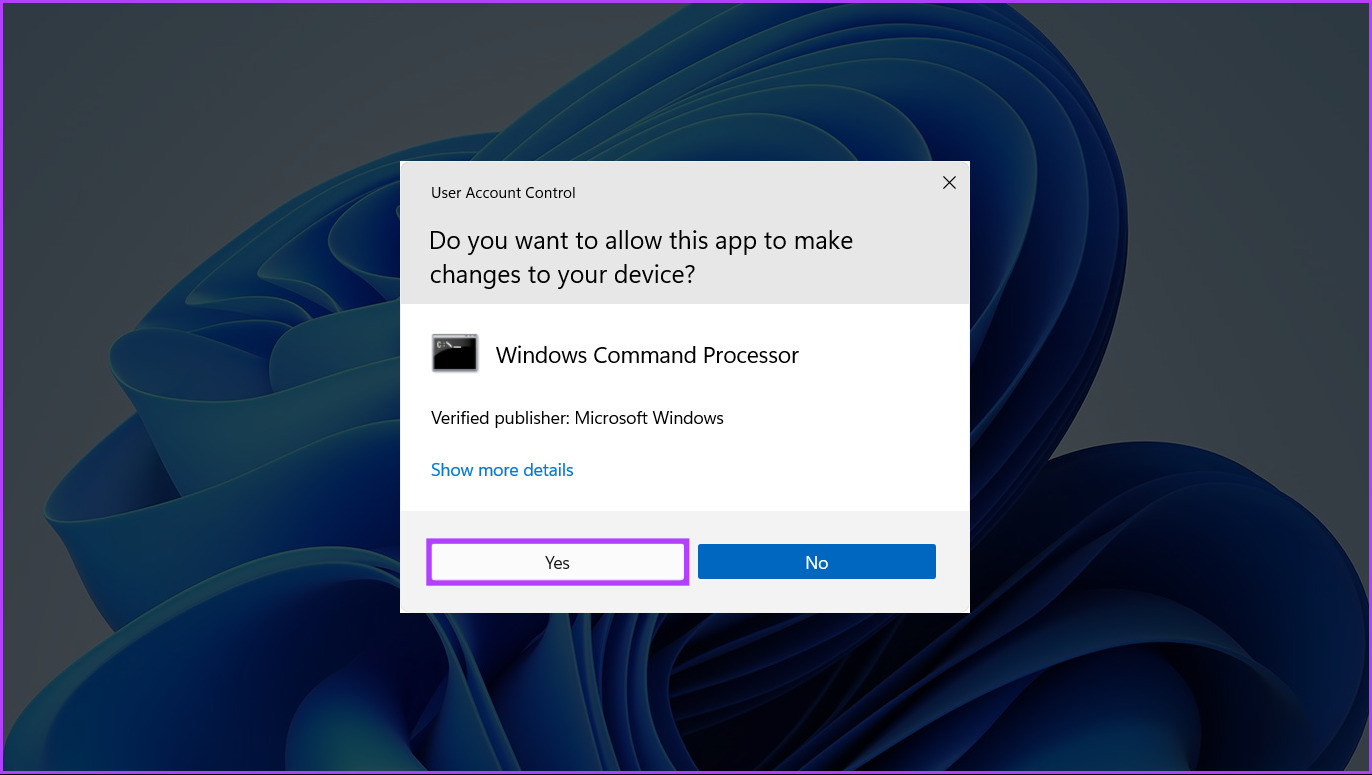
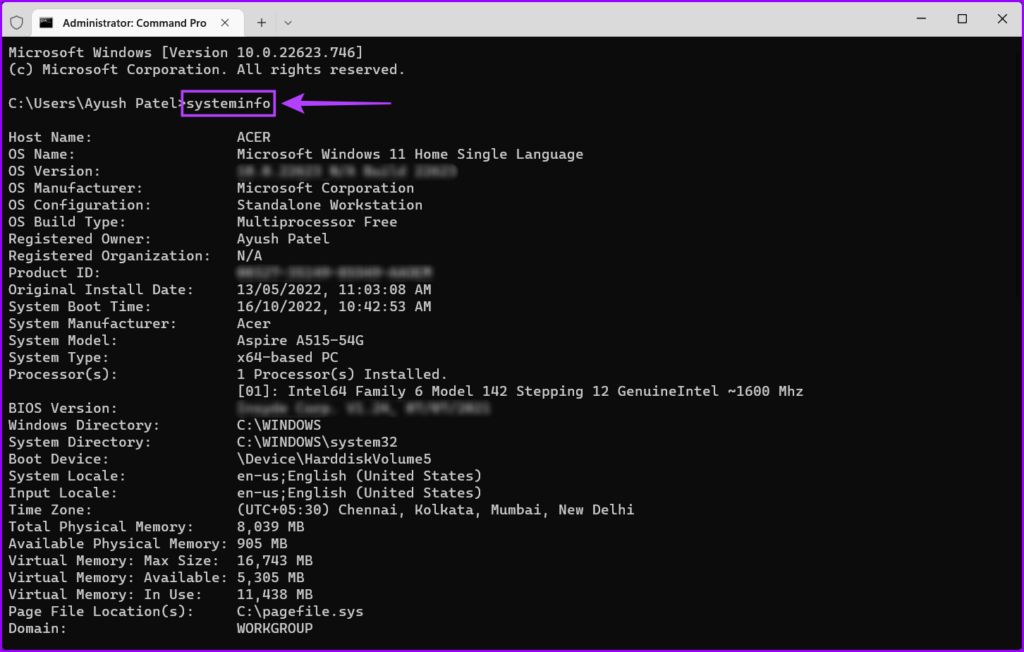
You can use the Command Prompt in Windows to perform advanced administrative tasks such as fixing activation key-related issues, booting your PC into safe mode, etc. However, that’s not all. You can also use the Command Prompt to check your PC’s hardware specifications. Here’s how to use Command Prompt to check your PC’s hardware specifications: Step 1: Press the Windows + S keys and type Command Prompt. Then, from the results for Command Prompt, click on Run as administrator. Step 2: Click on Yes when a User Account Control (UAC) prompt appears on the screen. Step 3: Type the following command into the Terminal window and press Enter: That’ll reveal your computer’s specifications along with several other details.
5. Check PC Specs Using Windows PowerShell
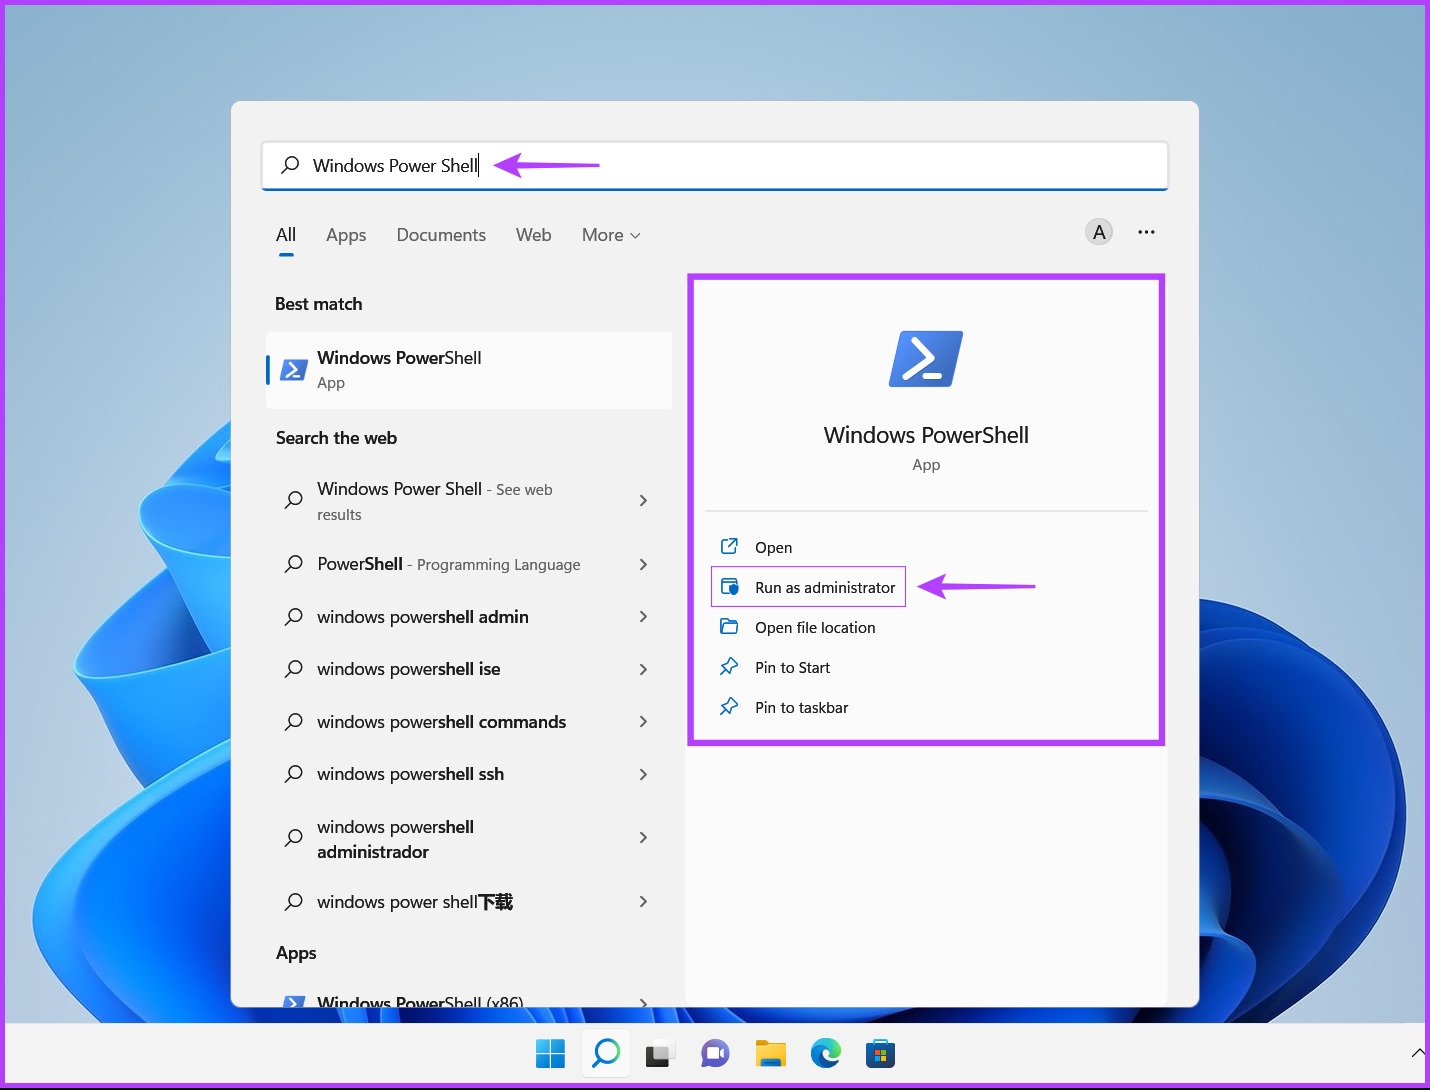
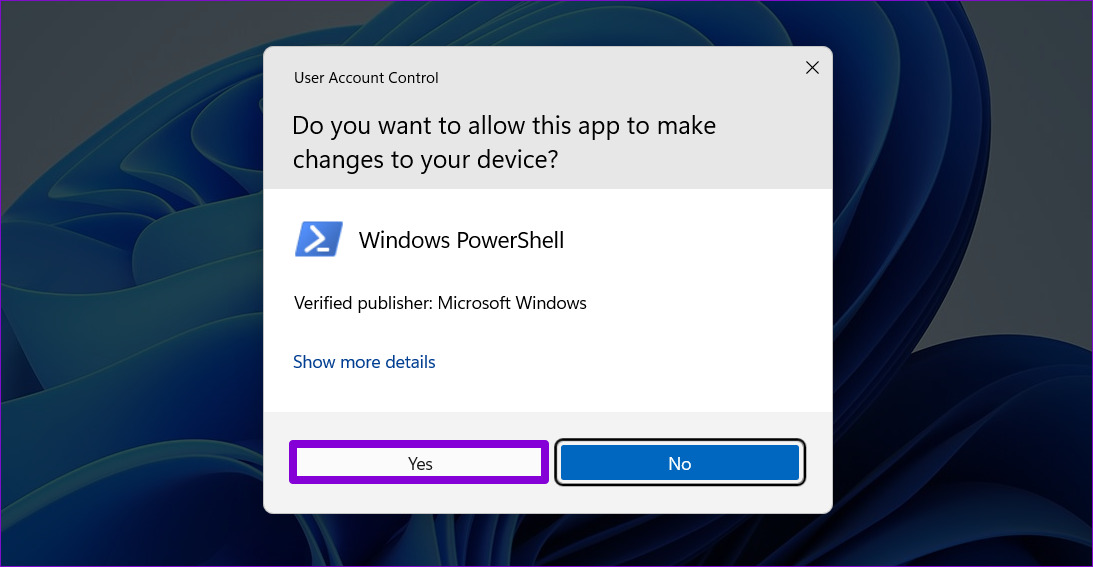
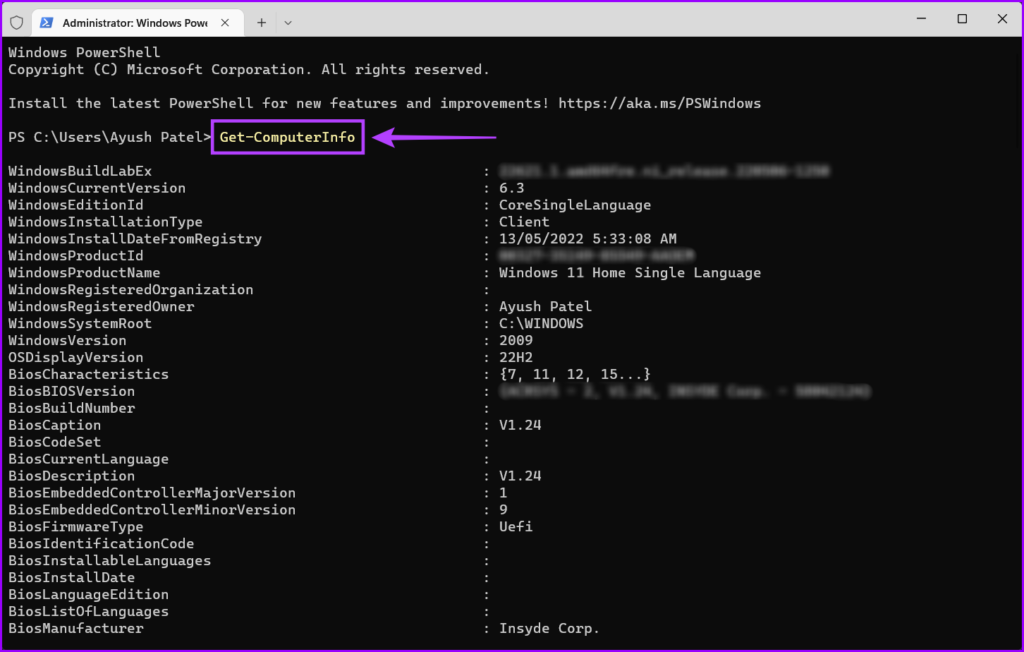
If you’re comfortable using Windows PowerShell, you can quickly use it to check your PC’s specifications. For that, you will have to execute a simple command as detailed in the steps below: Step 1: Press the Windows + S keys to open Windows Search and type Windows PowerShell. Then, from the results for PowerShell, click on Run as administrator. Step 2: When a User Account Control (UAC) prompt appears, click Yes. Step 3: Type the following command and press Enter: That’ll reveal details about your computer including the details of the manufacturer or developer of certain components.
Easily Find Your PC’s Hardware Specifications
That’s all. You can easily find your PC’s hardware specifications using any of the above methods. These details can help ensure whether a particular software or even a hardware is compatible with your computer. Knowing such details can save you a lot of time, and also money, from using incompatible components. The above article may contain affiliate links which help support Guiding Tech. However, it does not affect our editorial integrity. The content remains unbiased and authentic.